The Best Export Settings for Lightroom to Instagram in 2024
Learn export settings lightroom instagram to beat Instagram compression and get sharp, vibrant photos every time.
When a luxury fashion brand like Gucci posts a campaign image, every pixel is perfect. That razor-sharp quality isn't just about the camera — it's about mastering the export settings lightroom instagram workflow. The secret is giving Instagram's compression algorithm a perfectly sized file so it has less work to do.
How to Stop Instagram From Ruining Your Photo Quality
It's a frustration every photographer and fashion brand knows. You spend hours meticulously editing an image in Lightroom, only for it to look soft and discolored the second you upload it. This isn't your fault; it's the result of Instagram's aggressive, automatic compression.
When you upload a photo that doesn't fit its exact specifications, Instagram takes over. It resizes and re-compresses it for you. This heavy-handed process often strips out fine details and shifts colors.
Imagine a brand like Zara, whose entire minimalist aesthetic hinges on crisp lines and precise color tones. A poorly compressed image can make their clean product shots look amateurish, undermining the brand's premium feel.
Platforms like Picjam help brands sidestep this manual effort entirely. By generating high-quality, on-brand fashion photos that are already optimized for digital platforms, brands save countless hours in Lightroom.
The Instagram Compression Problem
Instagram is built for speed, serving billions of users content as quickly as possible. To do that, it compresses every single image.
Your goal isn't to avoid compression — that's impossible — but to control it. By nailing your export workflow, you dictate the terms.
You’re feeding the algorithm an optimized file, forcing it to apply only minimal, less destructive compression. This preserves sharpness and color accuracy.
Sometimes the issue isn't just with the feed but specifically with Stories. For a deeper dive, check this guide on why your Instagram Stories might look blurry.
For more tips on creating content that bypasses tedious editing, see these 3 easy tips for generating high-quality product photos.
How to Set Image Dimensions to Preserve Sharpness

Getting your image dimensions right is the single most important step for a crisp Instagram post. The goal is to send Instagram a file that it barely has to touch.
Think of it as giving Instagram's compression algorithm a head start. Instead of uploading a massive file and letting the app butcher it, you're providing a perfectly prepped file. We do this by intentionally "oversizing" the image.
For a brand like Allbirds, this is critical. Their product shots are all about the texture of their sustainable materials. A soft, overly compressed image wouldn’t do justice to the quality of their wool runners.
Setting the Right Dimensions
Your mission is to match Instagram’s preferred aspect ratios but at a higher resolution. By feeding its downsampling algorithm more data, you end up with a much cleaner final image.
Here are the pixel dimensions that work best:
- Portrait (4:5): This is my go-to. It takes up the most screen real estate. Set your long edge to 2700 pixels.
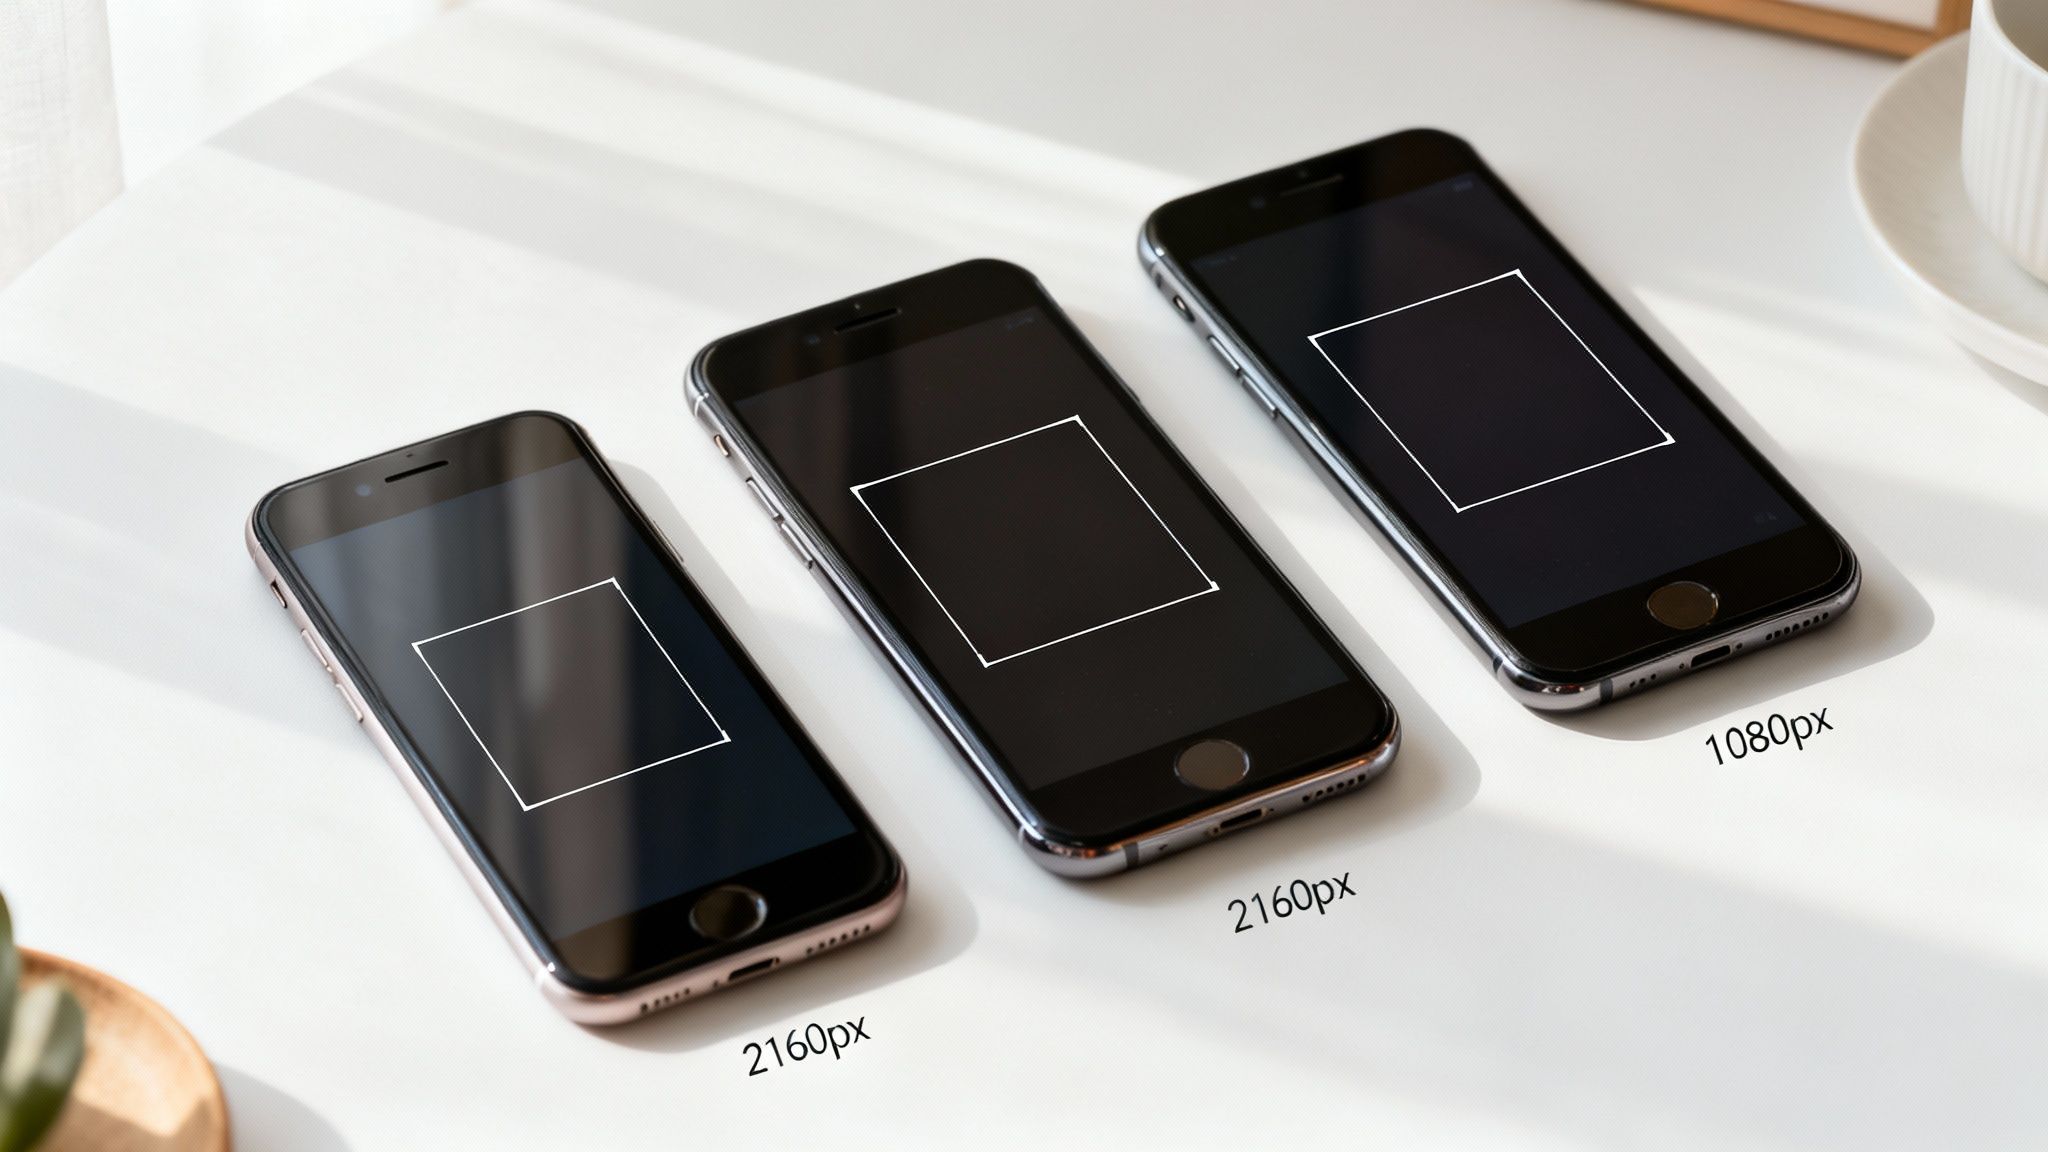
- Square (1:1): The classic format. Perfect for centered product shots. Set both width and height to 2160 pixels.
- Landscape (16:9): Great for wider, environmental scenes. Set your long edge to 2660 pixels.
Why these specific numbers? Exporting at roughly double Instagram's maximum display width of 1080 pixels fights back against its compression. This oversizing ensures your image stays sharp.
This is where Lightroom's 'Image Sizing' panel becomes your control center.
By checking 'Resize to Fit' and selecting 'Long Edge', you can input the exact pixel dimensions. This step puts you in control. For a wider look at ideal sizes, this is a great guide to standard image sizes for social media.
How to Optimize File Settings for Perfect Color and Quality

Once you’ve nailed the dimensions, the next step in perfecting your export settings lightroom instagram workflow is dialing in three crucial properties: Format, Color Space, and Quality. This ensures your photos look the same online as they did on your screen.
Think about a brand like Ganni, famous for its vibrant color palettes. For them, color accuracy is non-negotiable. One wrong setting could mute their signature bold prints, changing the vibe of their feed.
Dialing In Your File Settings
These three settings in Lightroom's export dialog work together to create a file that stands up to Instagram's compression.
Image Format: JPEG
This is the gold standard for web images. It hits the perfect balance between image quality and file size for social media.Color Space: sRGB
This one is an absolute must. The web operates on the sRGB color profile, and Instagram converts any photo to it. By choosing sRGB from the get-go, you stay in control of the final look. If you want to dive deeper, check our guide on how to change the color of the background in a photo.Quality: 76-85
Don't crank the JPEG Quality slider to 100. A 100-quality JPEG creates a massive file that Instagram will compress aggressively anyway. A value between 76 and 85 is the sweet spot. It keeps fantastic detail while producing a reasonably sized file.
How to Apply the Right Sharpening for Screen Display
Sharpening is the final touch that makes an image pop, but it’s a delicate balance. Too much, and your photo looks crunchy. Not enough, and it feels soft. This is especially true for Instagram.
For brands, this step is critical. You want every detail, from the texture of a sweater to the clean lines of a blazer, to come through with clarity. That final polish makes a product look high-quality.
The Myth of PPI for Screens
Let's clear this up: the Resolution setting, measured in Pixels Per Inch (PPI), means nothing for digital screens. Whether you set it to 72, 240, or 300, it has zero effect on how your photo looks on a phone.
PPI is a print metric. That’s it. For Instagram, you can safely ignore it.
Using Output Sharpening Correctly
The magic happens in Lightroom's Output Sharpening panel. Every time you resize an image, it inherently loses a bit of sharpness. This final step compensates for that loss.
Getting it right is simple:
- Check the box for Sharpen For.
- Select Screen from the dropdown menu.
- Choose an Amount of Standard or Low.
I almost always start with Standard. "High" can introduce digital artifacts, and Instagram's compression will only make them worse. This subtle sharpening ensures your image is crisp without looking over-processed.
By applying a 'Standard' screen sharpen, you counteract the softening effect of resizing, ensuring the final image maintains its intended detail without introducing harsh digital artifacts. It's the key to a professional-looking export.
When you post on Instagram, you're putting your work out there. That visibility shouldn't come at the cost of your intellectual property. You can build a layer of protection into your Lightroom export workflow.
The goal is a balancing act. You want images to look stunning on a phone screen but be useless for anyone trying to print them. It's about finding that sweet spot where the file has just enough data for a brilliant digital display.
Protecting Your Images from Print Poachers
Think about a major fashion brand like Reformation. Their campaign photos are a huge part of their brand identity. If those images could be easily downloaded and printed, it would devalue their work. You can apply the same logic to your photos.
Here's how to dial it in:
Image Sizing: While exporting a long edge of 2160 pixels gives you great quality, many pros pull this back to 2048 pixels with a resolution of 72 PPI. This ensures your photo looks sharp online but becomes a pixelated mess if someone tries to print it. You can find discussions on this topic over at Lightroom Queen.
Metadata Control: Don't sleep on the Metadata panel. This tool helps protect and manage your work by controlling what information travels with your image.
What Metadata to Keep (and What to Ditch)
Managing metadata balances self-promotion with privacy, with the added benefit of slightly shrinking your file size.
Here's my go-to setup:
Keep the Copyright: In the 'Metadata' section, I always choose either "Copyright Only" or "Copyright & Contact Info Only." This embeds your ownership details directly into the file's DNA.
Strip the Location Data: This is non-negotiable. Always check the "Remove Location Info" box. There is no reason to broadcast the exact GPS coordinates of your photoshoot locations.
By getting these simple export settings lightroom instagram options dialed in, you can share your work more confidently. You're putting up smart barriers that discourage theft without compromising how your photos look on Instagram.
How to Create a One-Click Instagram Export Preset
Consistency is everything, but punching in the same export settings over and over is asking for a mistake. The pro move is to create a custom Lightroom Export Preset. This automates the workflow, guaranteeing every photo is optimized with one click.
A fast-moving fashion brand like Everlane might post multiple times a day. For them, a preset is non-negotiable. Their marketing team can export campaign shots flawlessly, keeping that clean, consistent look without second-guessing the technical details.
How to Save Your Export Settings
Once you've dialed in all your settings, turning it into a preset is easy. Just look to the bottom left corner of the Export dialog box and click the Add button.
A new window will pop up. Be specific with the name.
- Preset Name: Something descriptive like "Instagram Portrait - 2700px" or "Instagram Square - 2160px" works perfectly.
- Folder: I keep mine in a folder called "Social Media" to stay organized.
Hit Create, and that's it. From now on, exporting for Instagram is a two-click job. For more ways to streamline your visual content pipeline, check our guide on photo editing for e-commerce.
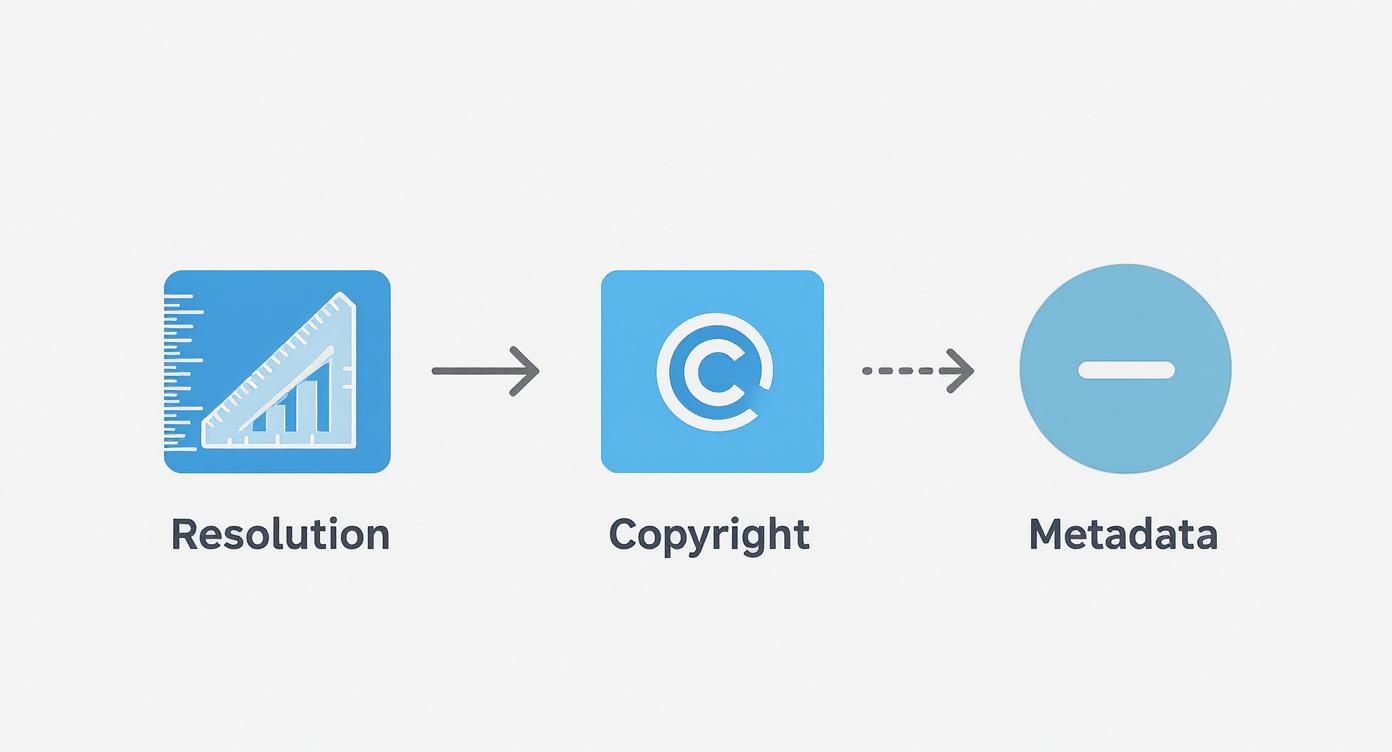
This flow diagram breaks down the key settings your preset will handle, from resolution and sharpening to copyright info.

Your preset locks in resolution for maximum quality, embeds your copyright for protection, and strips unnecessary metadata to keep things efficient.
Common Questions About Lightroom and Instagram Exports
Getting your images from Lightroom to Instagram without losing quality can feel like a guessing game. Let's tackle the most common questions.
Here’s a quick rundown of the most frequent challenges and how to solve them.
Takeaway
Mastering your Lightroom export is about controlling Instagram's compression, not avoiding it. Here are 3 actionable takeaways:
Oversize Your Exports: Export your images at roughly double Instagram’s display width. For a 4:5 portrait, set the long edge to 2700 pixels. This gives the algorithm more data, resulting in a sharper final image.
Standardize Your File Settings: Always use JPEG format, sRGB color space, and a Quality setting between 76-85. This combination ensures accurate colors and optimal file size for the web.
Automate with Presets: Create a one-click Export Preset in Lightroom for each Instagram format (Portrait, Square, Landscape). This saves time and eliminates human error, ensuring brand consistency with every post.
Ready to bypass the endless cycle of exporting and re-editing? Picjam creates studio-quality fashion photoshoots in minutes, already optimized for social media. See how much time and money you could save with our calculator.
Picjam team
The Picjam team blends AI, product, and creative expertise to eliminate the cost and delay of traditional photography for modern eCommerce brands.


