Your Guide to Hat Product Photography That Actually Sells
Master hat product photography with this guide. Learn how to take images that boost sales and see how AI tools can cut costs and elevate your brand's style.
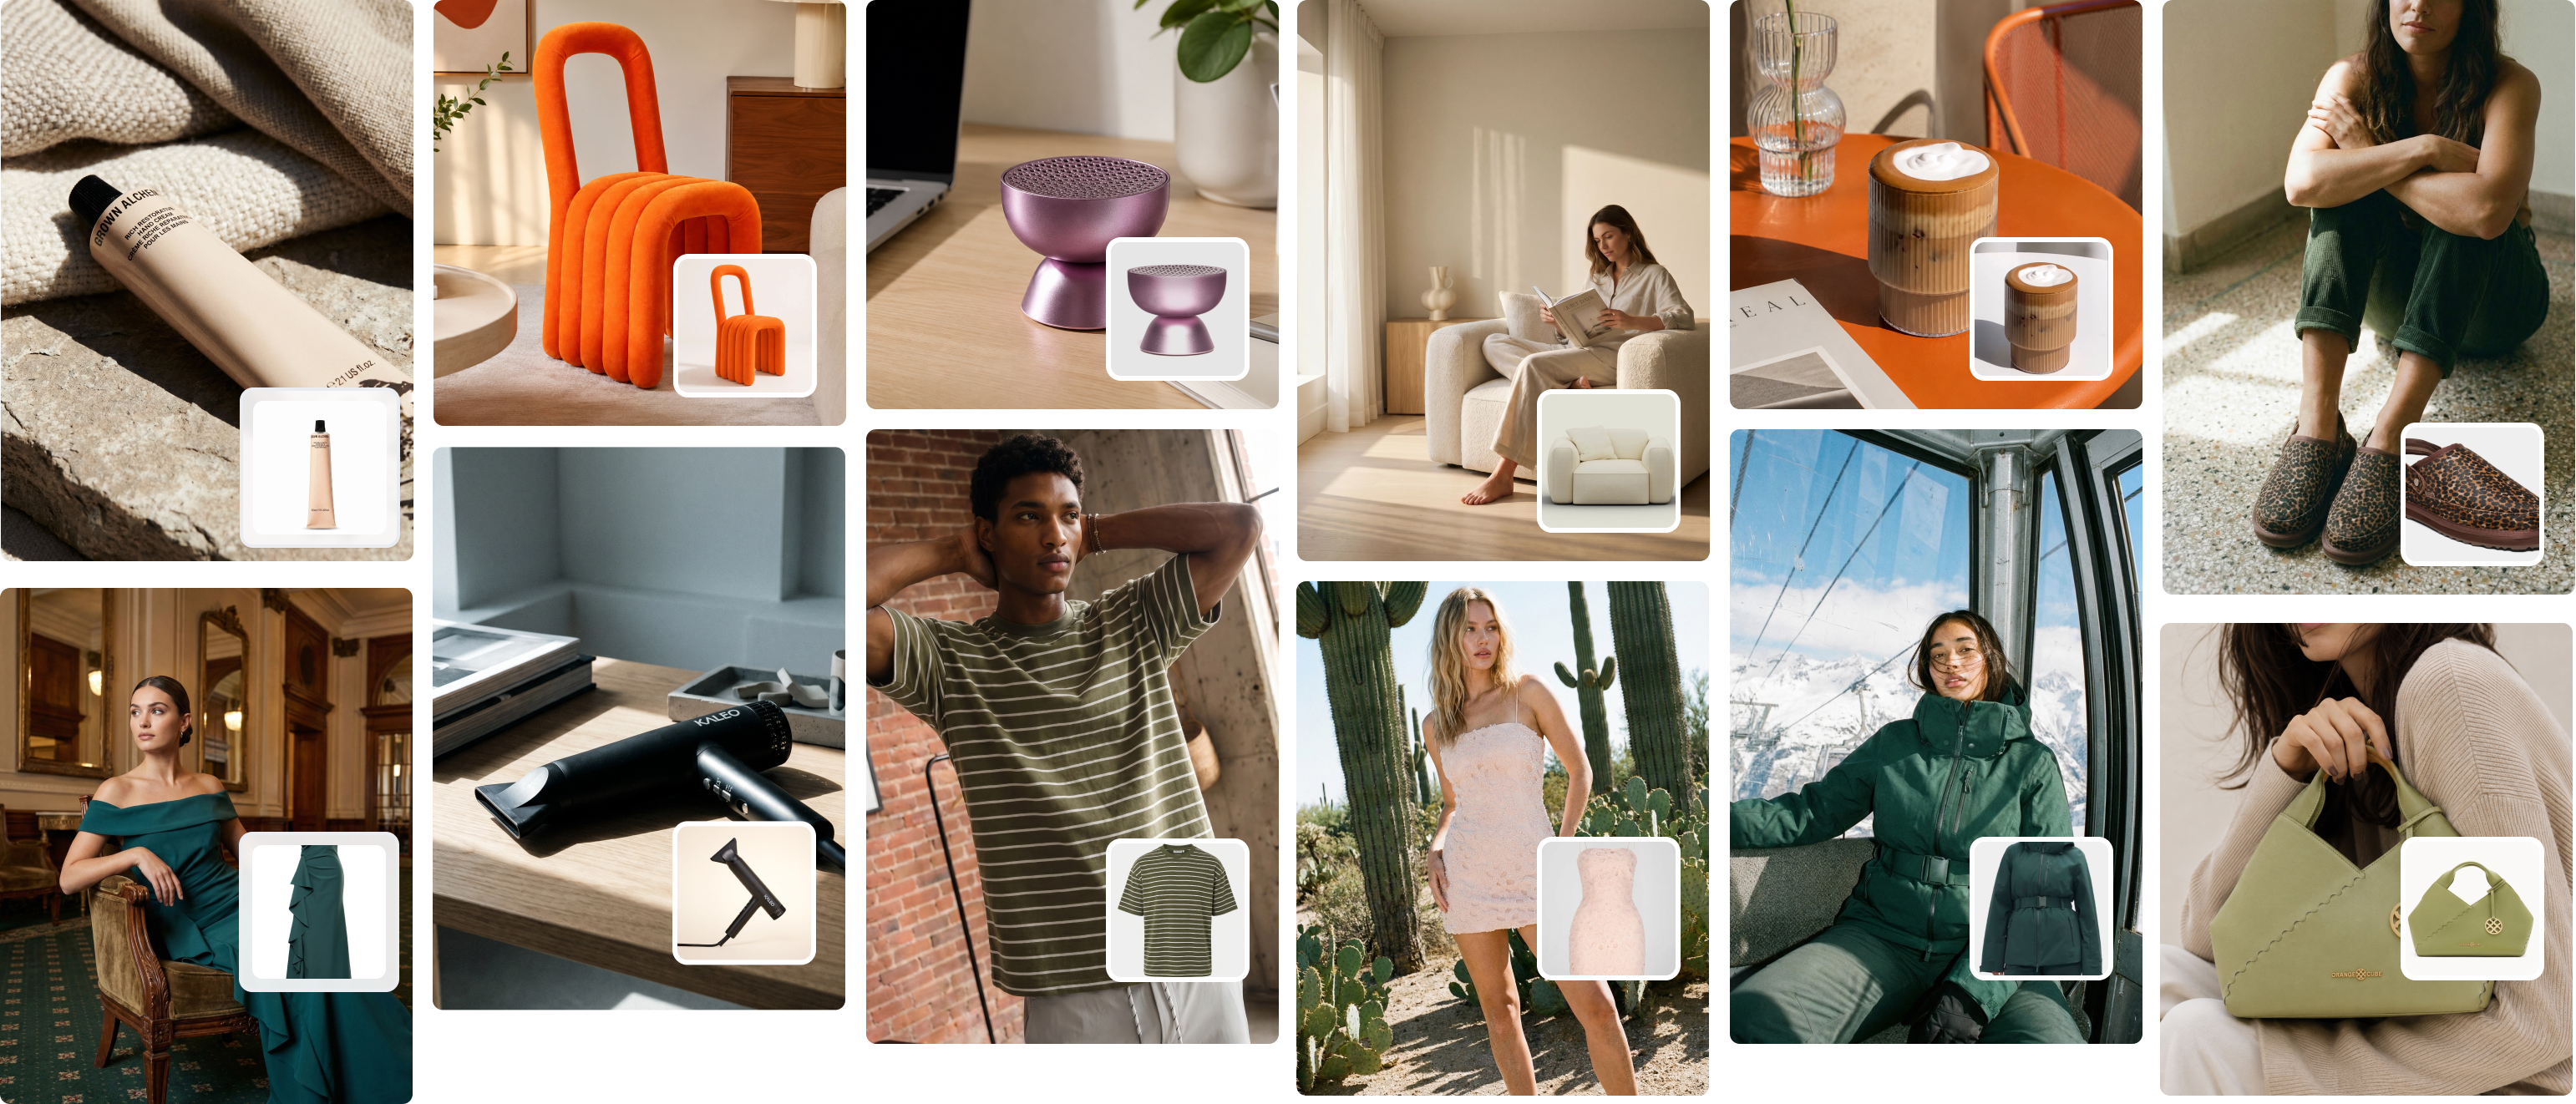
Great hat photography does more than just show a product; it sells a feeling. It’s the difference between a simple accessory and a must-have item. Getting it right is a blend of artistry and smart commercial thinking, where you're not just taking a picture, but telling a story — whether it's about a rugged beanie built for the outdoors or a chic fedora meant for city nights.
Building Your Foundation for Standout Hat Photography
The headwear market is absolutely massive. It was already worth USD 26.5 billion back in 2022 and is on track to grow by 6.5% every year until 2030. In a space this crowded, brands like Goorin Bros. have figured out that unique, memorable visuals are what grab a customer's eye and ultimately drive sales. Just tossing up a basic photo of your hat won't cut it anymore. If you want to dive deeper, you can explore detailed hat industry statistics.
Getting your hat photography right is essential for any modern e-commerce brand. And that success story doesn't start when you pick up the camera. It starts with a solid plan that connects your photos to your brand and what your customers actually want.
Define Your Hat’s Persona and Audience
Every hat has a personality. A hand-knit beanie feels warm and cozy, while a sharp, wide-brimmed hat gives off an air of sophistication. Before you even think about lighting, you need to decide what story you're telling.
- Who are you selling to? Is your customer an adventurous hiker, a festival-goer, or a business professional? Your photos need to tap into their lifestyle and what they aspire to be.
- What is the hat really for? Is it for blocking the sun, keeping warm, or just making a fashion statement? The setting of your photos should match how the hat is meant to be used.
Nailing these questions helps your photos connect with people on an emotional level, making the product feel more personal and desirable. It’s why you see a brand shoot a straw boater hat in a bright, sunny beach setting — they're selling the vacation, not just the hat.
Create a Strategic Shot List
A good shot list is your roadmap. It keeps the shoot efficient and ensures you don't miss a single important angle. It’s about going beyond the standard "front, side, back" and capturing the details that make your hat special.
Your list should include things like:
- The Hero Shot: That one stunning on-model or styled image that you’ll use for your homepage and big ad campaigns.
- Detail Shots: Get in close on the fabric's texture, the quality of the stitching, the logo, the sweatband, and any cool hardware.
- Contextual Shots: Lifestyle photos that show the hat being worn exactly where it belongs.
This approach visually answers questions customers might have, which is huge for cutting down on returns. When images don't match reality, return rates for apparel can be up to 30% higher.
Traditional Shoots vs. AI-Powered Solutions
In the past, getting this kind of shot variety meant shelling out for expensive photoshoots with models, stylists, and photographers. It was a whole production. But today, technology is completely changing how brands can approach this.
Tools like Picjam are a great example. They let you take a single, clean product photo and generate an entire library of high-quality, on-model images from it. This dramatically cuts down on both cost and the time it takes to get content ready. You can create a ton of diverse, on-brand imagery without the massive overhead of a traditional shoot.
Thinking about which path to take? Here’s how they stack up.
Hat Photography Methods Compared
Deciding between a classic photoshoot and a modern AI solution really comes down to your budget, timeline, and how much creative flexibility you need. Each has its pros and cons.
| Feature | Traditional Photoshoot | AI-Powered Solution (e.g., Picjam) |
|---|---|---|
| Cost | High (models, studio, crew) | Low (subscription-based) |
| Speed | Weeks or months | Minutes |
| Flexibility | Limited to the shoot day | Infinite variations and models |
| Scalability | Difficult and expensive | Effortless |
For a growing brand, an AI-assisted workflow can be a game-changer. It opens up a path to greater efficiency, more creative freedom, and serious savings, letting you compete with bigger players without needing their budget.
Mastering Your Camera and Lighting Setup
Great hat photography is all about the technical details. Your creative vision is the starting point, but nailing the camera settings and lighting is what turns that vision into a crisp, compelling image that actually sells. You don't need the most expensive gear on the planet, but you do need to know your way around the fundamentals.
This quick infographic breaks down the modern photography workflow. It's a simple, powerful process: plan the shoot, capture the images, and then let AI help you generate endless variations.
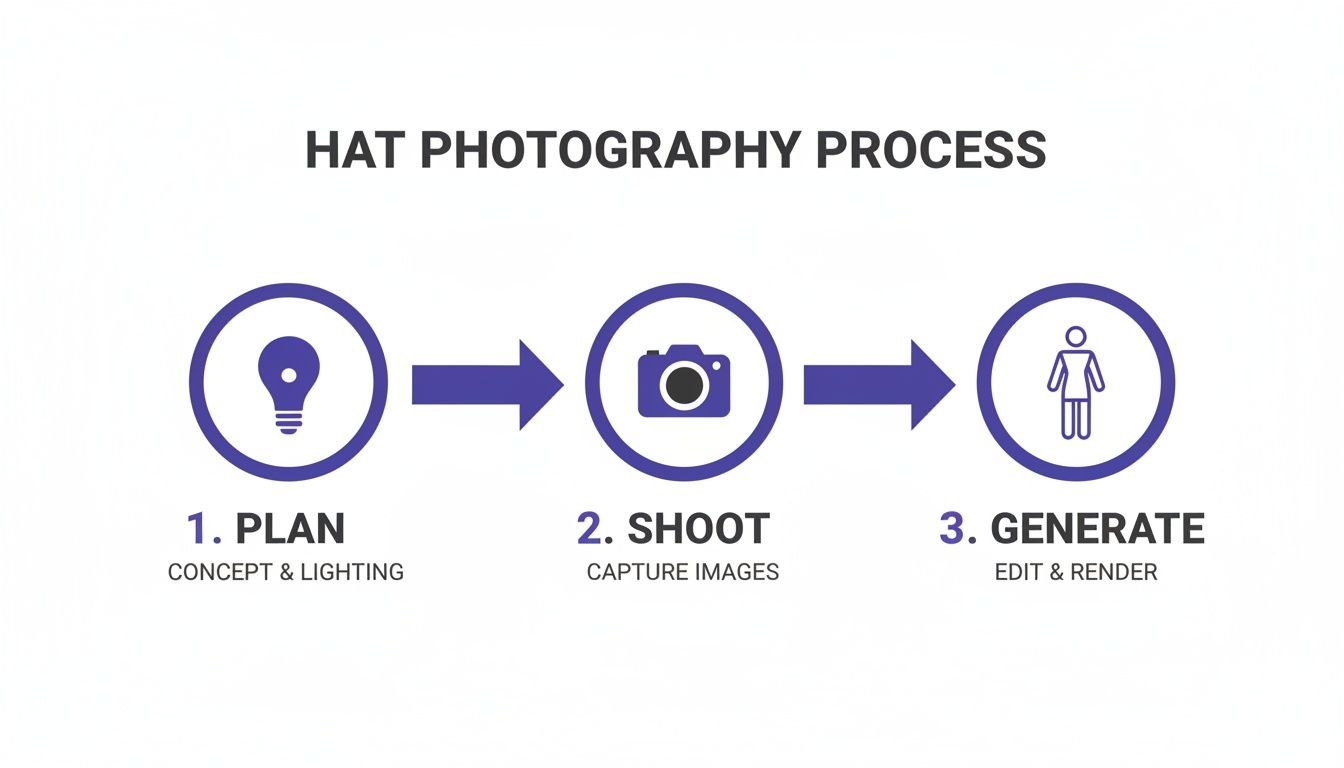
Think of it this way: your work on set is just the beginning. With the right tools, you can multiply your creative output without ever adding more time to your shoot day.
Demystifying Your Camera Settings
Getting your camera settings dialed in ensures every last detail — from the texture of the fabric to the crisp edge of a logo — is perfectly captured. Let’s walk through the three core settings you need to get right, often called the exposure triangle.
- Aperture (f-stop): This controls how much of your photo is in sharp focus. For those clean, classic product shots where you need every stitch to be clear, a higher f-stop like f/8 or f/11 is your go-to. If you’re shooting a more atmospheric lifestyle photo and want that soft, blurry background, a lower f-stop like f/2.8 will give you that beautiful separation.
- ISO: This setting is all about your camera's sensitivity to light. When you're in a studio with controlled lighting, your goal is to keep this number as low as it can go — usually ISO 100 or 200. This minimizes digital noise and grain, giving you the cleanest image possible.
- Shutter Speed: This is simply how long your camera's shutter stays open. To avoid any hint of motion blur, especially if you're shooting without a tripod, you'll want a shutter speed of at least 1/125th of a second. On a tripod? You can drop that speed way down to let in more light without any risk of blur.
Start with your camera in Manual (M) mode. Lock in your aperture at f/8 and your ISO at 100. From there, all you have to do is adjust your shutter speed until the light meter tells you the exposure is spot-on. This is how you take full control.
Simple Lighting Setups That Deliver Professional Results
I'll say it: lighting is the most critical part of hat photography. It defines the hat’s shape, brings out texture, and sets the entire mood of the shot. A common mistake is thinking you need a massive, expensive lighting rig. The truth is, you can get stunning, professional results with just one light if you know how to use it.
One-Light Setup: The Foundation
A single light, like a softbox or an umbrella, is surprisingly versatile. Start by placing it at a 45-degree angle to your hat. This is the classic setup for a reason — it creates soft, pleasing shadows that reveal the hat's form without being too dramatic. To complete the look, grab a white foam board and place it on the opposite side to bounce a little light back, softening up those shadows for a clean, even look. This is the perfect starting point for any e-commerce shot.
Two-Light Setup: Adding Depth
Ready for more dimension? Time to add a second light. Keep your main light (the "key light") at that 45-degree angle. Then, bring in a second, less powerful light (the "fill light") on the opposite side to gently brighten the shadows. This reduces the overall contrast, giving you that bright, airy commercial feel that works great for packshots. Alternatively, you could move that second light behind the hat to create a subtle "rim light," which adds a beautiful glow that helps it pop from the background.
Three-Light Setup: The Pro Look
A three-light setup gives you the ultimate control. You'll use a key light and a fill light just like before, but now you’ll add a third light aimed directly at your background. This not only lights your hat perfectly but also guarantees the background is flawlessly, evenly lit — often a requirement for marketplaces. This is how you get that polished, high-end studio look where the product seems to float.
If you're curious about what specific gear might work for these setups, we've put together a full breakdown in our guide on essential equipment for product photography. Once you get these technical pieces locked in, you’re well on your way to creating visuals that don't just show your product — they make it irresistible.
A great hat photo is a blend of smart styling and hitting every angle just right. It's what separates a forgettable product listing from a visual pitch that actually gets customers to click "add to cart." Styling isn't just about making the hat look pretty; it's about making it look right — shaping it, positioning it, and making sure it holds its form under the lights.
Whether you're shooting on a model or just the hat itself, the goal is to make it look authentic and desirable. This is more than just plopping it down on a table. It's about giving it life.
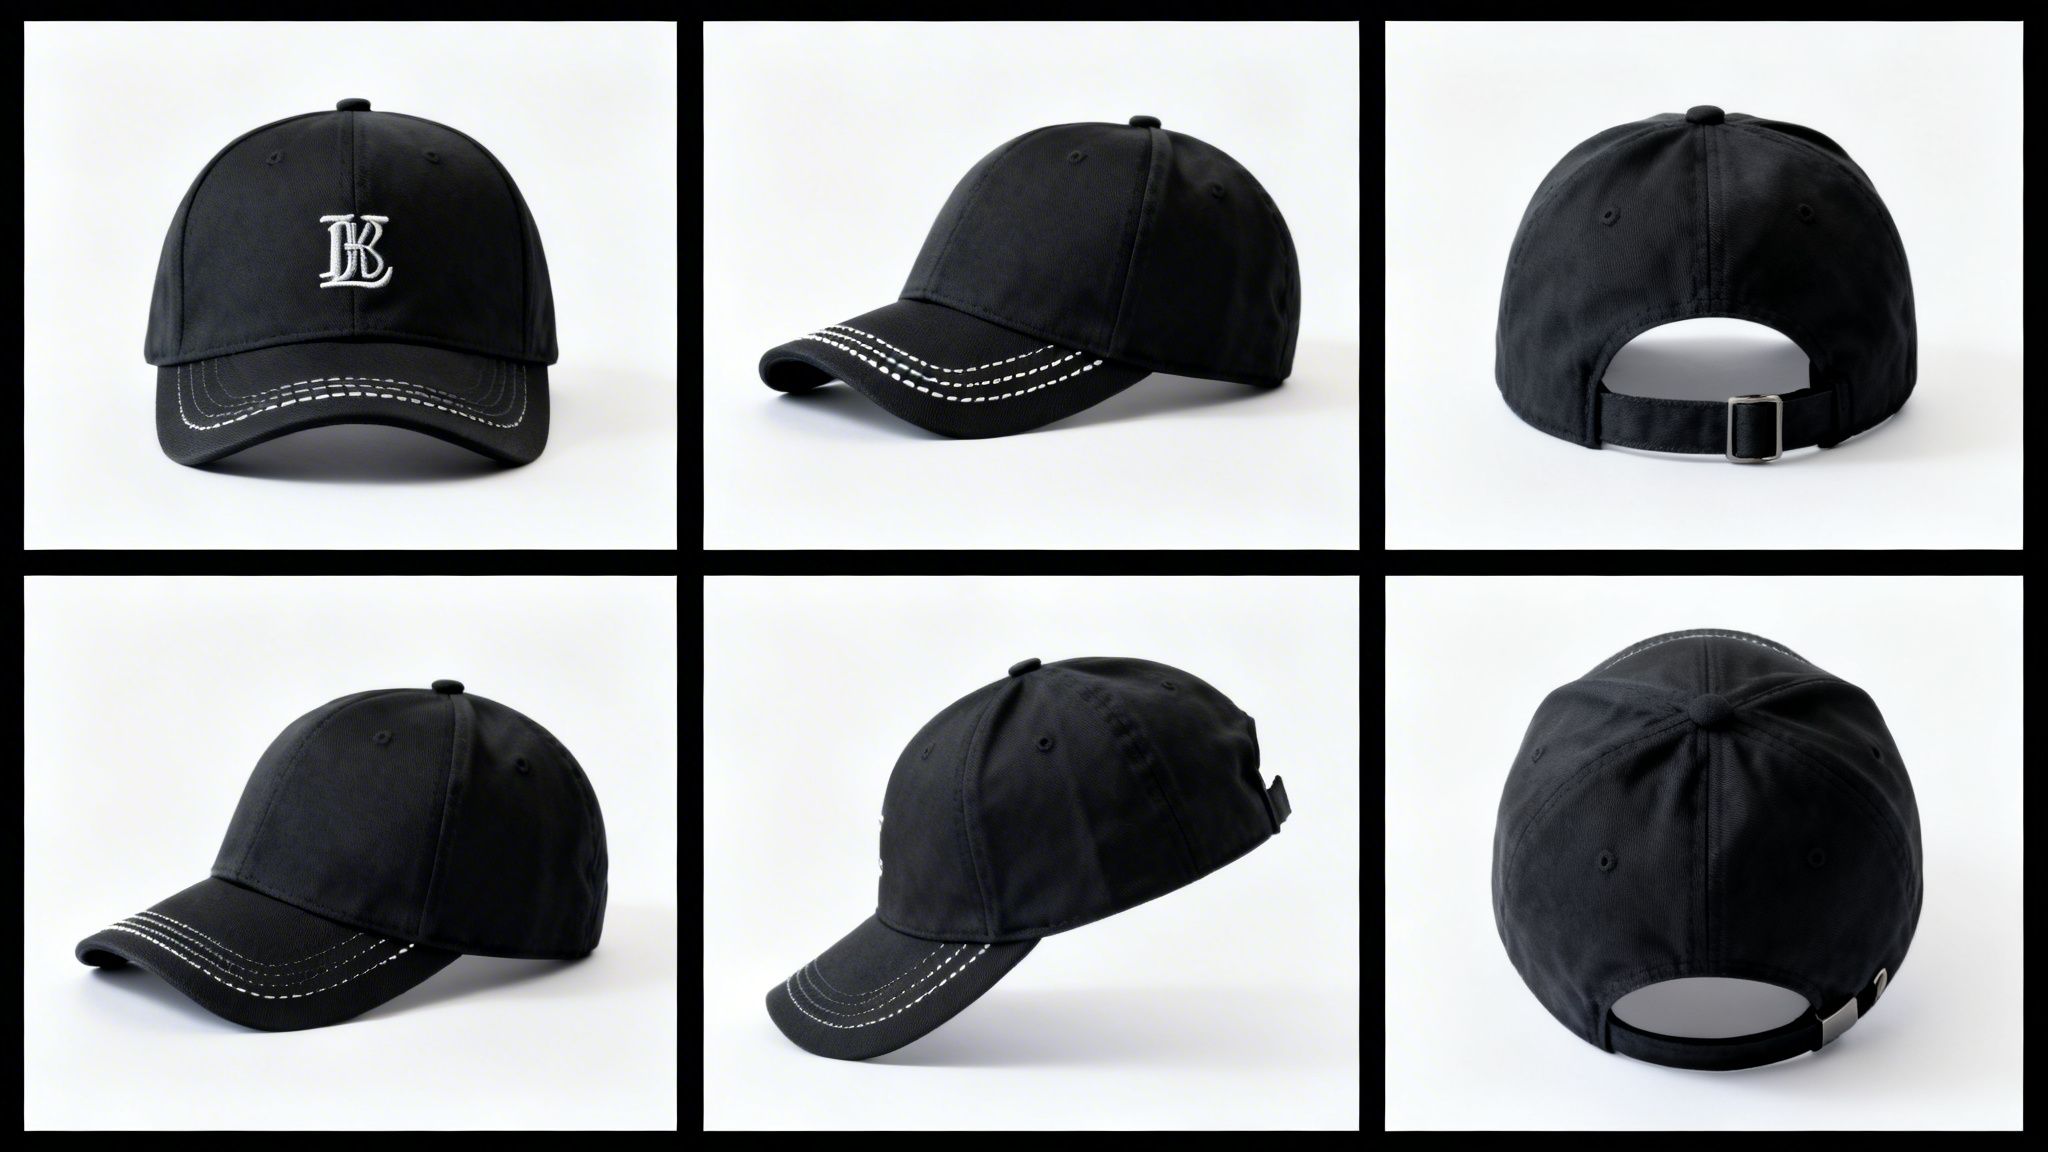
The Angles Every Customer Needs to See
To build real buyer confidence, you have to visually answer every question a customer might have before they even think to ask it. Think of your shot list as a non-negotiable checklist for leaving nothing to the imagination.
You absolutely have to nail the basics:
- Front View: This is your hero shot. It needs to be perfectly symmetrical, showing off the main design or logo loud and clear.
- Side Profile: This is all about the silhouette. It shows the customer how the brim curves and gives them a real sense of the hat’s overall shape when worn.
- Back View: People need to see the back. This is your chance to show off the closure, whether it’s a snapback, a cool leather strap, or a clean fitted design.
- 45-Degree Angle: Often the most flattering shot of all. This three-quarter view adds depth by showing the front and side at the same time, giving the hat a much more dimensional feel.
And don't forget a top-down view, especially for hats with interesting details on the crown, like the button on a baseball cap or custom ventilation. Covering these bases is fundamental for solid hat product photography.
Show Off the Quality with Detail Shots
The details are where you make the sale. This is your moment to prove the quality of your product and justify the price tag. Detail shots let the craftsmanship do the talking.
By zooming in on the specifics, you build a case for quality that words alone cannot. It’s about showing, not just telling, what makes your hat superior.
Focus your lens on these key areas:
- Fabric Texture: Get in close. Let customers see the weave of the canvas, the texture of the wool, or the fine felt.
- Stitching Quality: Highlight those clean, straight lines of stitching, especially around logos and panels. This screams durability.
- Interior Details: Don’t skip the inside. Show the lining, the sweatband, and any interior branding.
- Unique Features: Get close-ups of custom hardware, adjustable straps, embroidered patches, or any other detail that makes your hat stand out.
Brands like Brixton are masters of this, frequently using macro shots to emphasize the quality of their materials and construction. These images turn a simple hat into a piece of well-crafted apparel. And it's a smart move — the demand for high-quality visuals is only getting stronger. The e-commerce product photography market, valued at US$129.04 million in 2021, is projected to hit US$275.24 million by 2028, growing at 11.58% annually as brands fight to prove their quality online. You can read the full research on the e-commerce photography market.
Traditionally, capturing this full range of shots means a ton of time on set. Now, though, AI tools like Picjam can generate multiple angles and detailed close-ups from a single photo, which can be a massive time-saver. You can get more ideas on this in our guide to choosing the right product photography angles.
On-Model vs. Packshots: Choosing Your Presentation Style
Deciding whether to show your hats on a person or let them stand alone is a huge strategic choice. The right approach in your hat product photography can make or break how customers see your brand and, ultimately, how well your products sell. This isn't about picking one style over the other; it's about knowing when and where to use each to build a complete visual story.
The Power of On-Model Photography
On-model shots are incredibly effective because they add a human touch that a simple product photo just can't match. When a shopper sees a hat on a model, they immediately get a feel for three critical things: fit, scale, and style.
It answers those unspoken questions in a customer's mind, like, "How will that beanie actually sit on my head?" or "Is that fedora's brim too wide for my face?" By showing your hat in a relatable context, you help people visualize themselves wearing it — a key step toward clicking "Add to Cart." In fact, studies show that product images with models can boost conversion rates simply by providing this essential context.
On-model shots are your heavy hitters for:
- Hero Images: The main banner on your website or the cover of a lookbook.
- Social Media: Lifestyle images of models rocking your hats are gold for Instagram and Pinterest, where storytelling and aspiration are what drive engagement.
- Ad Campaigns: A great on-model photo will always grab more attention and connect with an audience on an emotional level.
A Modern Take on On-Model Imagery
The classic route for on-model shoots — casting models, renting a studio, hiring a full crew — is notoriously expensive and slow. This is where modern tools are completely changing the game for brands of all sizes.
AI-powered platforms like Picjam now let you generate a virtually endless variety of realistic, on-model images from a single studio shot of your hat. This doesn't just slash your content production costs; it gives you an incredible amount of creative freedom.
You can test your hats on a diverse range of models, in countless settings, and with different styles, all without ever booking a physical photoshoot. This agility allows brands to create fresh content in a fraction of the time and for a fraction of the cost.
This approach gives you the best of both worlds: the emotional connection of on-model photography combined with the speed and efficiency of a digital workflow.
When to Use Packshots and Product-Only Images
While on-model photos are fantastic for inspiration, clean, product-focused images are absolutely essential for the final buying decision. These are your packshots or product-only shots, and they serve a different but equally important purpose.
Packshots are all about showing the product's details with zero distractions. Shot against a clean, consistent background (usually white), these images let the hat's craftsmanship, texture, and color shine. They give the customer a clear, objective view of exactly what they’re buying.
Use packshots for:
- Product Page Galleries: They should make up the bulk of your secondary images, showing every angle and detail.
- Marketplace Listings: Platforms like Amazon have strict rules, often requiring a pure white background for the main image.
- Quick-View and Shopping Carts: Simple, clean thumbnails create a much better user experience here.
By combining aspirational on-model content with informative packshots, you create a powerful visual package. You inspire customers with a lifestyle while giving them the detailed information they need to buy with confidence. The end result? Fewer returns and a stronger, more trustworthy brand.
Once the camera is packed away, the real work begins: getting your images ready for the digital shelf. Post-production is that final, critical step where you polish your raw photos, making sure they’re not just beautiful but also optimized to convert. This is where you turn good shots into high-performing commercial assets.
First up are the essential retouching tasks. This means meticulously correcting color to ensure the shade of that beanie on-screen perfectly matches the one a customer receives — a simple step that builds trust and cuts down on returns. It also involves removing any distracting dust, stray threads, or minor flaws that made it past the lens.
Creating a Cohesive Look Across Your Catalog
A visually consistent catalog is non-negotiable for a strong brand. Every image should feel like it belongs, sharing the same lighting, color tones, and background style. This kind of uniformity makes your entire product line look more professional and trustworthy.
In many cases, marketplaces enforce this consistency for you. To be truly e-commerce ready, your images have to be tailored for platforms like Amazon. It's worth exploring the specific strategies for product photography for Amazon that are proven to turn visitors into buyers. Their requirement for a pure white background on main images isn’t just an arbitrary rule; it's designed to create a clean, uniform shopping experience that works.
This isn’t just about looking good, either. For marketplace sellers, top performers know that quantity and quality go hand-in-hand. In fact, a staggering 75% of top-sellers on Amazon use seven or more images for each of their hat listings.
How AI Is Changing the Post-Production Game
Traditionally, getting this level of polish meant chaining yourself to a desk for hours in Photoshop, manually cutting out backgrounds, cleaning up tiny blemishes, and batch-editing photos. It was tedious, time-consuming work that created a massive bottleneck in getting new products live.
This is where the new wave of AI-powered tools completely changes the equation. Platforms like Picjam are built to automate the most labor-intensive parts of the process, turning what used to take hours into just a few clicks.
With just a single upload, you can automatically generate clean backgrounds, perform smart cleanups, and even upscale image resolution — all while keeping your hat’s original texture and color perfectly intact.
This isn't just about saving time; it's about unlocking creative and commercial potential. The global market for product photography services is booming, hitting USD 3.2 billion in 2023 and projected to reach USD 5.8 billion by 2032. That's a clear signal of the growing demand for top-tier visuals. AI tools are what allow brands to meet this demand efficiently, with some reporting 2-5 times faster content production cycles.
Optimizing Your Images for the Web
The final check before your images go live is web optimization. A stunning photo is useless if it takes too long to load and sends potential customers bouncing to a competitor. The goal is to strike that perfect balance between image quality and file size.
Here are the essentials:
- File Type: Stick with JPEG for most photographic images. It provides excellent compression without a noticeable drop in quality for most e-commerce needs.
- Compression: Aim to get your image file sizes below 200 KB, or even 100 KB if you can manage it. Tools like TinyPNG or Photoshop's "Save for Web" function are perfect for this.
- SEO-Friendly Naming: Don't upload files with names like
IMG_8734.jpg. Rename them with descriptive, keyword-rich titles, such asblack-wool-fedora-hat-front-view.jpg. This tiny step helps search engines understand what your image is about, giving your SEO a nice little boost.
By mastering both the art of retouching and the science of web optimization, you can ensure your hat product photography not only looks incredible but also performs flawlessly online. For a deeper dive into modern editing workflows, check out our guide on streamlining your e-commerce photo editing.
Takeaway
Great hat photography is never an accident. It all starts before you even think about picking up a camera. The first step is to get crystal clear on your hat's personality and who you're trying to sell it to. This thinking upfront is what ensures every photo connects with the right person and tells a story that turns a simple product into something they have to own.
Next, you have to marry your technical skills with the right tools. Getting your camera settings right and understanding how light works are the fundamentals — that part is non-negotiable. But once you have that clean, high-quality shot, it's time to work smarter. This is where AI tools like Picjam come into play, letting you scale your content in ways that just weren't possible before. A single great photo can become endless on-model variations, be placed in countless different settings, and be shown from every angle, all without the massive cost of a traditional photoshoot.
The end goal is simple: create more high-quality content, faster, and for a lot less money. This isn't just about saving time — it's about directly improving your brand's bottom line.
This modern workflow gets your products to market faster and cuts your production budget down dramatically. Instead of dropping thousands on a single shoot, you can put that money back into marketing, product development, or other parts of the business that move the needle. By adopting a smarter process, you can produce the kind of scroll-stopping visuals that drive sales while keeping your profit margins healthy.
Curious to see what that looks like for your business? Run the numbers yourself with our savings calculator.
Calculate Your Savings with Picjam
Authored by Michael Pirone, Founder of Picjam & Vidico
Your Top Hat Photography Questions, Answered
Once you get into the rhythm of shooting hats, you’ll find a few key questions come up again and again. Getting these right is the difference between product shots that just sit there and images that actually move inventory. Let's tackle the most common ones we hear from brands.
How Many Photos Do I Need for Each Hat?
We've found the sweet spot is around 5 to 7 high-quality images per product listing. This gives you enough runway to build a complete visual story, answering a customer's questions before they even think to ask them.
Your goal is to cover all the essential angles. Think of it like this:
- The hero shot (your main front view, on-model or perfectly styled).
- Side and back views, because customers need to see the profile and the closure type.
- A 45-degree angle shot to give it some depth and dimension.
- At least 2-3 close-up shots that show off the fabric, the quality of the stitching, or any unique details like a custom patch.
A robust image gallery doesn't just show off your quality — it dramatically cuts down on returns by giving customers a crystal-clear idea of what they're buying.
What Is the Best Background?
The "best" background really comes down to where the photo is going to live. For your main product shots on your e-commerce site or a marketplace like Amazon, a clean white background is the industry standard for a reason. It puts the hat front and center with zero distractions.
But for social media, lookbooks, or ad campaigns, you need to tell more of a story. That’s where lifestyle or colored backgrounds come in. They create a mood and provide context. This used to mean expensive and time-consuming reshoots, but with AI tools like Picjam, you can shoot once on a simple backdrop and then generate countless on-brand scenes later.
How Do I Show a Hat’s Texture in Photos?
Capturing texture is all about playing with light and shadow. The trick is to use a single light source, like a softbox, and place it at roughly a 45-degree angle to the hat.
This side-lighting technique creates subtle shadows that rake across the fabric's surface. It's what makes the knit on a beanie pop or reveals the fine grain of a felt fedora. The one thing you want to avoid is flat, head-on lighting, which completely washes out those details you worked so hard to create.
Ready to streamline your content creation and cut costs? See how Picjam compares to your current photography spend with our savings calculator.

Picjam team
The Picjam team blends AI, product, and creative expertise to eliminate the cost and delay of traditional photography for modern eCommerce brands.