Flat Lay for Clothes: The Complete Guide to Flat Lay Fashion Photography for E-Commerce Style
Unlock the art of flat lay photography for your fashion style! Discover tips to create stunning flat lay clothing photos that tell your unique story.
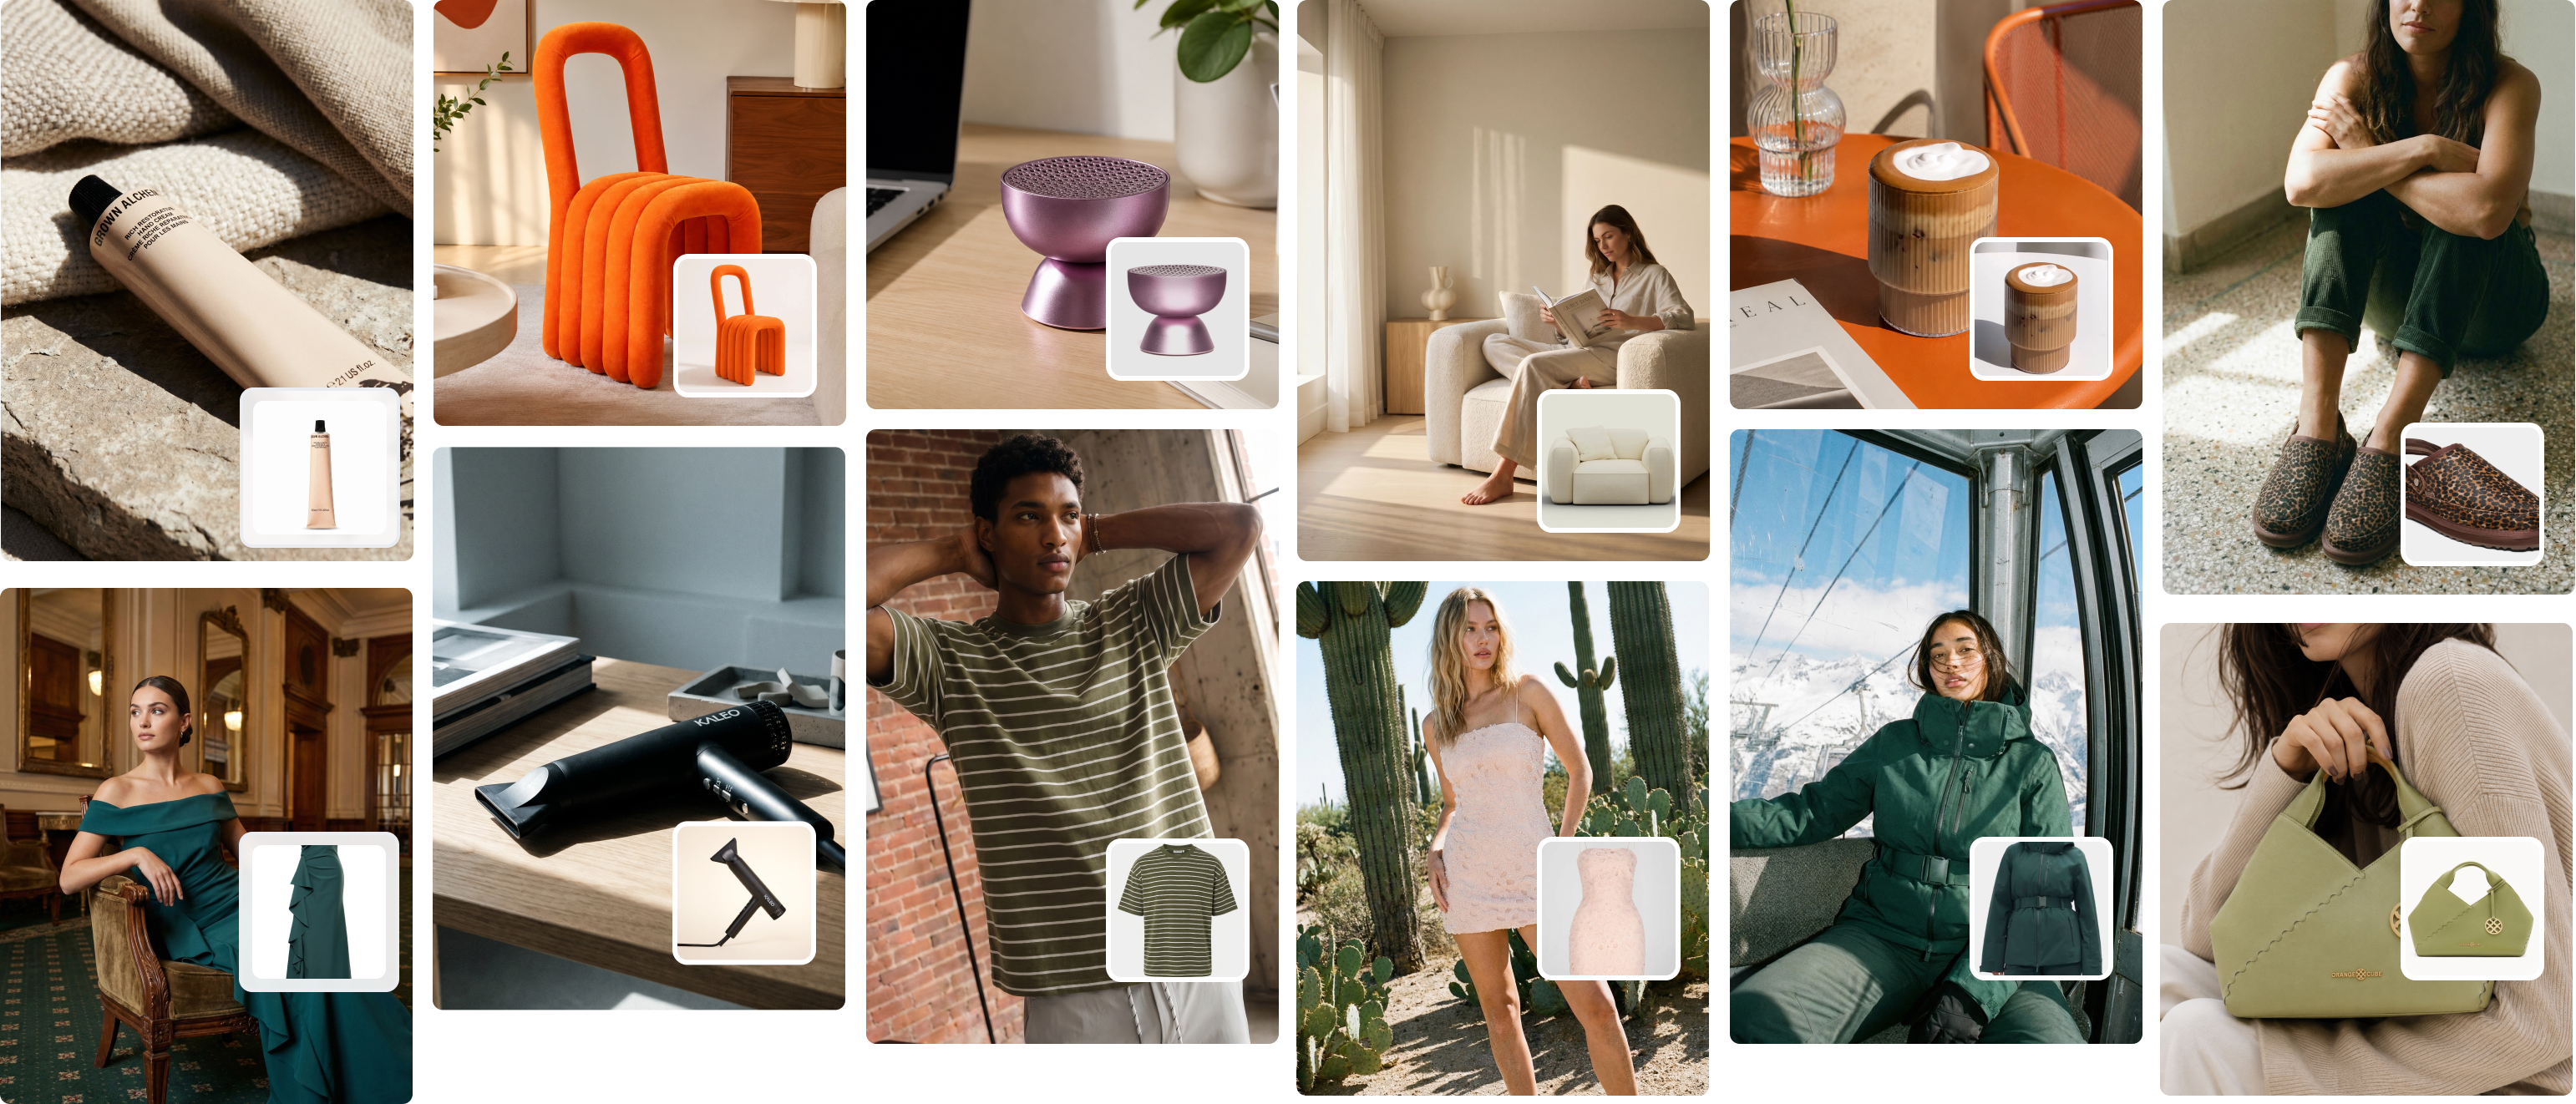
Flat lay for clothes is more than arranging items on a surface—it’s about creating an image that speaks louder than words. Imagine a fashion flat lay featuring a silk blouse paired with layered jewelry and scattered florals, photographed against a textured white backdrop. The result? Not just an outfit, but a story that sparks curiosity and connection. This style of photograph has become a trend in product photography, especially for e-commerce platforms and social media. Why? Because it’s a simple yet impactful way to showcase clothing in a professional, visually engaging way.
In this guide, we’ll cover everything from setting up the best flat lay to perfecting the finer details. You’ll learn how to arrange clothes flat, style props for impact, and choose the right camera lens and settings, including tips on white balance and shutter speed. Plus, we’ll explain how photo editing software like Picjam.ai simplifies post-production, helping you remove the background, enhance textures, and make your photos look more appealing. Whether you’re an online retailer or exploring still life photography, you’ll leave with ideas to take the photo you’ve been envisioning.
At Picjam.ai, we combine years of photography experience with cutting-edge AI to empower businesses. With tools that simplify editing and ensure your images stand out, we’re here to help you create visuals that captivate your audience and drive sales. Ready to bring your flat lay game to life? Let’s dive in.
Complete Guide to Flat Lay for Clothes: What is Flat Lay Clothing Photography?
Imagine standing over a table, camera in hand, and seeing an entire story unfold right beneath your lens. That’s flat lay photography in a nutshell. It’s the art of arranging objects on a flat surface, composing them in a way that feels both natural and intentional, and capturing them from above. It sounds simple, but there’s a certain magic to it.
Flat lay photography, especially for clothing, has a knack for turning static pieces into visual narratives. A flat lay photo doesn’t just display a sweater or a pair of boots—it paints a picture of what wearing them might feel like. Unlike on-model or hanger shots, flat lays let you control every element in the frame. The background, the props, the spacing—everything works together to highlight the clothing’s texture, style, and personality.
Why Flat Lay Photography is Perfect for Clothing
There’s something undeniably satisfying about a well-executed flat lay. It’s not just about making clothes look good; it’s about creating a visual experience that sticks with the viewer. Here’s why flat lay photography has carved out its niche in clothes photography:
- Focus on Fabric and Texture
Ever been mesmerized by the soft weave of a chunky scarf or the shimmer of a satin blouse? Flat lays let you zoom in on those details. With the right lighting and composition, textures come alive, practically begging viewers to reach out and touch them. - No Models, No Problem
Hiring models and setting up shoots can be costly and time-consuming. Flat lay photography skips all that without sacrificing creativity. For small brands or solo sellers, it’s a game-changer. For bigger players, it’s a way to supplement their on-model campaigns with something more approachable. - Creative Freedom
Flat lays give you the chance to play. Want to pair that denim jacket with a bouquet of wildflowers to evoke a breezy spring vibe? Go for it. Need to add some edge with a leather belt and studded boots? Easy. The flat surface becomes your canvas, and you’re the artist. - Tailored for Online Shoppers
Shopping online means you can’t touch, feel, or try on clothes. Flat lays help fill that sensory gap. They showcase how pieces work together, highlight details, and give shoppers the confidence to hit "add to cart." Plus, they’re perfect for social media feeds, where eye-catching visuals make all the difference.
Flat lay photography doesn’t just present clothes; it tells their story, making them more relatable, aspirational, and, most importantly, memorable.

Photography Tips for Capturing a Flat Lay Photo Like a Pro
Flat lay photography is all about balance—between creativity and precision, spontaneity and planning. It’s where artistry meets strategy, especially when you’re styling for impact or setting up your shot. If you want your flat lay images to resonate, here are some practical tips to elevate your work.
Styling for Impact
Think of styling as building a story, one layer at a time. The way you arrange clothing and props can either draw viewers in or leave them scrolling past.
- Create Depth with Layers
Flat doesn’t mean lifeless. Start with your hero piece—a dress, jacket, or accessory—and build around it. Add a folded scarf, stack a few bracelets, or tuck a belt beneath a blouse. These layers make the arrangement feel rich and intentional, pulling viewers into the image. - Curate Colors Like an Artist
Don’t throw random pieces together. Instead, build a palette. Pair earthy tones with soft whites for a minimalist vibe, or use complementary colors for a bold, energetic shot. Subtle pops—like a gold earring on a navy sweater—can add sophistication without overwhelming the scene. - Use Props to Tell a Story
Props like a vintage handbag, a steaming cup of coffee, or even a pair of sunglasses aren’t just decorations—they’re invitations into a lifestyle. For baby clothes, a small toy or blanket might evoke warmth and nostalgia. Choose items that enhance your message and give the viewer more reasons to connect.
Photography Techniques
The best styling in the world won’t save a flat lay if your photography technique falls short. Here’s how to take your shots to the next level.
- Angle Matters More Than You Think
The classic top-down shot is a staple, but there’s room for experimentation. Try tilting your camera slightly or shooting from a low angle to highlight texture and dimension. A flat lay clothing photography setup isn’t about rigid rules—it’s about finding what works for the story you’re telling. - Master the Details
Camera settings can make or break your shot. Use a tripod to hold your camera parallel to the flat surface for sharpness and consistency. Adjust the focal length and depth of field to keep your subject crisp while allowing softer elements to blend into the background. - Embrace Natural Light but Control It
Position your setup near a window for soft, even light, and use a reflector to fill shadows. If sunlight isn’t cooperating, artificial lights with diffusers can provide a clean, professional look. Your goal is to showcase every texture and detail without harsh glares.
Why Picjam.ai is the Ultimate Solution for Flat Lay Fashion Photography
Let’s face it: traditional photography can be a grind. Setting up scenes, adjusting lighting, and editing images for hours on end doesn’t leave much time for growing your business. Picjam.ai changes that. It’s like having a full photography team powered by AI, designed specifically for fashion brands.
Tools That Empower Fashion Brands
- Virtual Models That Feel Real
Want to show off how a jacket fits without hiring a model? Picjam.ai’s virtual models can display your clothing on diverse body types, eliminating the need for expensive shoots. - Unlimited Visual Variety
Need multiple images for different platforms? Picjam.ai lets you create variations effortlessly, from zoomed-in texture shots to styled flat lays. Tailor your visuals to your audience without starting from scratch. - AI-Driven SEO for Visibility
Great photos are only half the battle. Picjam.ai’s keyword suggestion tool boosts your product listings, helping your store climb search rankings and connect with more shoppers.
Benefits That Speak to the Bottom Line
- Save Money, Save Time
No photographers. No models. No endless hours editing. Picjam.ai reduces costs while giving you professional-grade results in record time. - Built for Online Sellers
Whether you’re selling handmade scarves or launching a new activewear line, Picjam.ai optimizes your images for the digital marketplace, ensuring every listing is compelling and compliant. - Simplified Workflows for Modern Brands
Imagine running your entire product photography process from one platform. Picjam.ai combines creativity, efficiency, and professionalism, empowering you to focus on what you do best—building your brand.
With Picjam.ai, flatlay fashion photography becomes less of a task and more of an opportunity to showcase your brand’s creativity, reach your audience, and drive sales.
Conclusion
Flat lay photography for clothing isn’t just about arranging items on a surface—it’s about creating visuals that speak directly to your audience. From mastering lay styling to perfecting lighting setups, this photography style gives you the freedom to present clothing in a way that feels authentic and creative. Whether it’s a flat lay shot with layered textures or the clever use of props to add visual interest, this approach can turn simple garments into compelling stories.
But let’s be honest: while the results can be stunning, the process itself has its challenges. Setting up a flat lay without endless adjustments? Not as easy as it looks. Finding room to work, arranging items perfectly, and editing the final image to look polished can quickly become a time-consuming cycle. And for e-commerce businesses juggling an entire outfit or large product ranges, it’s not just time—it’s resources, studio space, and cost. Sometimes, what starts as a "great way to add" style ends up feeling more like a logistical headache.
That’s where Picjam.ai comes in. We simplify the process, making flat lay photography accessible, efficient, and scalable for brands of all sizes. With tools designed to handle everything from background removal to photo editing services, Picjam.ai ensures your flat lay photographs are professional and ready to showcase. Need images that use backgrounds or backdrops to perfection? Done. Want flat lay props styled like a professional? We’ve got you. Our AI-powered platform lets you focus on creativity while leaving the technical details to us.
Flat lays are a great way to show your products in their best light, and we’re here to make that easier than ever. Whether you’re photographing flat for social media, an e-commerce catalog, or a marketing campaign, Picjam.ai gives you the tools to elevate your work without breaking a sweat—or your budget. Ready to take the next step? Visit Picjam.ai today and see how we can help you transform your flat lays into images that captivate, inspire, and drive sales.

Michael Pirone
Co-Founder