How to Remove a White Background from an Image for Clean Product Photos
Learn how to remove white background from image using AI or manual tools for crisp, professional product photos that boost sales.
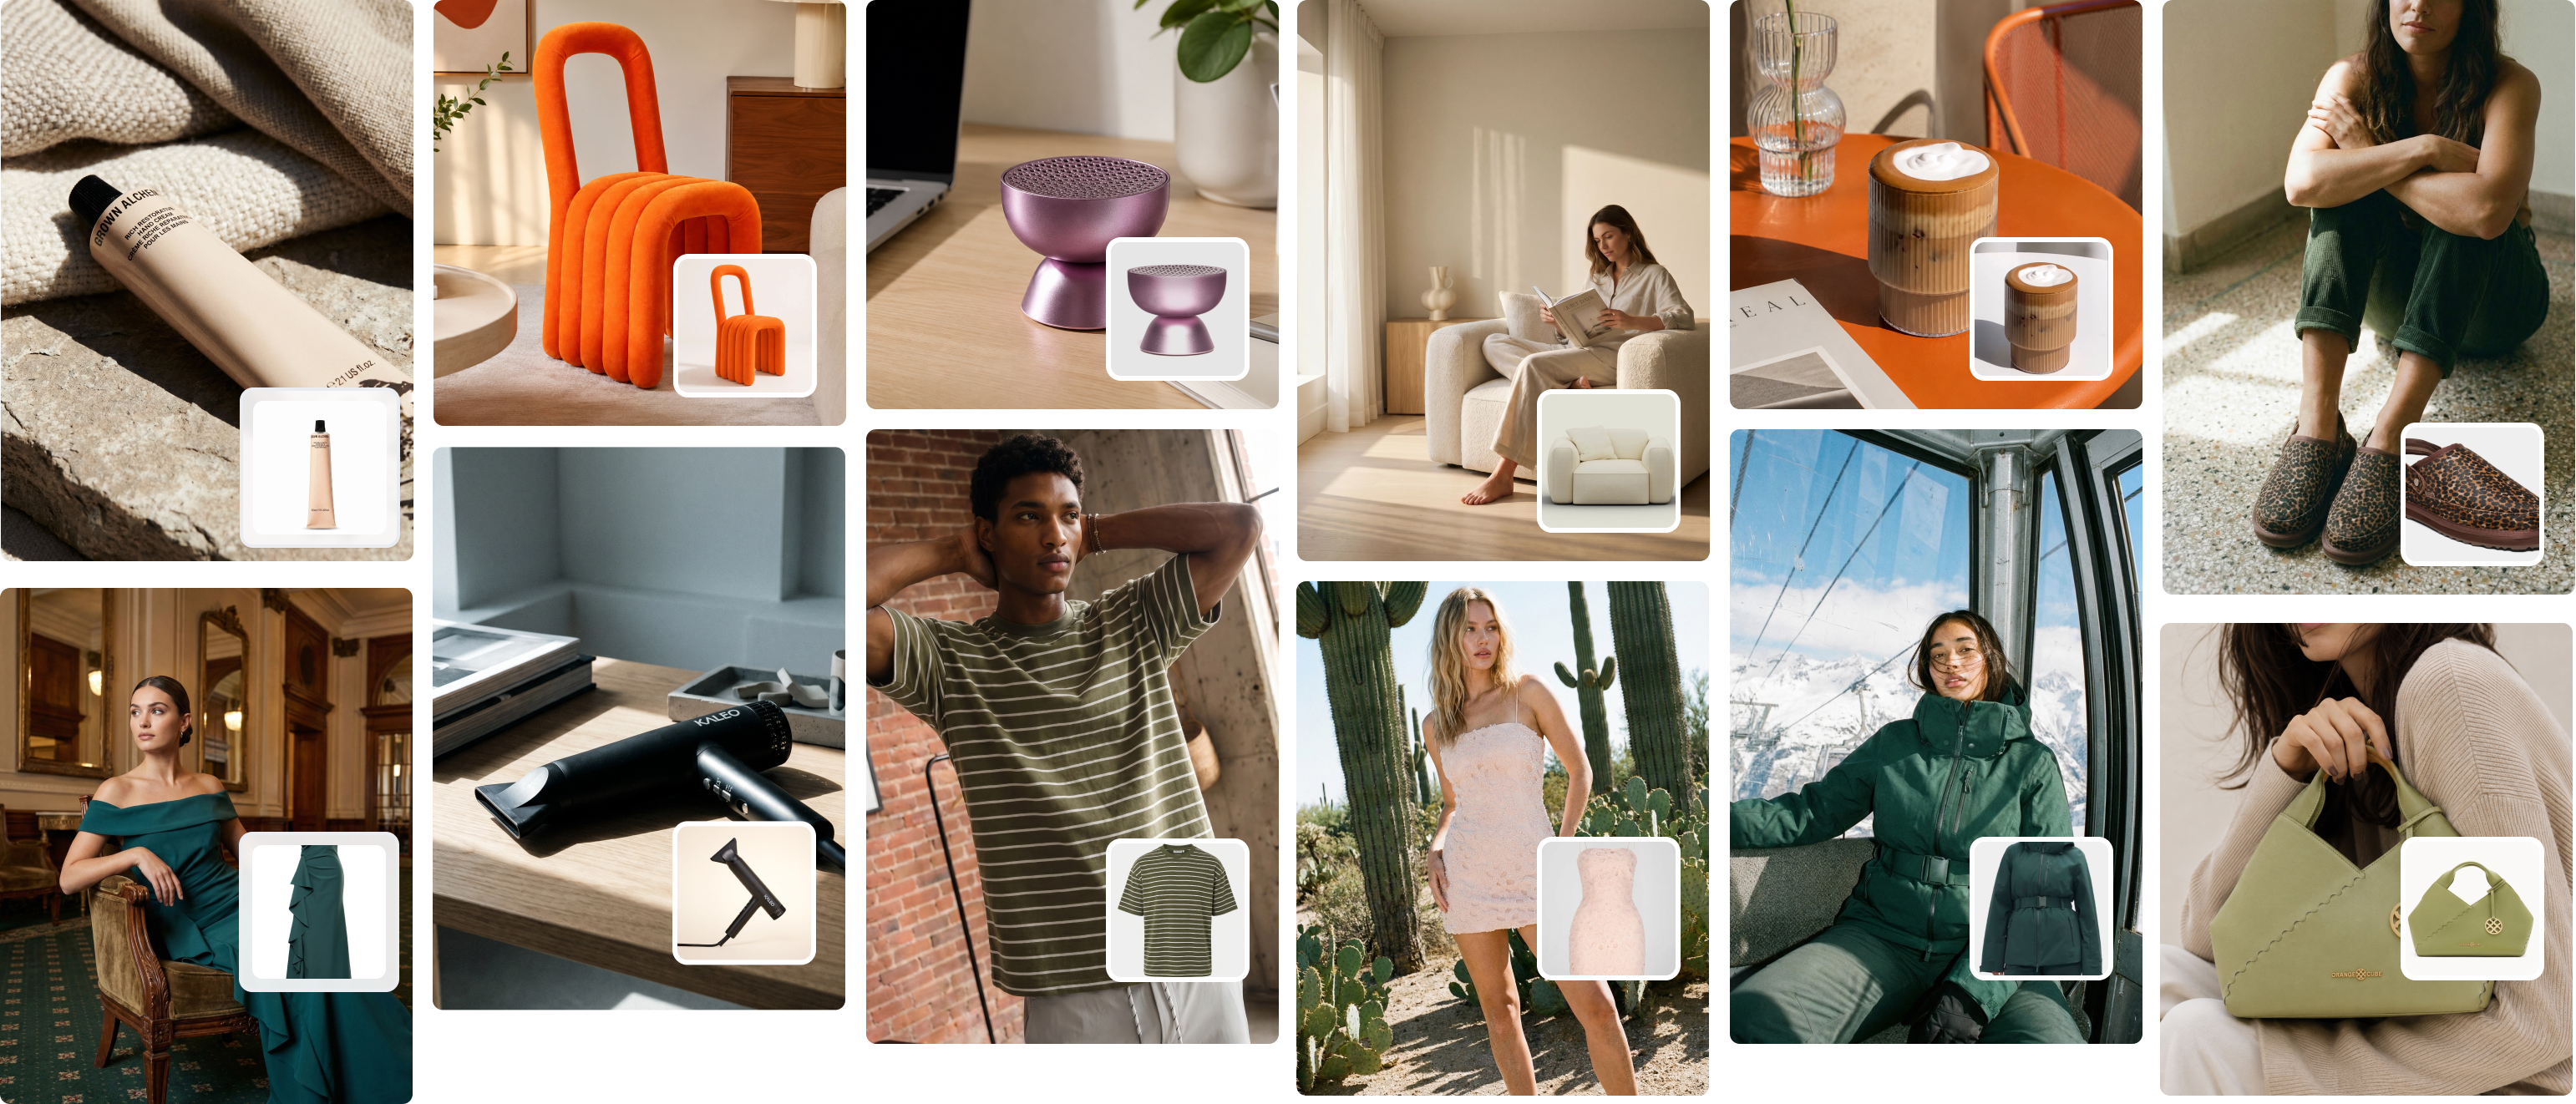
When a shopper lands on a product page for a brand like Reformation or AllSaints, they see more than just a dress or a jacket. They see an image crafted with precision, where the product is the undisputed hero against a clean, non-distracting background. This isn’t just a stylistic choice; it’s a conversion strategy. This guide details exactly how to remove a white background from an image, helping you achieve that professional look that elevates a product from an item to an asset.
How Flawless Product Images Drive a 5% Lift in Sales
In fashion eCommerce, the product image is the storefront. A clean background directs a customer’s gaze exactly where it belongs — on the product.
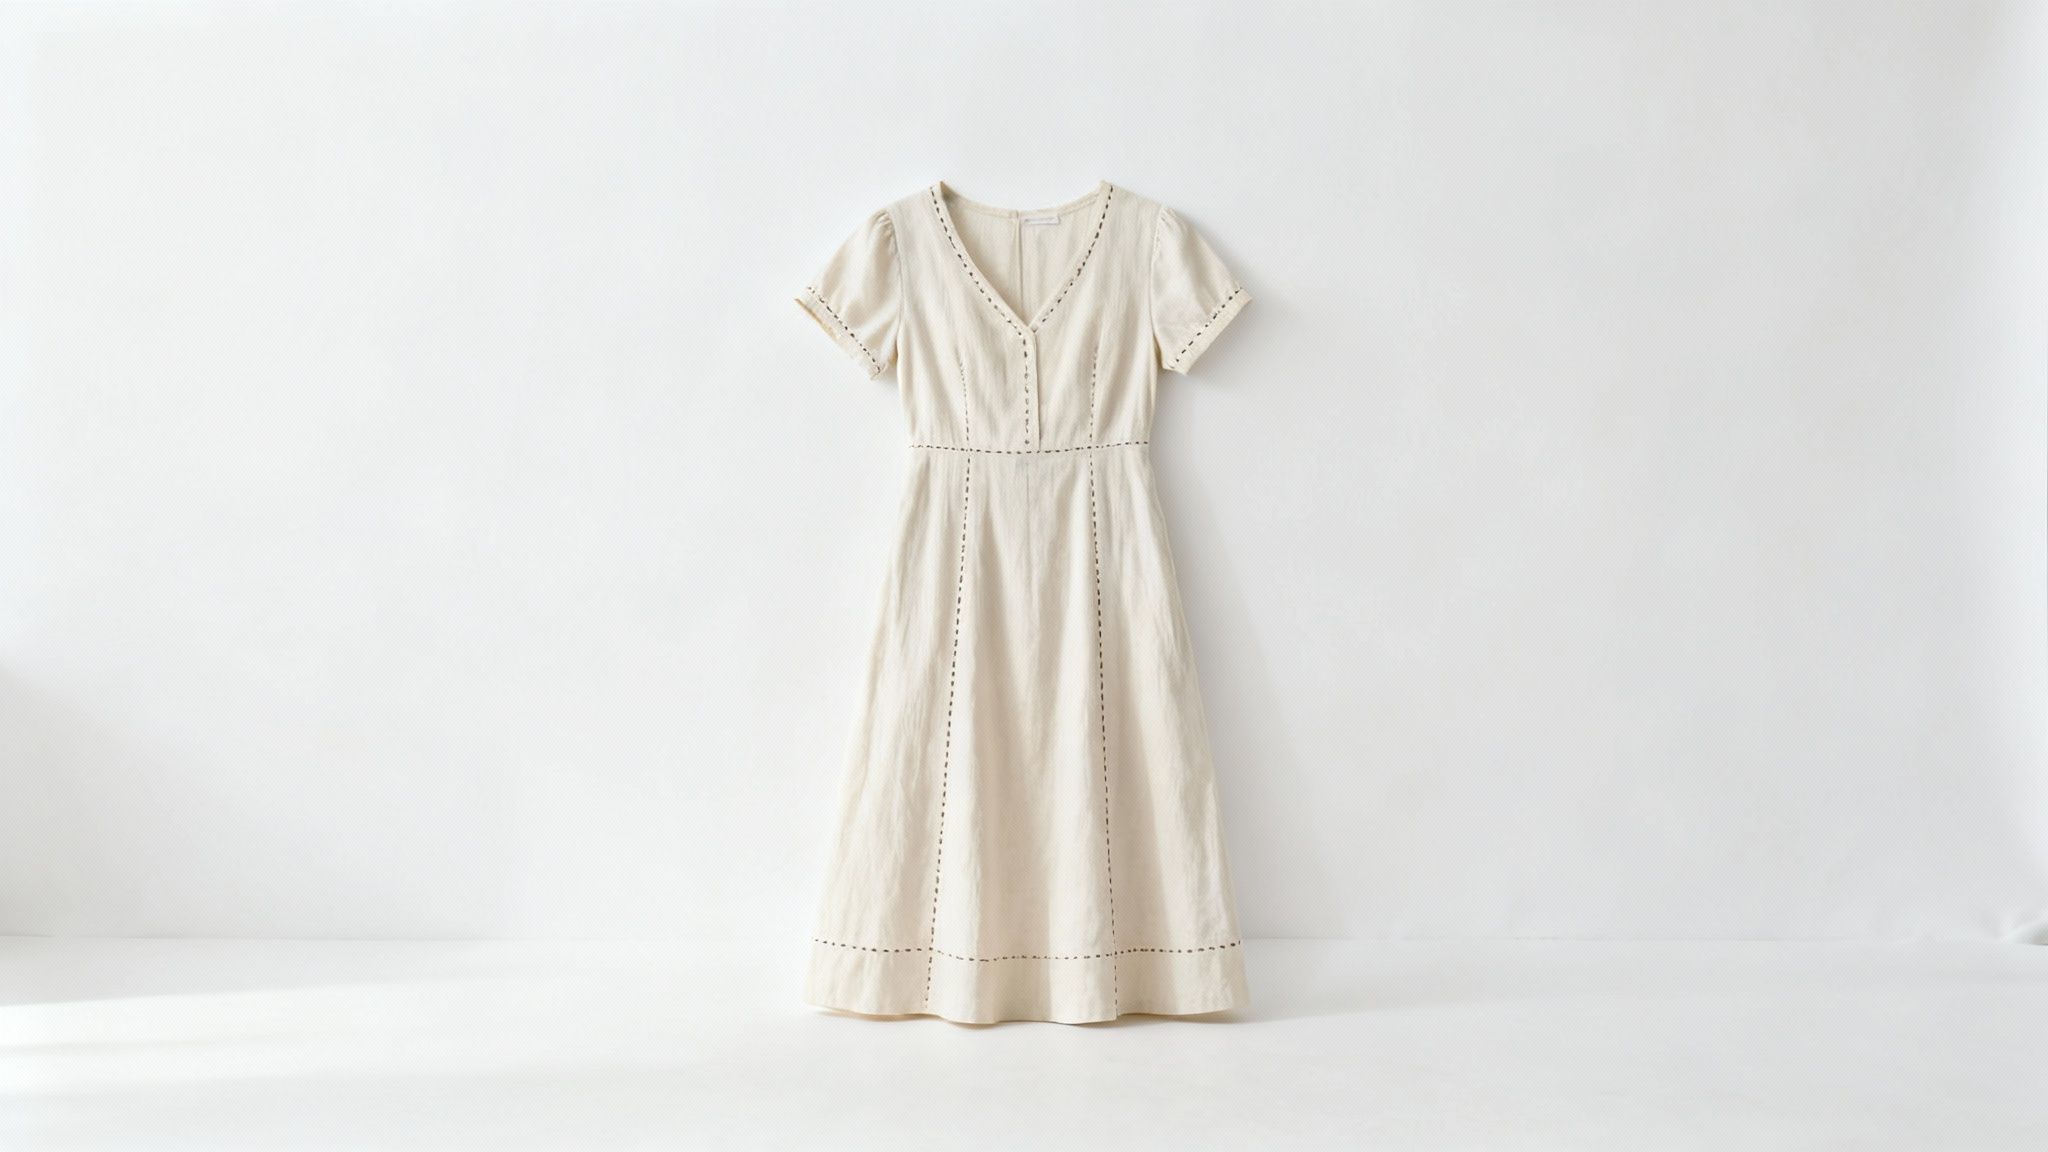
This focus allows shoppers to appreciate the details that justify a purchase: the texture of a knit sweater, the precise tailoring of a blazer, or the drape of a silk dress.
When there’s no busy background competing for attention, the quality of the product does the selling. Platforms like Picjam use AI to create these studio-quality results without the studio-level price tag, streamlining the entire process.
The Financial Case for Clean Backgrounds
Many emerging brands assume a high-end look requires a massive budget for studio time and post-production, a barrier that has historically favored giants like Zara.
But the cost of not optimizing images is far greater. An eBay study found that listings with higher-quality photos see a 5% increase in sales price.
Scaled across an entire collection, that represents significant revenue left on the table.
Meeting Marketplace Demands for Compliance
Beyond boosting direct sales, clean backgrounds are a technical requirement for major marketplaces. Amazon and Google Shopping have strict guidelines that prioritize or demand products on a pure white background.
Our article on creating pure white backgrounds for product photos explores this in depth.
Following these rules ensures products are compliant and look professional across every platform, building consumer trust and signaling a level of quality critical in a crowded market.
How AI Cuts Post-Production Time from 12 Hours to 1.2 Seconds
The days of manually tracing product outlines in Photoshop for hours are over. AI has reshaped the creative workflow for fashion eCommerce, transforming a tedious manual process into a single-click action.
This is a fundamental change in how brands create and scale visual content.
Modern AI background removers use algorithms trained on millions of images, allowing them to instantly isolate a product with incredible precision.
They handle tricky details that used to be a retoucher's nightmare — flyaway hair, delicate lace, or the subtle textures of knitwear.
Imagine a stylist for an indie brand like Ganni or Staud. A few years ago, launching a new collection’s visuals meant dedicating weeks to post-production. Now, an entire photoshoot can be processed in an afternoon.
Redefining Speed and Accuracy in eCommerce
This leap from manual labor to automated intelligence delivers a massive boost in efficiency. A project for the European apparel retailer Wehkamp showed that AI could automate a process that once took 12 hours down to just 1.2 seconds per image.
That’s a 36,000x speedup.
Their deep learning models, trained on a dataset of 32,000 apparel images, hit a 99.4% accuracy score. You can explore the full scope of their machine learning project to see the technical details.
This performance moves the goalposts from simply saving time on one image to building an agile content strategy that responds to market trends in near real-time.
The True Cost Savings of AI Adoption
This newfound efficiency is a massive cost-saver that directly impacts a brand’s profitability. When you eliminate thousands of hours of manual editing, you can reallocate creative resources toward marketing campaigns, social media content, and customer engagement.
For emerging fashion brands, this is a game-changer. Access to tools like Picjam levels the playing field, allowing smaller teams to produce visuals with the same polish as industry leaders. This isn't just about learning how to remove a white background from an image; it's about adopting a smarter, more scalable way to build a modern fashion brand.
Manual vs. AI Background Removal: A Time and Cost Comparison
To put the difference into perspective, let's look at the numbers for a brand preparing a new collection of 100 products.
The table makes it clear. What once required a significant budget can now be accomplished for the price of a coffee, freeing up capital for more strategic work.
When to Use Manual Edits in Photoshop for Hero Shots
While AI tools offer incredible speed, Adobe Photoshop is essential for hero shots that demand absolute perfection. For a complex product or specific creative vision, you need to be in the driver's seat.
This is where you get unparalleled control over every pixel — but it’s also where the time drain happens, highlighting the efficiency of AI.
A single, flawlessly edited hero image might take an experienced editor an hour, a job that AI can complete in seconds.
The Power of Precision with the Pen Tool
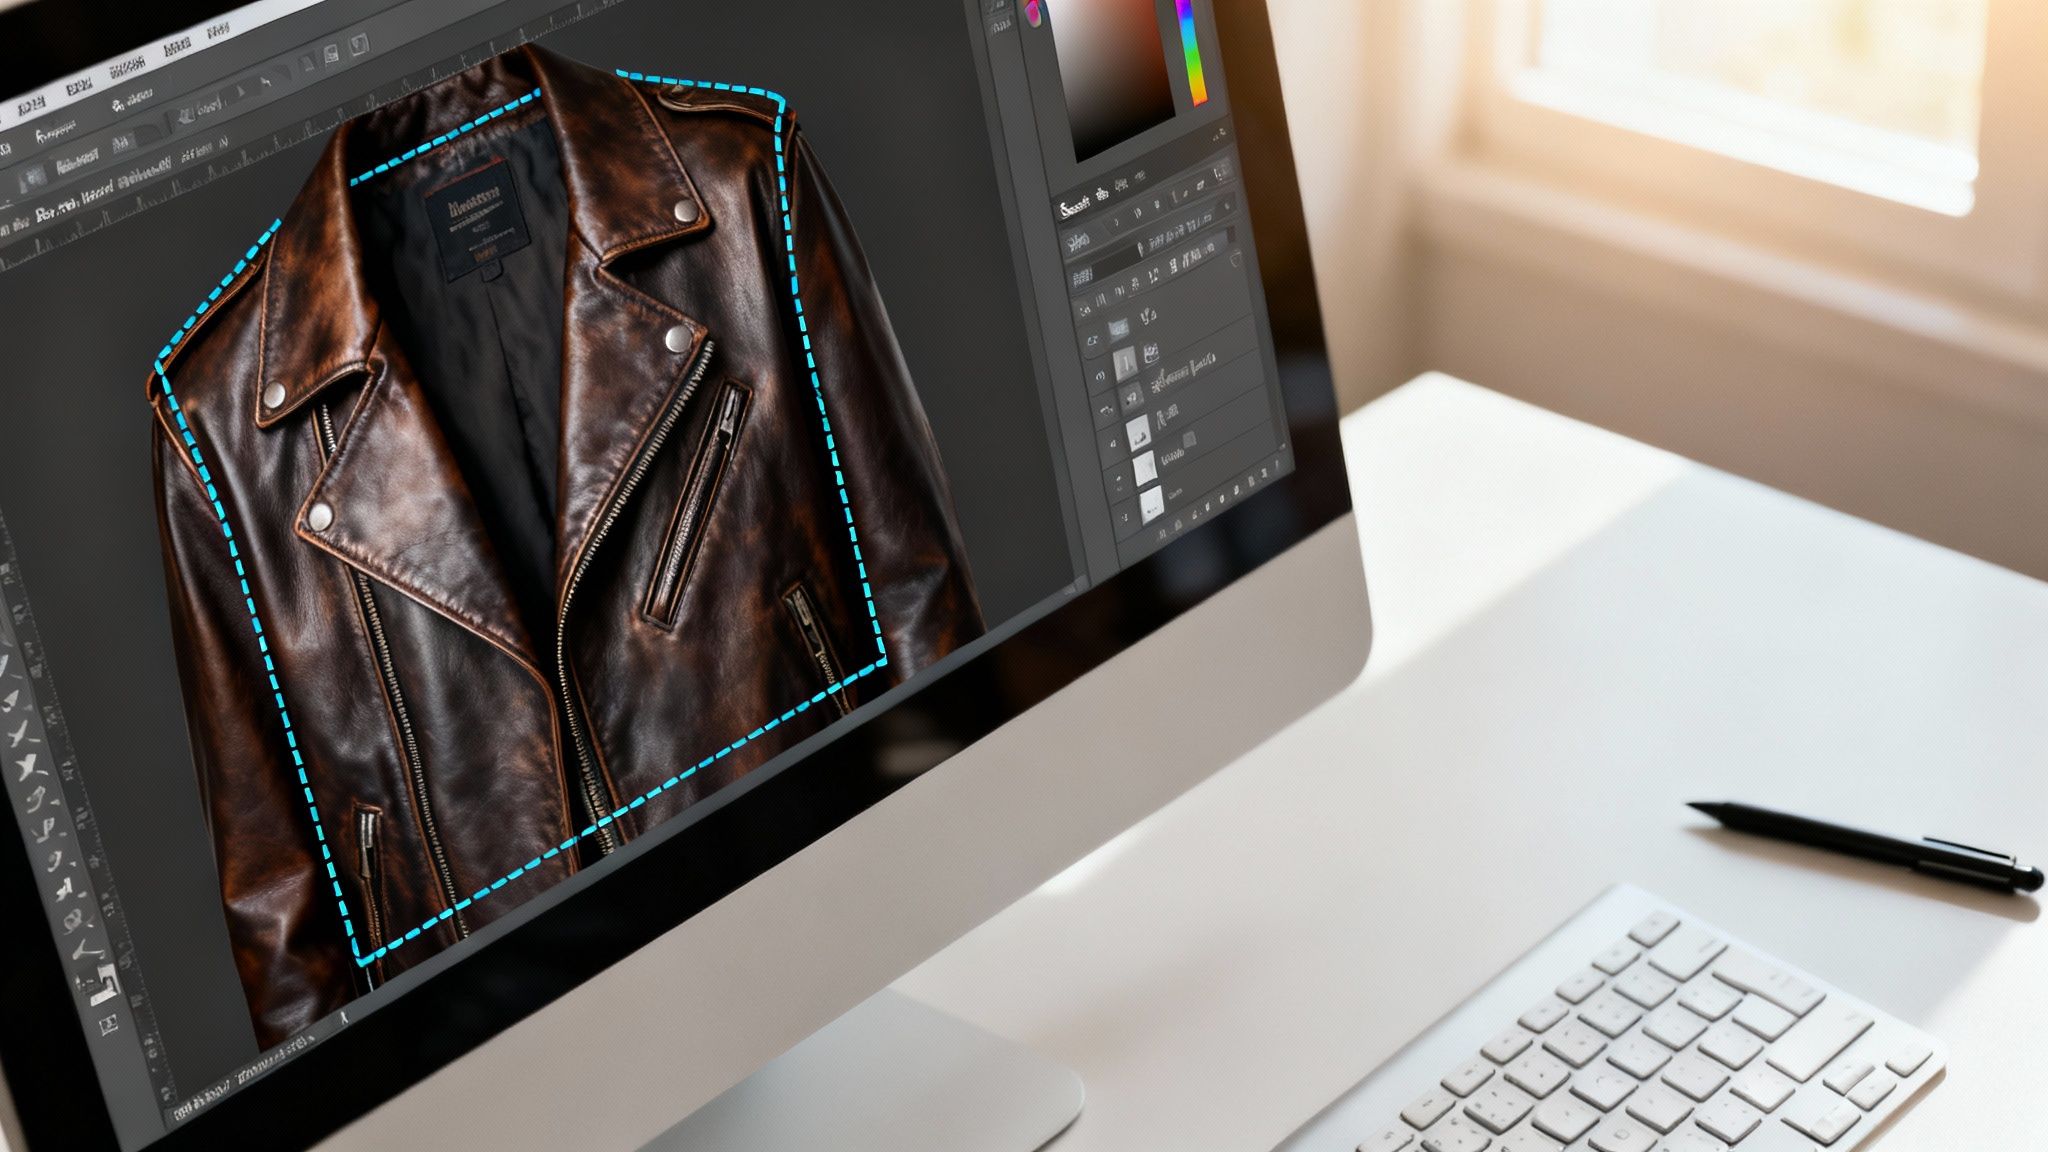
For products with clean, hard edges — think of an AllSaints leather jacket or a structured handbag — the Pen Tool is your best friend.
You meticulously click point-by-point around the product’s outline, creating a precise vector path for an impeccably clean cut.
Once the path is complete, convert it to a selection and create a layer mask. This non-destructively hides the background, giving you the flexibility to tweak the edges later.
Handling Intricate Details with Select and Mask
But what about the tough stuff, like sheer fabrics, delicate lace, or the fuzzy details on a knit sweater? This is where Photoshop’s Select and Mask workspace shines.
After making a rough selection, this workspace provides specialized tools:
- The Refine Edge Brush Tool intelligently detects the boundary between your product and the background, perfect for capturing fine strands of fabric.
- The Decontaminate Colors option helps remove color spill from the white background reflecting onto the edges of your product.
This workspace provides a real-time preview of your mask so you can fine-tune the selection until it's perfect. For a deeper look at similar techniques, this guide on removing backgrounds is a helpful resource.
Why Manual Skills Still Matter
Knowing your way around Photoshop is far from obsolete. These skills allow for final touch-ups on AI-generated cutouts, tackling uniquely challenging images, or executing a creative concept that needs a human touch.
That said, for day-to-day eCommerce operations where volume and speed are everything, the manual approach is a serious bottleneck.
How Advanced AI Preserves Details That Sell a Product
A common fear among brand owners is that automated tools will create a harsh, "cut-out" look that strips away premium details. It’s a valid concern, as basic background removers often butcher nuance, leaving images looking cheap.
But sophisticated AI in tools like Picjam is engineered to solve this problem. It's trained to understand a garment's physical properties — how the fabric falls, how light hits it, and what makes it look real.
This preserves essential elements that build shopper confidence, like the subtle, natural shadows that give a garment depth and form.
Retaining Texture and Transparency
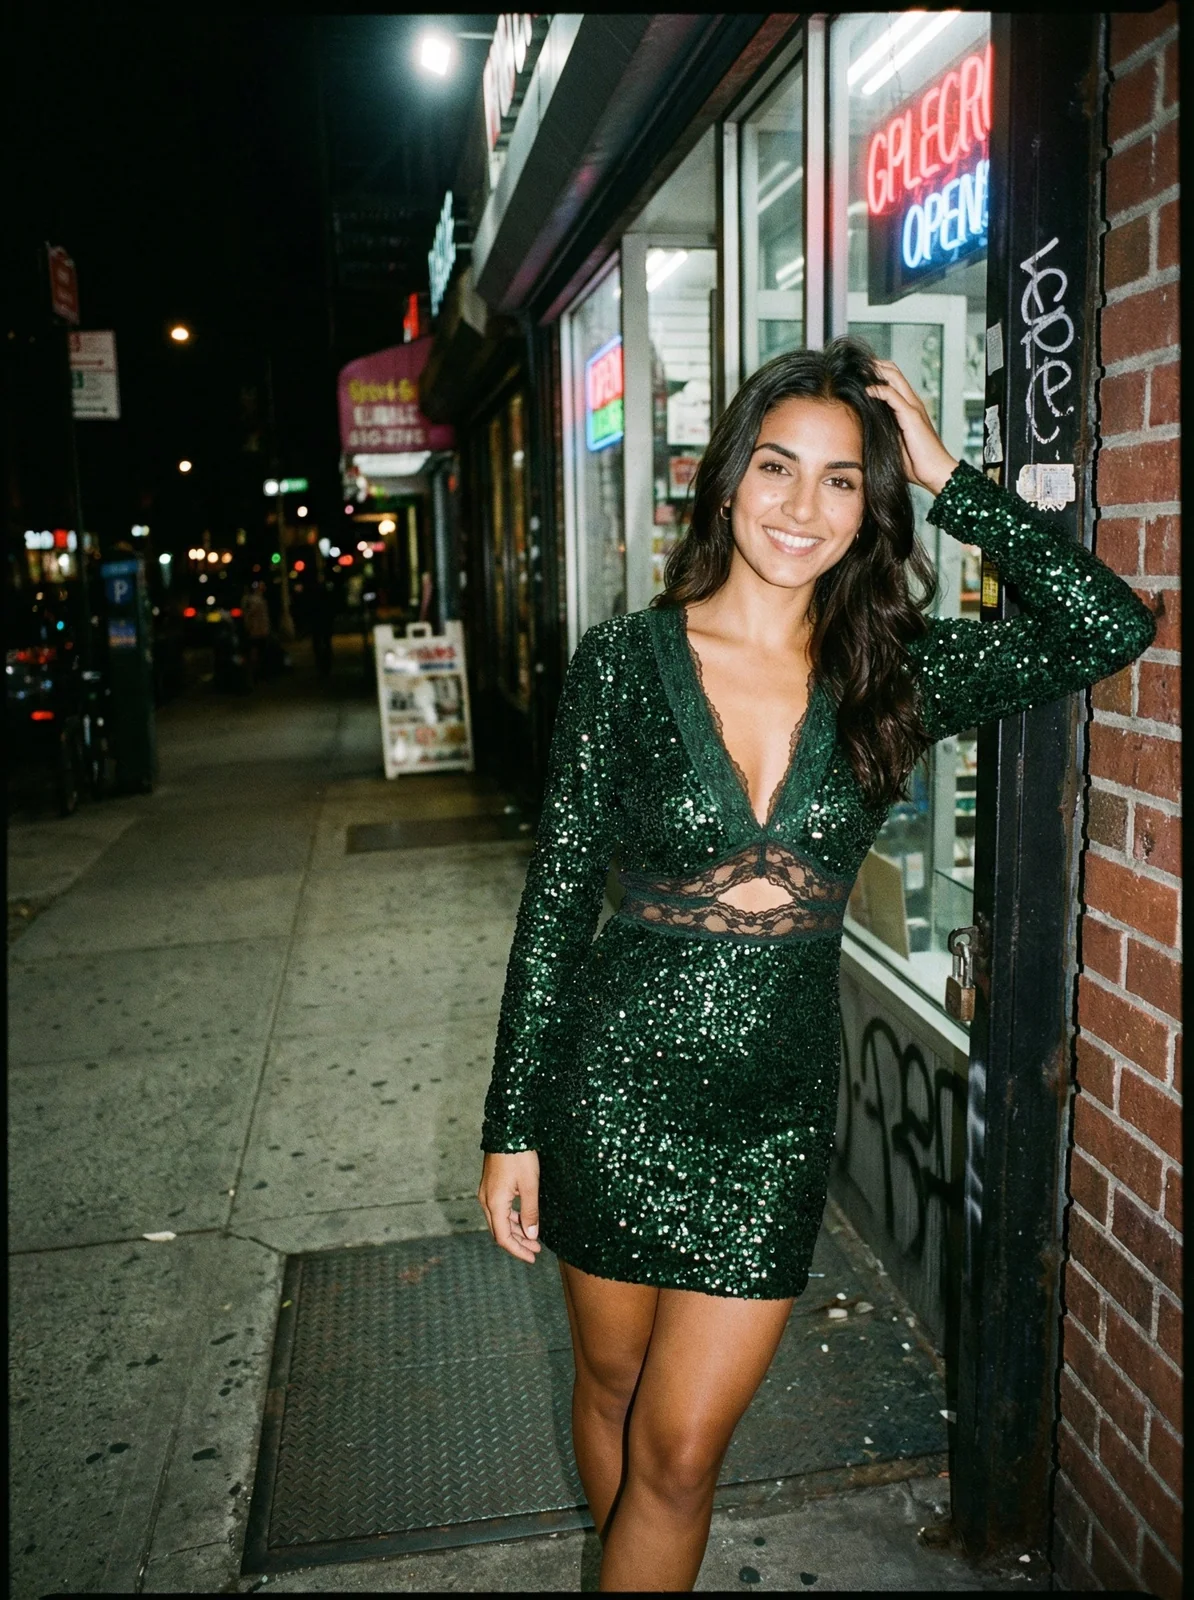
Imagine removing the background from a Reformation dress with delicate lace trim. A simple tool will likely see the holes in the lace as background and delete them, creating an ugly blob.
A smarter AI recognizes the lace pattern and keeps its semi-transparent quality intact.
The same applies to other tricky materials:
- Sheer Fabrics: The transparency of organza or chiffon isn’t flattened into an opaque shape.
- Fine Textures: The subtle fuzz of a cashmere sweater is maintained, not smoothed into oblivion.
- Complex Edges: Flyaway hair on a model or fringe on a denim jacket is preserved, making the final image look natural.
This level of detail maintains a high-end feel across your entire store.
The Market Is Moving Towards Smarter Tools
This isn’t a niche trend; it’s a massive market shift. The AI background remover market is projected to grow by 25% annually through 2025, pushed by eCommerce brands demanding higher quality visuals.
The data backs it up. One study found that 75% of eCommerce businesses saw a 15% lift in sales from using superior images. You can dig into more of these e-commerce trends to see the impact.
The technology to create stunning, realistic product images is more accessible and powerful than ever, allowing brands to produce visuals at scale without sacrificing crucial details.
How to Scale Your Workflow for an Entire Collection
For a growing fashion brand, efficiency is everything. Editing product photos one by one creates a workflow bottleneck that kills momentum.
Think of a DTC brand like Gymshark preparing for a seasonal drop — they’re launching hundreds of new product images at once. A manual approach is impossible.
You have two main paths: batch processing in Photoshop or moving to a cloud-based AI platform like Picjam. While Photoshop Actions can automate some tasks, they struggle with variations in lighting or shape. An API-integrated tool, however, is built to process entire folders simultaneously.
Choosing the Right Tool to Preserve Quality
The choice between a basic removal tool and an advanced AI platform will have a massive impact on image quality. This decision tree lays it out: a basic tool often produces a harsh look, while a sophisticated AI delivers a realistic, professional finish.
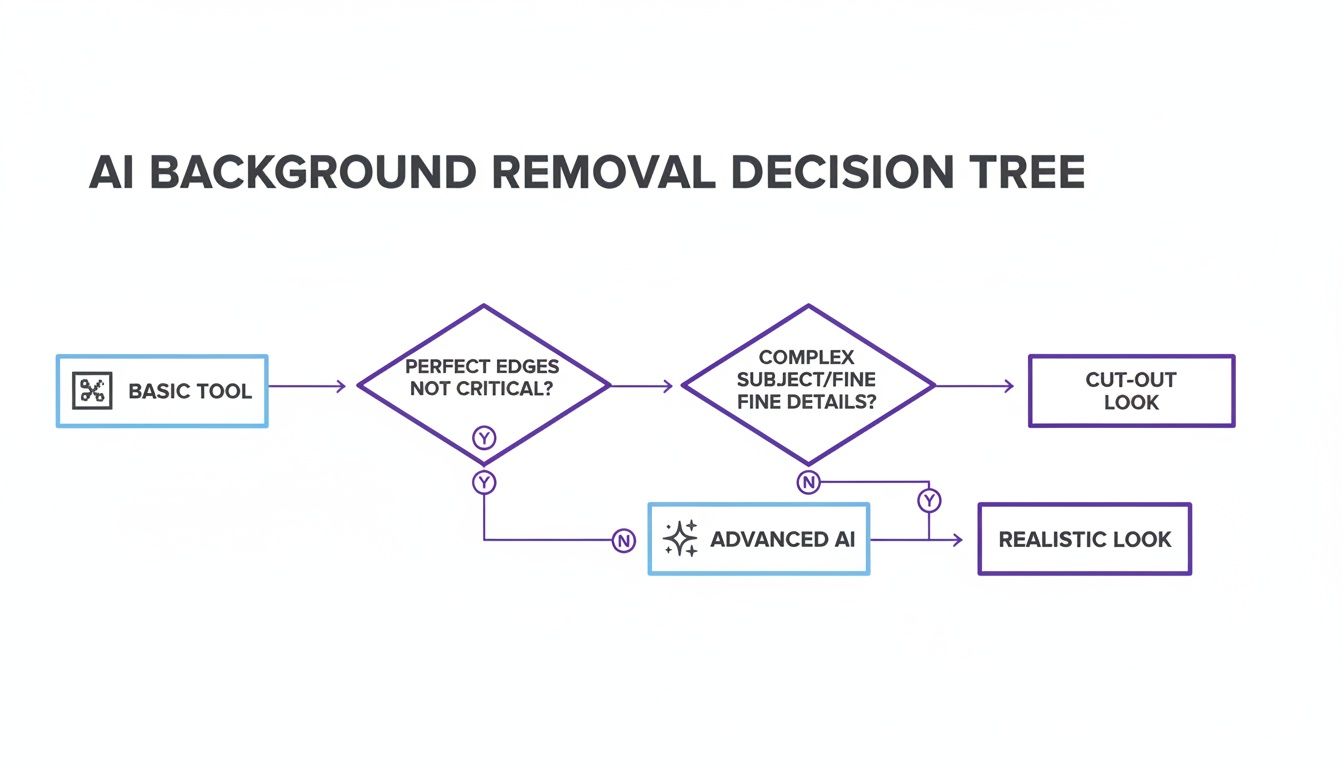
As the flowchart shows, investing in a better AI means preserving details that justify a premium price point, such as natural shadows and delicate fabric textures.
The Financial Sense of Cloud-Based Solutions
The background removal market is projected to jump from $299 million in 2023 to $917 million by the end of 2024. Apparel brands are driving this surge because they need studio-quality visuals without the overhead.
By 2023, cloud-based solutions owned 70% of the market because their AI could handle tricky materials like mesh, lace, and knits. You can read more about this market growth and how it's reshaping e-commerce visuals.
This shift is a smart financial move. Automating background removal frees up your creative team to focus on brand-building activities that drive growth.
Your Game Plan for Better Product Images
Think of this as a concrete game plan you can start using today to sharpen your eCommerce presence and streamline your content production.
Get a Baseline: Audit and Quantify
First, know where you stand. Track how many hours your team spends on manual background editing each month.
Put a dollar value on that time. This gives you a powerful baseline to measure the savings from bringing in the right tools.
Put AI to the Test (With Your Toughest Shots)
Next, grab a trial of an AI background remover and test it with your most difficult photos: apparel with sheer fabrics, complex textures, or fine details like lace or hair.
This stress test will quickly show you what the tool is made of. If you're working with older product shots, you may first need a process for converting old slides to digital images to get them into a usable format.
Analyze the Results and Reallocate Resources
Once the test is done, compare the quality, speed, and cost of the AI tool against your manual process. This is where you'll see the potential savings in black and white.
Adopting modern tools is essential for building a fashion brand that looks incredible and operates efficiently. Once you've nailed background removal, explore more creative edits. Our guide on how to change the color of a background in a photo is a great place to start.
Takeaway
Shifting to a smarter image workflow is a direct line to elevating your brand and reclaiming valuable time.
- Audit Your Current Workflow: Quantify the time and money spent on manual background removal to build a clear business case for adopting AI. The numbers will speak for themselves.
- Stress-Test AI with Your Toughest Images: Don’t just test simple products. Use images with sheer fabrics, complex patterns, or fine hair to see how the technology handles real-world challenges.
- Reallocate Creative Resources: By automating repetitive tasks, your team is freed up to focus on strategic initiatives like campaign development, content creation, and brand storytelling that drive growth.
Ready to see what those savings could look like for your brand? Compare your current photography costs with Picjam using our savings calculator.
Answering Your Questions
When changing how you handle product photos, a few questions always come up.
Can AI Really Handle Tricky Patterns and Textures?
Absolutely. Modern AI has been trained on enormous fashion-specific datasets, so it understands nuance in a way older tools never could.
Think about the detailed weave of a knit sweater or the delicate edges of lace. An AI tool like Picjam is smart enough to see the difference between a complex floral pattern and the white wall behind it, preserving the details that sell your product.
What's the Best File Format for a Transparent Background?
The industry standard is PNG-24. It supports an "alpha channel," which allows for true, clean transparency.
PNGs also use lossless compression, shrinking the file size without degrading image quality. JPEGs cannot handle transparency and will fill empty space with a solid color.
Will This Slow Down My Website?
The removal process itself won't, but the final image file can. A large, high-resolution PNG will slow down your site's loading speed, which is bad for user experience and SEO.
The solution is to optimize your images for the web before uploading them. Use a next-gen format like WebP, which offers fantastic compression and supports transparency, often resulting in a much smaller file than a PNG with the same visual quality.
Curious about how much time and money AI could save your brand? Compare your current photography cost with the Picjam pricing calculator and see how you can upgrade your entire product catalog.

Picjam team
The Picjam team blends AI, product, and creative expertise to eliminate the cost and delay of traditional photography for modern eCommerce brands.