A Founder's Guide on How to Photograph Clothes to Sell
Learn how to photograph clothes to sell with this expert guide. Get actionable tips from a founder on lighting, setup, and editing to boost sales.
By Michael Pirone, Founder of Picjam & Vidico
When Crocs tested AI-generated photos for their spring collection, they discovered a 60% faster campaign rollout. This isn't just about saving time; it's about getting products live while demand is at its peak. Learning how to photograph clothes to sell is no longer just a creative skill — it's a strategic advantage.
Getting these fundamentals right is the first step to creating visuals that don't just look good, but actually convert.
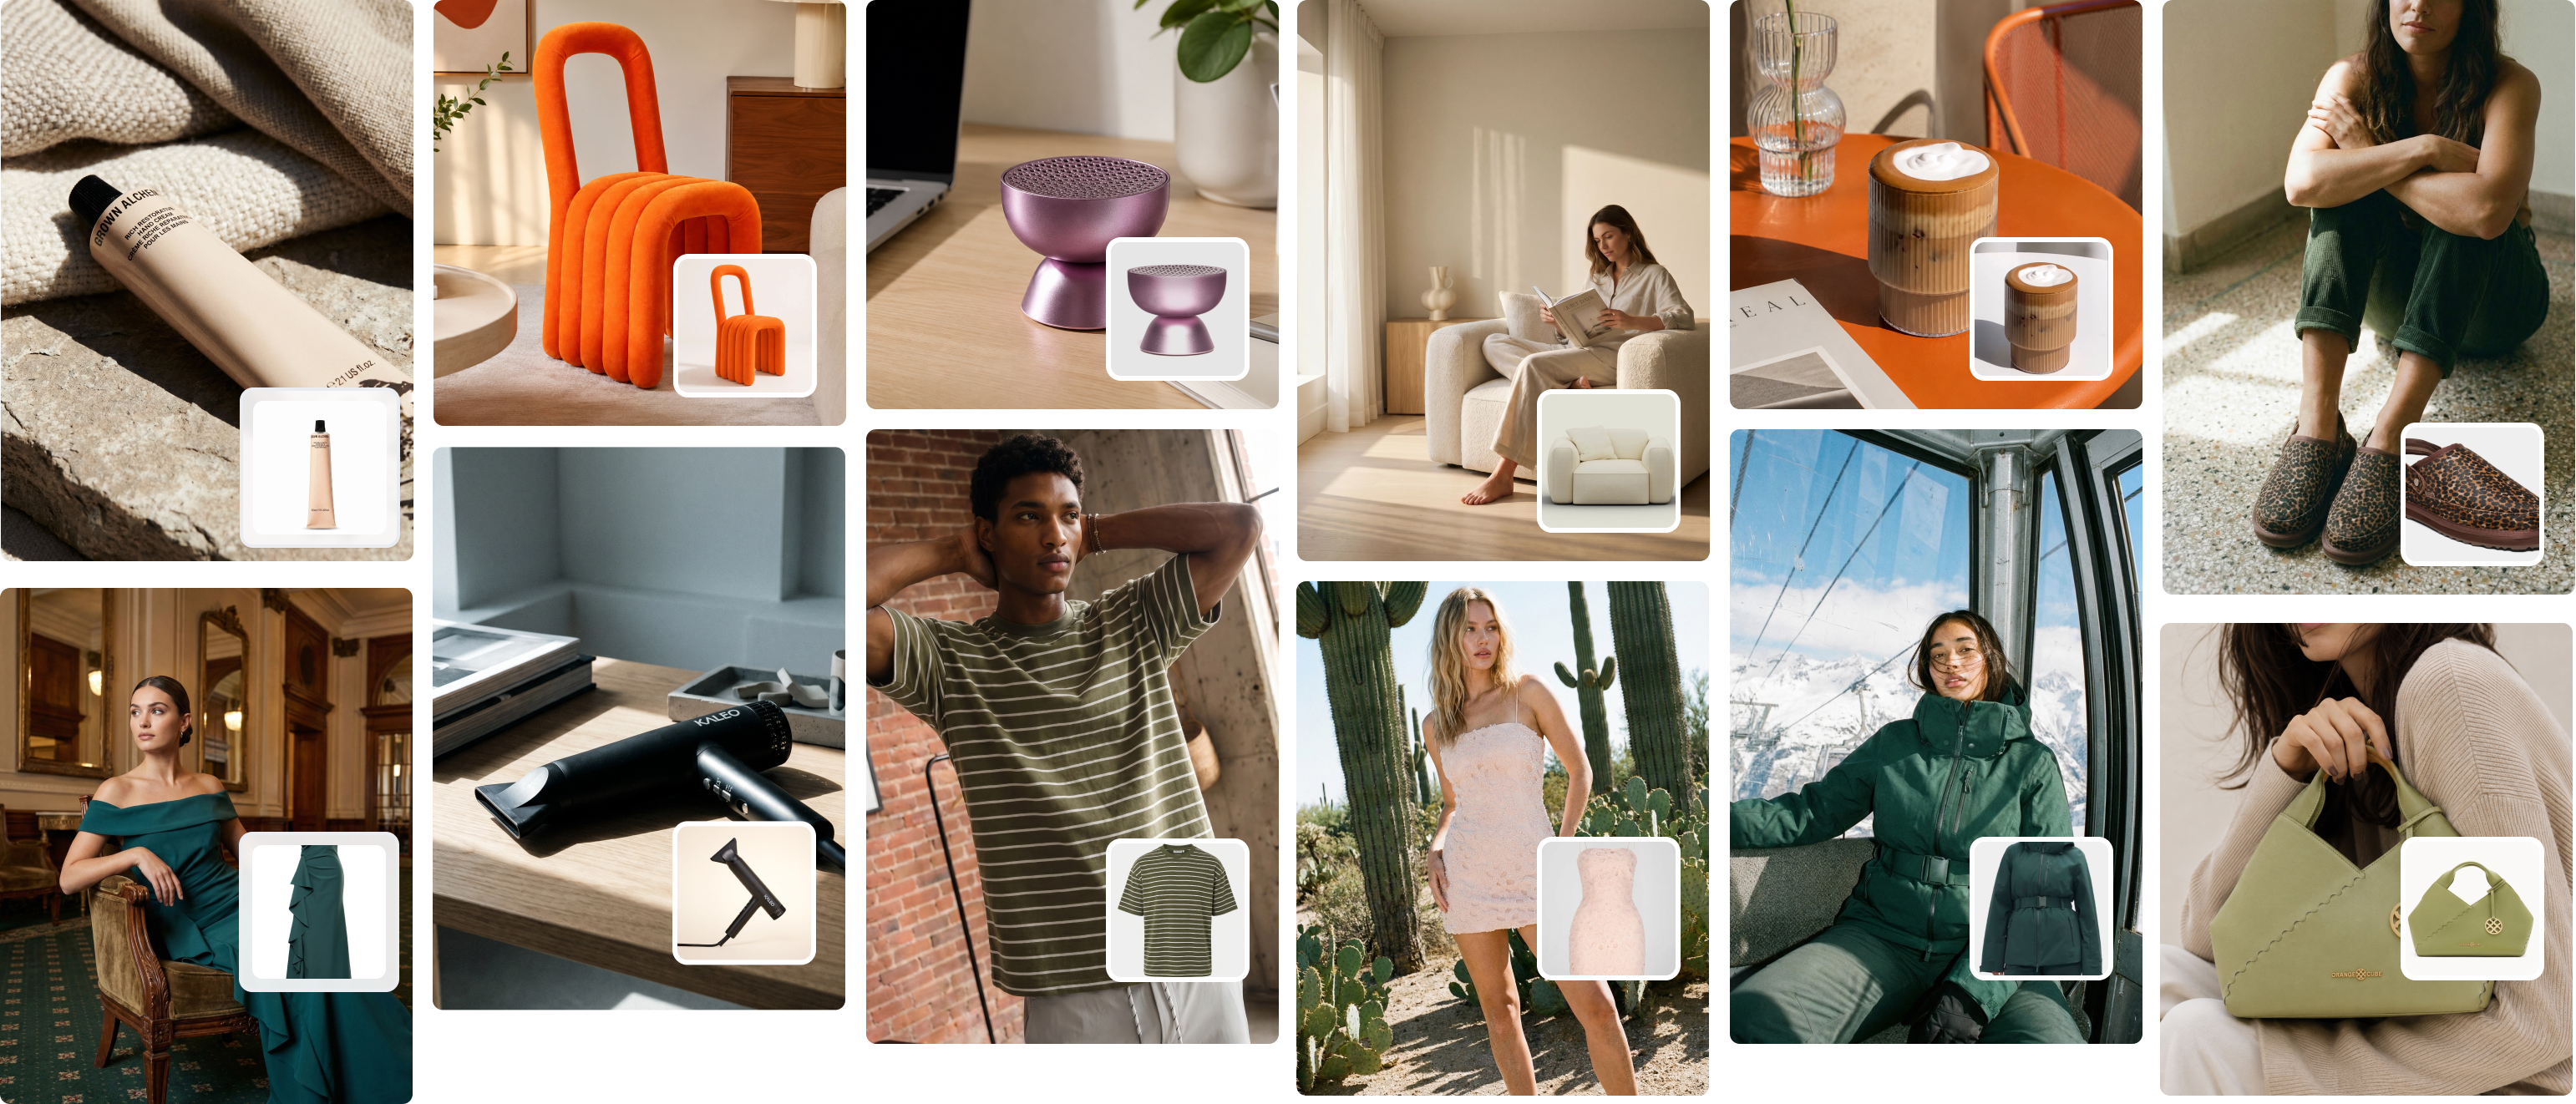
How to Get Scroll-Stopping Clothing Photos That Convert
In fashion e-commerce, great visuals aren't just a nice-to-have; they're everything. It's no surprise that 93% of consumers say visual content is the single most important factor when they're deciding to buy something. For clothing brands, this has a real, measurable impact — professional photos can boost conversion rates by up to 30%. You can read more on the impact of e-commerce photography on hyperblackstudios.com.
But here's the problem I see all the time. Brands are under immense pressure to churn out a constant stream of fresh content, but traditional photoshoots are slow and expensive. As the founder of Picjam, I've seen this exact challenge cripple promising brands. My goal is to give you a modern roadmap for how to create great photos efficiently.
The quality of your photography directly ties into how much a customer trusts you. Each element, from lighting to styling, works together to build confidence and convince them to click "add to cart."
Key Photography Elements and Their Impact on Sales
| Photography Element | Impact on Customer | Potential Sales Uplift |
|---|---|---|
| High-Resolution Images | Builds trust by showing product quality and detail clearly. | 10-15% |
| Consistent Lighting | Creates a professional, cohesive brand look and shows true-to-life color. | 5-10% |
| Multiple Angles | Answers questions about fit, shape, and features, reducing uncertainty. | 10-20% |
| On-Model or Mannequin | Helps shoppers visualize fit and drape in a way flat lays can't. | 15-30% |
| Lifestyle Context | Creates an emotional connection and helps shoppers imagine using the product. | 5-15% |
Ultimately, investing in these core elements isn't just about making your store look better — it's about removing friction from the buying process and giving customers every reason to feel confident in their purchase.
The Modern Approach to Fashion Imagery
This isn't your average photography tutorial. Think of it as a playbook for turning your visuals into a serious competitive advantage. The insights I'm sharing come from years of helping brands break free from outdated, inefficient production workflows. We'll focus on the practical steps that get you results.
Here's what we're going to cover:
- The Essential Foundations: We'll start with the basics, from meticulously prepping your garments to dialing in the right camera settings for crisp, professional shots.
- Telling a Story with Your Shots: I'll show you how to build a complete product story with a detailed shot list that goes way beyond a simple front-and-back view, much like the comprehensive approach found in 360-degree product photography.
- AI-Powered Workflows: This is where things get really interesting. We'll look at how to use smart, modern tools to automate tedious tasks and produce studio-quality visuals — including on-model shots — for a fraction of the cost and time.
Key Insight: The future of fashion e-commerce isn't just about taking beautiful pictures. It's about building a scalable, cost-effective system for visual content creation that allows you to keep up with market demands without sacrificing quality.
Consider this guide your blueprint. We're going to break down every piece of the puzzle, from the simplest prep work to the smartest AI workflows, giving you actionable advice you can use right away. This is how you create a library of scroll-stopping images that don't just look incredible, but actually drive your bottom line.
Preparing Garments for Their Close-Up
Want to know the secret that separates amateur product photos from the ones that actually sell? It isn't a fancy camera. More often than not, it all comes down to the prep work you do before the shoot even begins.
Before you even think about picking up your camera, every single garment needs to look its absolute best. This is how you communicate quality and value to a customer who can't touch the fabric themselves.

Think about how a brand like Allbirds makes sure every shoe looks flawless from every angle. It's that level of detail that builds perceived value. Skipping this step now just means you'll be paying for it later with hours spent in post-production. Mastering this is a critical part of knowing how to photograph clothes to sell effectively.
Your Garment Prep Checklist
Trust me on this: every minute you spend here will save you an hour in editing. The pros have a dedicated prep station for a reason — it makes the whole process faster and more systematic. A professional workflow starts long before you hear the shutter click.
Here's what your essential toolkit should look like:
- A Garment Steamer: This is completely non-negotiable. A good steamer is far quicker and safer than an iron for zapping wrinkles on almost any fabric, from delicate silks to heavy cottons.
- Lint Rollers: Absolutely essential, especially for dark or textured fabrics like wool, velvet, or fleece. Make it a habit to run a roller over the entire garment right before it goes in front of the camera.
- Small, Sharp Scissors: Keep a pair of embroidery scissors on hand. You'll be amazed at how many tiny, stray threads you'll find, and they become glaringly obvious in high-resolution photos.
- An Iron and Ironing Board: While a steamer handles most of the work, a traditional iron is still the best tool for creating sharp, crisp creases on things like dress pants or button-down shirt collars.
Adding Structure and Perfecting the Fit
A lifeless, slumped garment just looks cheap. Your job is to give it shape and dimension so the customer can instantly visualize how it will look on them. This is where a few simple styling tricks can make a massive difference.
The goal is to present the garment in its ideal state. If an item looks sloppy or wrinkled on your product page, shoppers will assume it looks that way in real life. This small detail can be the difference between a sale and a bounce.
To get that structured, well-fitted look, here are a few techniques we use all the time:
- Styling Clips and Pins: When shooting on a mannequin or model, use small clips or pins on the back of the garment. This is the oldest trick in the book for cinching in any bagginess to create a more flattering, true-to-size silhouette.
- Tissue Paper or Stuffing: For accessories like handbags, backpacks, and even shoes, acid-free tissue paper is your best friend. Stuffing these items helps them hold their shape and stops them from looking flat and deflated.
- Fishing Line: This one is a bit more advanced, but for creative flat lays or tricky shots, a bit of transparent fishing line can subtly lift a strap or "float" a sleeve to create a more dynamic and interesting shape.
By putting in the time for this meticulous prep work, you're not just cleaning a piece of clothing; you're elevating its perceived quality from the very first glance. It ensures your camera captures the best possible version of your product, which leads to more compelling images and a much, much faster editing workflow.
Crafting the Perfect Shot List to Tell a Complete Product Story
Your shot list isn't just a simple checklist. Think of it as the script for your product's visual story. The entire point is to mimic that in-store, hands-on experience for someone browsing online, leaving them with absolutely no questions about the garment they're looking at. This is a core discipline to master when you're learning how to photograph clothes to sell.
A well-thought-out shot list does something else, too — it locks in brand consistency. When every single product is shot from the same set of core angles, your whole catalog starts to feel cohesive and professional. That consistency builds subconscious trust with shoppers before they even realize it.

Move Beyond the Basics with Detail Shots
Sure, a full-length front and back view are table stakes. They're non-negotiable. But it's the detail shots that truly close the deal. These close-ups are your golden opportunity to justify the price tag and show off the craftsmanship that makes your product stand out.
Take a page from a brand like Lululemon. They are masters of using macro shots to highlight the technical weave of their fabrics, the tough-as-nails flatlock seams, and the quality of their custom zipper pulls. Those small details communicate performance and value far more powerfully than a product description ever could on its own.
The 7 Essential Shots for Every Single Garment
To build a repeatable system that you can rely on, start with this foundational shot list. This set of angles covers everything a customer needs to see to feel confident enough to click "add to cart."
- The Full-Length Front View: This is your hero shot. It shows the entire garment exactly as it's meant to be worn.
- The Full-Length Back View: Absolutely critical for showing the fit, how the fabric drapes, and any design features on the other side.
- The 45-Degree Angle Shot: This gives a sense of the garment's true dimension and how it exists in three-dimensional space.
- The Detail Shot: A tight close-up on a unique feature — think custom embroidery, a unique button, a special cuff, or any branded hardware.
- The Fabric Texture Shot: Get right up close to the material. Show the weave, the knit, or the texture. Is it soft? Structured? Sheer? Show them, don't just tell them.
- The Interior Shot: For items like jackets or handbags, you need to show the lining, the pockets, or how it's built on the inside.
- The Styled Shot: This is where you show the item as part of an outfit. It could be on a model or a creatively arranged flat lay. You can dig into more ideas for this in our guide to flat lay photography.
It's no surprise that model photography is the leading approach in fashion e-commerce. An impressive 95.6% of brands use models to display their clothing, because seeing a garment on a human form drastically increases buyer confidence. In fact, 91.17% of luxury fashion retailers use multiple photography styles to present their collections, blending model shots with detailed close-ups to create a comprehensive visual narrative. You can discover more fashion photography insights on pixelphant.com.
This data really hammers home why a varied shot list is so effective. While platforms like Picjam can generate hyper-realistic on-model imagery from a single photo, the core principle is the same: you have to show the product from multiple perspectives to maximize its appeal.
Use Composition to Guide the Viewer's Eye
A few simple composition rules can make your photos feel much more professional and just plain better to look at. The easiest one to start with is the rule of thirds.
Instead of sticking your product dead-center in every single shot, try this. Imagine your screen has a 3x3 grid overlaid on it. By placing the most important features of your garment along those lines, or where the lines intersect, you create a far more dynamic and balanced image. It's a simple trick that naturally guides the viewer's eye and can instantly make your product shots feel more engaging and thoughtfully presented.
Mastering Your Camera Settings for Crisp, Clear Images
Getting out of your camera's 'auto' mode is the biggest leap you can make toward professional-looking clothing photos. It's the difference between hoping for a good shot and knowing you'll get one every time. Whether you're working with a DSLR or a newer smartphone that offers manual controls, a few core settings will give you total command over your final image.
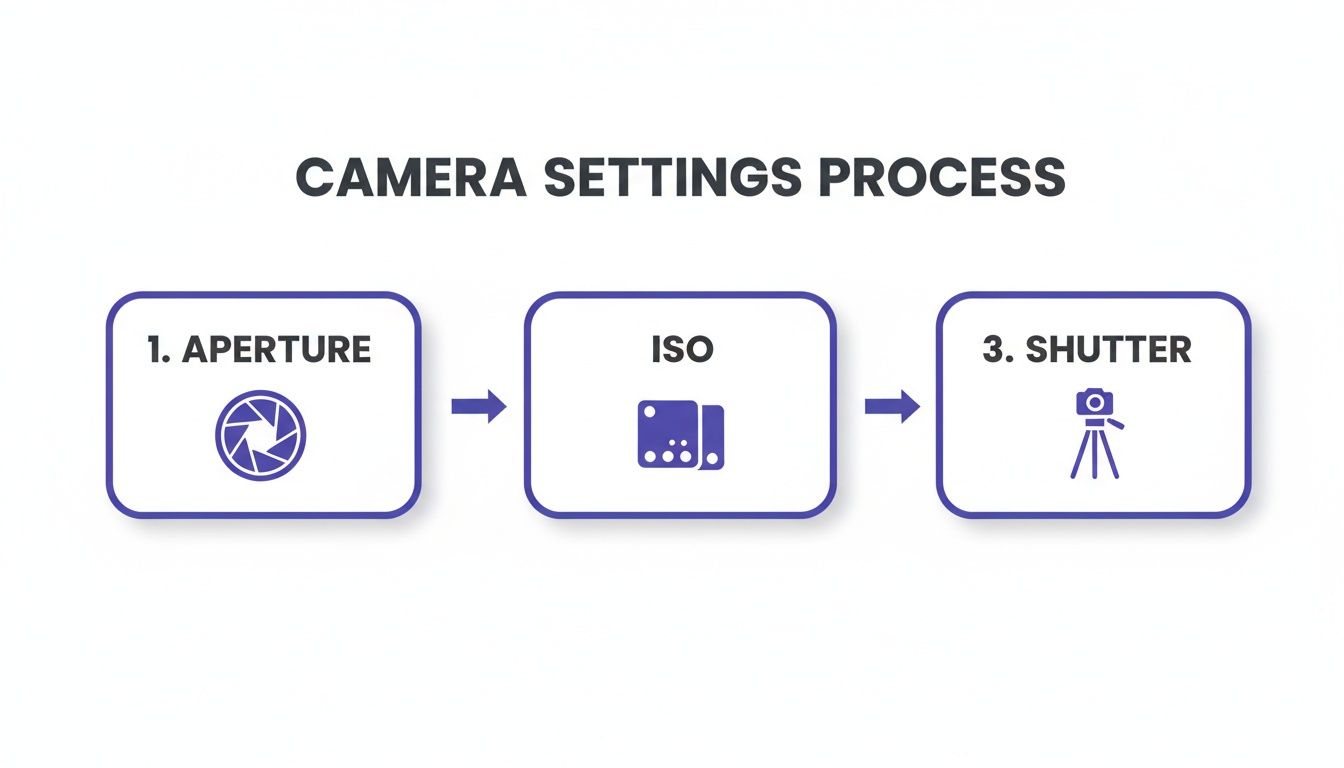
This is the part of learning how to photograph clothes to sell that can feel a bit technical, but trust me, it's simpler than it sounds. It all boils down to three settings working together: aperture, ISO, and shutter speed. Nailing this "exposure triangle" is the secret to getting those sharp, perfectly lit shots you see on major retail sites.
Aperture: The Key to All-Over Sharpness
Think of aperture as the pupil of your camera's eye. It controls how much of your photo is in focus, a concept photographers call depth of field. For clothing, you almost always want the entire garment to be tack-sharp, from the buttons on the front to the seam on the back.
To get that crisp, all-over focus, you need what's called a large depth of field. You achieve this by setting a higher f-stop number.
- Set your aperture somewhere between f/8 and f/11. This is the sweet spot for product photography. It guarantees every detail — the texture of the fabric, the stitching, the hardware — is perfectly sharp.
- Stay away from low f-stops (like f/1.8 or f/4). Those are great for portraits with blurry backgrounds, but for e-commerce, it's a rookie mistake. A low f-stop will make parts of your garment look soft or out of focus, which feels unprofessional and hides details a customer needs to see.
Using a higher f-stop lets in less light, so your image might look a bit dark at first. That's totally fine. We'll fix that with the other two settings.
ISO: The Secret to a Grain-Free Image
ISO is your camera's sensitivity to light. Cranking it up helps in dark situations, but it comes with a big trade-off: digital noise. That's the grainy, pixelated look that instantly cheapens an image. For clean, high-quality product shots, a low ISO isn't just a suggestion — it's a rule.
Key Takeaway: Digital noise makes your products look cheap. Customers associate clean, clear images with quality garments. A grainy photo can create subconscious doubt about the product itself, costing you a sale.
You should always aim for your camera's base ISO, which is usually ISO 100 or 200. Since you'll be using a tripod (and you absolutely should be), there's no need to use a high ISO to brighten the image. You can dig deeper into how different cameras handle image quality in our guide to the best cameras for product photography.
Shutter Speed and the Power of a Tripod
Shutter speed is simply how long your camera's sensor collects light. A fast shutter speed freezes action, but for still products, we can use a slow one to let in more light. This is where your tripod proves its worth.
By locking your camera onto a tripod, you eliminate all camera shake. This stability is a game-changer. It means you can use a much slower shutter speed to get a bright image without introducing any blur. This is exactly how we compensate for the high f-stop (f/8) and low ISO (100) we've already dialed in.
There's no magic number for shutter speed; it depends entirely on how much light you have. Here's the simple, repeatable process I use:
- First, set your aperture to f/8 and your ISO to 100.
- Take a test shot. If it's too dark, just make your shutter speed a little slower.
- Keep adjusting the shutter speed — slower for brighter, faster for darker — until the exposure looks perfect.
That's it. This workflow removes all the guesswork. It ensures every photo you take is sharp, clean, and professionally exposed, giving you a perfect canvas for any editing or background removal you do later on.
Finishing Strong: Your Post-Production and Optimization Workflow
Getting the shot is just the beginning. The real work — and where you can gain a serious edge — happens in post-production. This is where you take good photos and turn them into assets that actually sell clothes, and it's the biggest opportunity most brands miss to speed things up.
This final stage is what separates amateur sellers from professional brands. It's where you'll tackle everything from color correction and background removal to optimizing images for different marketplaces. And while solid editing skills are still essential, this is where AI is completely changing the game for modern e-commerce.
The Foundation of a Strong Editing Process
Before you even think about automation, you have to nail the fundamentals. Your first round of edits needs to focus on creating a clean, accurate, and consistent look across every image for a single product. This manual pass is all about quality control.
Here's what you absolutely have to get right:
- Accurate Color Correction: The color on screen must be a perfect match for the garment in real life. If you get this wrong, you're practically begging for returns. This is hands-down the #1 reason customers send clothing back.
- Balanced Brightness and Contrast: Your images should feel bright and airy, but not so much that they look washed out. Good contrast is what makes the texture of the fabric and the small details pop, giving the photo a sense of dimension.
- Consistent Cropping: All your main product shots need to have the exact same framing and dimensions. This is what gives your product pages that polished, cohesive feel that builds trust.
This initial editing work is non-negotiable, but let's be honest — it's a grind. It's the kind of repetitive, manual task that kills your speed to market and slowly drains your budget.
If you want to make this part of the process easier, it all starts in-camera.
Getting a handle on these three settings during the shoot will dramatically cut down on the heavy lifting you have to do in the editing phase. It's the secret to a much faster and more efficient workflow.
Where AI Amplifies Your Workflow
Okay, now for the fun part. This is where you can take your workflow from a slow crawl to a full-on sprint. AI isn't about replacing your creative eye; think of it as a powerful assistant that can handle the most boring, repetitive parts of the job with incredible speed and accuracy. Frankly, this is a big part of the vision we had when building Picjam.
Instead of spending an hour manually cutting out a background in Photoshop, a platform like ours does it in seconds. Even more powerfully, new AI tools can take a single, basic photo — like a simple flat lay or a shot on a mannequin — and generate an entire gallery of on-model and lifestyle images from it.
The whole field of computational photography is exploding. The global photography market was valued at around $105.2 billion in 2023 and is expected to climb to $161.8 billion by 2030, with much of that growth coming from these software-driven advances. For fashion brands, this means studio-quality results are no longer locked behind six-figure photoshoot budgets. You can read more on the growth of the photography industry on behindmud.com.
To see just how much of a difference this makes, let's compare a traditional workflow to an AI-assisted one for a batch of 10 new products.
Traditional vs AI-Assisted Photography Workflow
| Task | Traditional Workflow (Time/Cost) | AI-Assisted Workflow with Picjam (Time/Cost) |
|---|---|---|
| Initial Photoshoot | 4 hours (photographer/studio time) | 1 hour (simple flat lay shots) |
| Image Culling & Selection | 1 hour (manual review) | 30 minutes (fewer shots to review) |
| Background Removal | 5-10 hours (manual masking) | 15 minutes (automated) |
| Color Correction & Retouching | 5 hours (manual adjustments) | 1 hour (batch processing & AI tweaks) |
| Generating Model/Lifestyle Shots | N/A (Requires separate, expensive shoot) | 2 hours (AI generation) |
| Image Optimization & SEO | 2 hours (manual resizing, naming) | 30 minutes (automated exports & keyword generation) |
| Total Time | ~20 hours | ~5 hours |
| Estimated Cost | $2,000 - $5,000+ | Under $500 (plus subscription) |
The numbers speak for themselves. The time and cost savings aren't just incremental; they're huge. It allows small teams to compete on a visual level that was once impossible without a massive budget.
From Editing to Optimization for Marketplaces
Once your images are looking perfect, there's one last crucial step: optimizing them for the specific platforms where you'll be selling. Each marketplace has its own quirky set of rules, and ignoring them can tank your visibility and sales.
Key Takeaway: Image optimization isn't just a technical task; it's a core marketing function. Properly sized and formatted images load faster, rank higher in search, and create a better customer experience — all of which lead directly to more sales.
After all that work, you have to make sure your images meet the unique guidelines for each channel. You should absolutely dive into the details for each platform, like understanding the specific Amazon image requirements. Getting this wrong can lead to your listings getting buried or even taken down.
This is another place where modern tools give you an advantage. A platform like Picjam doesn't just create the visuals; it can also help you optimize them by suggesting tailored SEO keywords for each product. This helps you start ranking higher on marketplaces the moment you go live. Suddenly, post-production is no longer just a cost center — it's a strategic engine for growth.
Your Action Plan for Better Clothing Photos
We've covered a ton of ground, but real progress happens when you stop reading and start doing. Let's boil it all down to a few core actions you can take right now to see a real difference in your photos, your workflow, and your sales.
Think of this as your new starting point. Learning how to photograph clothes to sell is an ongoing process, but these are the moves that will give you the biggest bang for your buck.
Master Your Prep Work
The single biggest change you can make happens before you even pick up your camera. Seriously. Just dedicate an extra 10-15 minutes per garment to getting it ready for its close-up.
- Steam Everything: No excuses. Wrinkles are the fastest way to make a product look cheap and unprofessional. A good steamer is non-negotiable.
- Lint Roll Religiously: You'd be shocked at what shows up in high-resolution photos, especially on dark or textured fabrics. Get every last stray fiber.
- Snip Loose Threads: Grab a small pair of scissors and clean up any flyaway threads around the seams and buttons. It's a tiny detail that screams quality and care.
Spending a little more time on prep work will save you hours in post-production. It's the highest-leverage activity in the entire photography process, directly improving image quality and speeding up your entire workflow.
Create a Reusable Shot List Template
Consistency is what separates amateur sellers from professional brands. Stop winging it on every shoot and build a standardized shot list that you can use for every single product.
Define 5-7 core shots that tell the whole story. At a minimum, this should include:
- Front and back views on a clean background.
- A 45-degree angle shot to show dimension and shape.
- A close-up of the fabric texture or knit.
- A detail shot of a unique feature, like a custom button, zipper, or bit of embroidery.
A template like this eliminates decision fatigue and guarantees you won't miss a critical angle. More importantly, it creates a cohesive, trustworthy look across your entire storefront. Of course, once you have those amazing images, knowing how to use them is just as important; learning how to document your work like a pro with photos can be a game-changer for winning over customers.
Explore AI for Unprecedented Scale
While getting the fundamentals right is crucial, modern tools are the key to truly scaling your visual content. Here's a quick experiment: take one of your best flat lay or mannequin photos.
Now, run it through a platform like Picjam to instantly generate on-model and lifestyle variations. This simple test will blow your mind, showing you how you can create an entire campaign's worth of assets from a single image, in just a few minutes. This isn't about replacing your skills — it's about amplifying them.
Even with a solid plan, a few questions always pop up when you're just getting started with clothing photography. Here are the most common ones I hear from brand founders, with some straight-to-the-point answers.
What Is the Best Camera for Clothing Photography?
Honestly, the "best" camera is any camera that gives you manual control. That doesn't mean you need to drop a ton of money on a high-end DSLR anymore.
Smartphones: A recent iPhone or Google Pixel can be a workhorse. When you pair their impressive built-in cameras with great lighting and a tripod, you can get results that are more than good enough for your store. Just be sure to use a third-party camera app that unlocks manual settings like ISO and shutter speed.
Entry-Level DSLRs/Mirrorless: A camera like a Canon Rebel or a Sony a6000 series is a fantastic investment if you're ready to step up. They give you far more control, handle low light better, and open the door to different lenses, which gives you a ton of creative flexibility down the road.
The price tag isn't the most important factor. Using a tripod and having control over your settings is what really makes the difference.
How Do I Get a Pure White Background?
A clean, pure white background is the industry standard for a reason — it kills distractions and makes your whole store look cohesive and professional. There are two ways to get there.
The first is by "shooting for white." This involves using a large white backdrop, like seamless paper, and lighting it completely separately from your garment. By blasting the background with more light than your product, you can get it almost pure white straight out of the camera.
The second method, post-production, is far more common and reliable. Software like Adobe Photoshop or automated tools like Picjam can remove the background in seconds. This gives you a perfect, consistent white background every single time without needing a complex lighting setup.
How Many Photos Should I Have per Clothing Item?
You need to give shoppers enough visual information to feel like they've picked the item up and inspected it in a real store. I always recommend a range of 5–8 photos for every single product.
A strong product page should leave no questions unanswered. Your photos must cover every angle, detail, and feature a customer would want to inspect in a physical store. This is your best tool for reducing purchase hesitation and building trust.
Your shot list should, at a minimum, include a full-length front, back, a 45-degree angle, a close-up of the fabric's texture, and at least one shot of a unique detail like a button, zipper, or embroidered logo.
Can I Really Use My Phone for Professional Clothing Photos?
Yes, you absolutely can — but with a couple of important things to keep in mind. The cameras in modern smartphones are incredibly good, but their small sensors still struggle in low light and can't produce that beautiful, blurry background (shallow depth of field) you get from a DSLR.
However, if you pair your phone with a sturdy tripod and good, consistent lighting, you can absolutely create professional-quality images that are perfect for e-commerce. The tripod gets rid of camera shake, letting you use a low ISO for clean, noise-free images, and good lighting makes sure your colors are accurate and all the important details are sharp.
Takeaway
To elevate your clothing photography and boost sales, focus on these three actions:
- Prioritize Garment Prep: Dedicate an extra 10 minutes to steaming, lint-rolling, and tidying each item before shooting. This is the fastest way to improve photo quality and reduce editing time.
- Standardize Your Shot List: Create a reusable template of 5-7 essential angles (front, back, 45-degree, fabric, detail). This builds brand consistency and ensures you never miss a crucial shot.
- Explore AI Tools: Test a platform like Picjam with a single image to see how quickly you can generate an entire gallery of on-model and lifestyle shots, saving immense time and money compared to traditional photoshoots.
Ready to see how AI can transform your clothing photography workflow and cut down your costs? Use the Picjam savings calculator to compare your current expenses against our automated solution. Calculate your savings here.

Picjam team
The Picjam team blends AI, product, and creative expertise to eliminate the cost and delay of traditional photography for modern eCommerce brands.