
Candle Photography: How to Photograph Candles That Sell
How to photograph candles for ecommerce: shot list, exposing lit vs unlit candles, lighting glass, tins and pillars, flame safety and 10 ideas.
Short answer: To photograph candles for ecommerce, shoot each candle unlit on a clean backdrop for the main image, then lit in a styled scene. Use soft side light, a tripod and a slower shutter so the flame glows without blowing out. Show the label, the wax surface, the vessel, the scale and the scent story.
Candles are hard to photograph because you are lighting a light source, often inside glass. This guide covers the shot list, how to expose lit and unlit candles, lighting for each vessel type (clear and amber glass, tins, ceramic, pillars), flame safety, the common mistakes and ten styled ideas.
- The candle shot list
- Lit vs unlit: exposure
- Lighting by vessel
- Prep and safety
- Common mistakes
- 10 candle photography ideas
- Skip the shoot
- FAQs
The Candle Product Photography Shot List
- Unlit hero. Front on, label straight, lid off or beside it, on white or a soft neutral. This is your main image.
- Three-quarter angle. Slightly above and to the side, to show the vessel shape and the wax surface.
- Wax top. From above or at a low angle, showing a smooth top, the wick and any dried botanicals or embeds.
- Lit lifestyle. The candle burning in a room or styled set, so buyers can picture the glow.
- Label close-up. Scent name, notes, burn time and size, sharp enough to read.
- Scale. In a hand, beside a book or a mug, so buyers can judge the size without reading the dimensions.
- Packaging and gifting. The box, gift wrap or a set, if you sell them that way.

Lit vs Unlit: How to Expose a Candle
A flame is far brighter than the wax and the room around it. If you expose for the flame, everything else goes dark. If you expose for the room, the flame blows out to a white blob. Three ways to handle it:
- Expose for the scene, protect the flame. Put the camera on a tripod, use soft side light to light the candle and set, and choose a slower shutter (somewhere around 1/15 to 1/60 second at a moderate ISO) so the ambient light builds up. Check that the flame keeps a little shape and colour.
- Shoot two frames and blend. Take one frame exposed for the candle and set, and one darker frame exposed for the flame, then blend them in editing.
- Use the flame as an accent. In dark, moody scenes, let the flame be the brightest point and add a dim fill light from the side so the label still reads.
Set a custom white balance for the main light, not the flame. The flame should look warm, but the wax and label should stay true to colour. Turn off overhead room lights to avoid mixed colour.

Lighting by Vessel and Wax
| Vessel or wax | How to light it | Watch out for |
|---|---|---|
| Clear glass jar | Soft side light plus black cards at the edges to define the glass | Reflections of windows and lights; fingerprints and soot on the inside |
| Amber or coloured glass | Back or rim light so the colour glows; a lit candle helps here | Glass that looks brown and flat from front light |
| Frosted glass and ceramic | Large soft light from the side for even tone | Grey patches on frosting; uneven glaze highlights |
| Tins and metal | Diffused light and white cards to give a clean, even sheen | Scratches and dents that show at full zoom |
| Pillars and tapers | Raking side light to show wax texture and shape | Flat light that hides drips, layers and colour gradients |
| Sculptural or novelty candles | Two lights: a key light and a softer fill to model the shape | Losing detail in pale wax; underexpose slightly |

Prep and Flame Safety
- Use a fresh or tidy candle. A smooth top with no tunnelling looks best. For lit shots, burn it for a few minutes first so a small, even melt pool forms.
- Trim the wick to a short, even length before lighting. Long wicks make tall, smoky, flickering flames.
- Clean the vessel. Wipe soot, dust and fingerprints from the glass inside and out, and remove price stickers.
- Stop drafts. Close windows and turn off fans, so the flame stands straight and stays sharp.
- Keep props clear of the flame. Dried flowers, paper, fabric and greenery catch fire easily. Never leave a lit candle unattended on set.
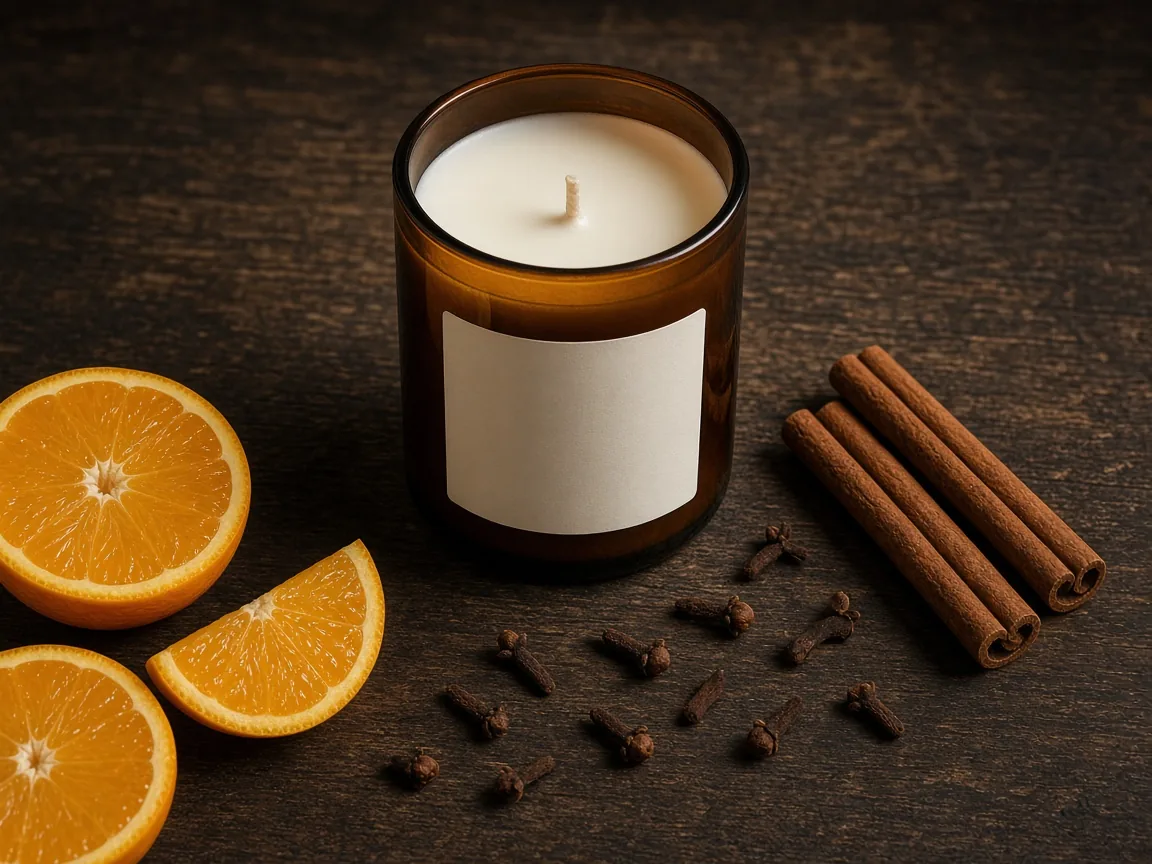
- Tell the scent story. Use props that match the notes: citrus slices, lavender, coffee beans, cedar, vanilla pods. See our props for product photography guide for more.
Common Candle Photography Mistakes
- Using a lit candle for the main image. Many stores and marketplaces work best with a clean, unlit hero. Use lit shots as secondary images.
- A blown-out flame. Lower the exposure or blend two frames.
- Soot on the glass and a tunnelled wax pool from old test burns.
- Mixed light that turns white wax yellow or blue.
- Unreadable labels because the scene is too dark or the label faces away.
- No scale. Buyers cannot tell a votive from a three-wick jar without a reference.
10 Candle Photography Ideas
- Cosy reading nook. A lit candle beside a book, a knitted throw and a mug.
- Bath ritual. On the edge of a bath with a towel, soap and eucalyptus.
- Ingredient still life. The candle surrounded by its scent notes.
- Dark and moody. A single lit candle on a black set, lit by its own glow and a dim fill.
- Mirror or acrylic reflection for a premium, glossy look.
- Seasonal table. Pine and berries for winter, citrus and linen for summer.
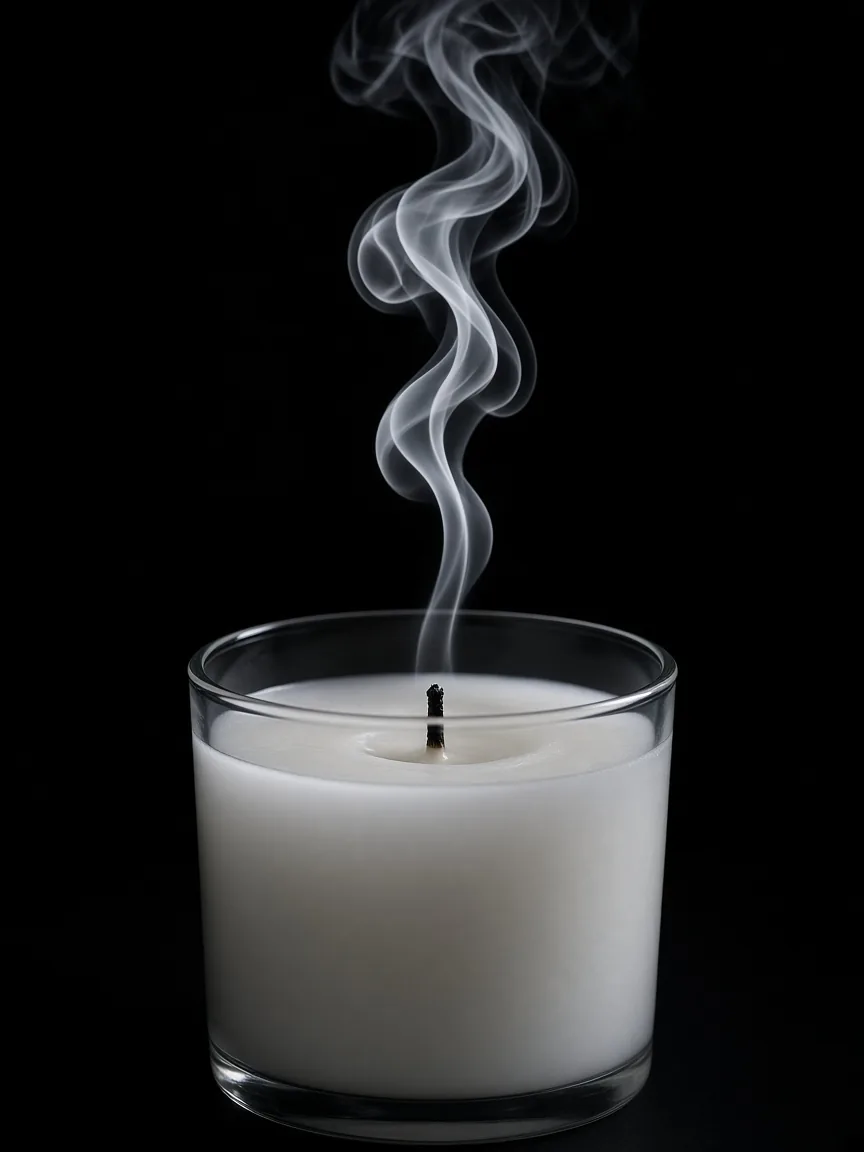
- Smoke trail. The wick just blown out, with a soft wisp of smoke against black.
- Flat lay with packaging. The candle, lid, box and matches from above.
- Wax pour. A behind-the-scenes shot of wax being poured, for handmade brands.
- Collection line-up. Every scent in the range, in the same light, in a row.

Skip the Shoot: Generate Candle Images From One Product Photo
A styled candle scene can take hours of set building, and every new scent and season needs another. If you have one clean, unlit product photo, Picjam can generate the rest: packshots on white or a brand colour, lifestyle scenes like the ideas above, and short product video. There are no prompts to learn. Picjam suggests the shots each product needs, based on large volumes of product images and sales data.
Start with the AI product photography and lifestyle scene generator. For a short flicker or reveal clip from the same stills, use the AI product video generator. Check that the vessel, label and wax colour match the real candle before you publish.
Selling jar candles alongside beauty products? The glass and label techniques in our cosmetic product photography guide apply too.
Frequently Asked Questions
Should candles be lit or unlit in product photos?
Use an unlit candle on a clean background for the main image, so the label, vessel and wax colour are clear. Add lit candles in lifestyle images to show the glow and mood.
How do you photograph a lit candle without overexposing the flame?
Put the camera on a tripod, light the scene with soft side light, and use a slower shutter so the room builds up while the flame keeps its shape. Or shoot two exposures and blend them.
What is the best background for candle photography?
White or a soft neutral works best for the main image. For lifestyle images, use wood, linen, stone or a styled room that matches the scent and the brand.
How do you photograph candles in glass jars without reflections?
Use one large soft light from the side, block windows and room lights, and add black cards at the edges of the jar to define the glass. Clean soot and fingerprints first.
What props work well for candle photography?
Props that tell the scent story work best: citrus, lavender, coffee beans, cedar, vanilla pods, a book, a throw or a mug. Keep flammable props well away from the flame.

Picjam team
The Picjam team blends AI, product, and creative expertise to eliminate the cost and delay of traditional photography for modern eCommerce brands.

