Beverage Photography: How to Photograph Bottles That Sell
How to photograph bottles for ecommerce: shot list, lighting for clear, amber and dark glass, condensation, wine bottle tips and 10 beverage photo ideas.
Short answer: To photograph bottles for ecommerce, shoot the bottle straight on against white or a soft gradient, lit by large diffused lights from behind or the sides. Use black cards to draw clean edges on the glass, keep the label level and sharp, and add a three-quarter view, label close-up, scale shot and one styled scene.
Wine, beer, spirits, juice and soda bottles share the same hard parts: reflective glass, liquid that changes colour with light, and a label that must be readable. This guide covers the bottle shot list, lighting by glass and liquid type, a simple setup, condensation, wine bottle photography, common mistakes and ten beverage photography ideas.
- The bottle shot list
- Lighting by bottle type
- A simple bottle photography setup
- Condensation and cold drinks
- Wine bottle photography
- Common mistakes
- 10 beverage photography ideas
- Skip the shoot
- FAQs
The Bottle Product Photography Shot List
- Front hero. The bottle straight on, label centred and level, on white or a soft gradient. This is your main image on a store or marketplace.
- Three-quarter angle. Turned slightly to show the shoulder, depth and the shape of the glass.
- Label close-ups. Front and back labels, with name, flavour or variety, volume and alcohol content sharp enough to read.
- Closure detail. Cork, foil capsule, screw cap or crown cap, sharp and clean.
- Scale. In a hand, or beside a glass, so a 330 ml and a 750 ml bottle are easy to tell apart.
- Pack or gift box. The bottle with its box, multipack or case, so buyers know what arrives.
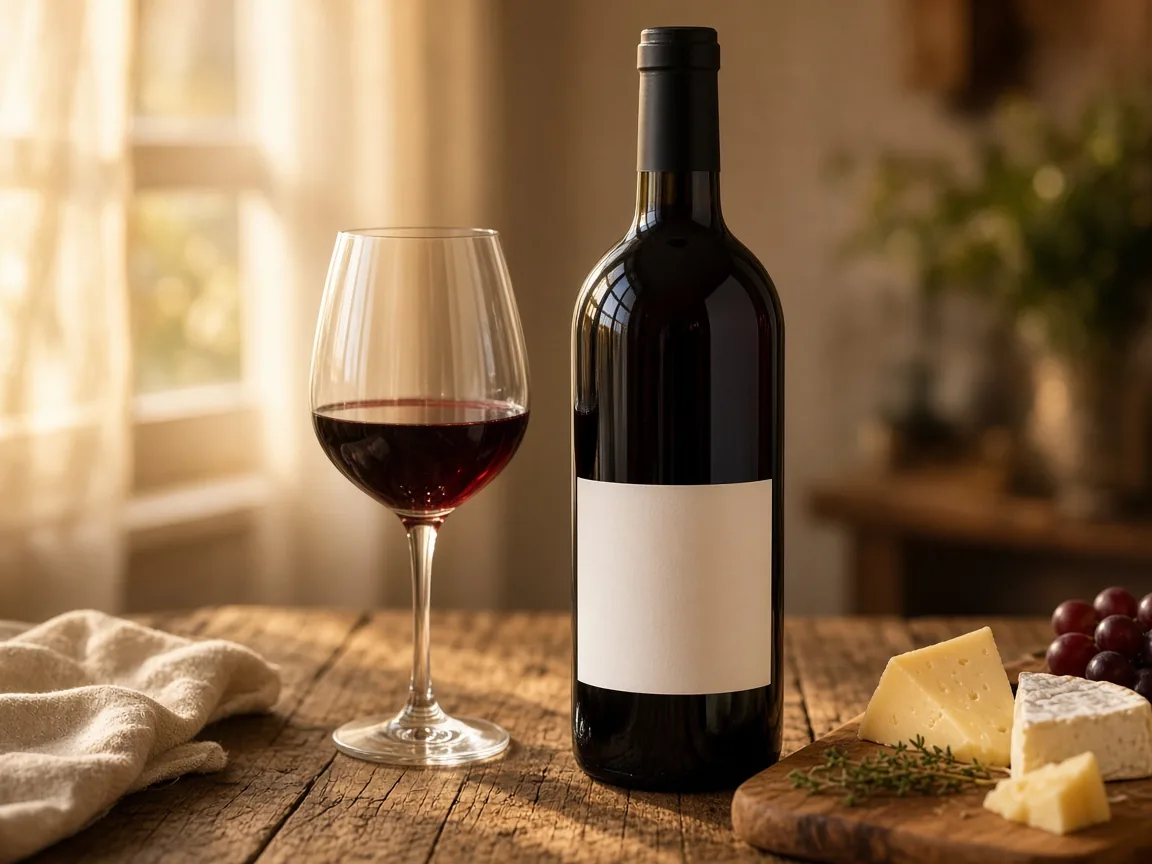
- Serve or lifestyle scene. The drink poured, chilled or on a table, to sell the moment.

Lighting by Bottle Type
Glass does not show light; it shows reflections of light sources. So the size and position of your lights matter more than their power. Start with one large diffused light behind or beside the bottle and shape the edges with cards.
| Bottle or liquid | How to light it | Watch out for |
|---|---|---|
| Clear glass, clear liquid (water, gin, vodka) | Backlight through diffusion, with black cards just out of frame on each side to draw dark edges | A bottle that disappears into a white background |
| Amber or green glass (beer, cider, some wine) | Light from behind so the colour glows; add a small white card in front to lift the label | Glass that turns almost black when lit only from the front |
| Dark wine bottles | Two long strip lights at the sides to trace the outline, plus soft front fill for the label | A bottle that merges into a dark backdrop |
| Coloured liquid in clear glass (juice, soda, spirits) | Backlight or a white card behind the bottle so light passes through the liquid | Muddy, flat colour that does not match the real drink |
| Frosted or painted glass | Large soft light from the side for an even tone, with a reflector opposite | Grey, patchy surfaces and lost shape |
| Metallic or foil labels | Angle the light so the foil reflects a white card, not the room; a polariser can help on the glass | Labels that flare to white or go dull grey |

A Simple Bottle Photography Setup
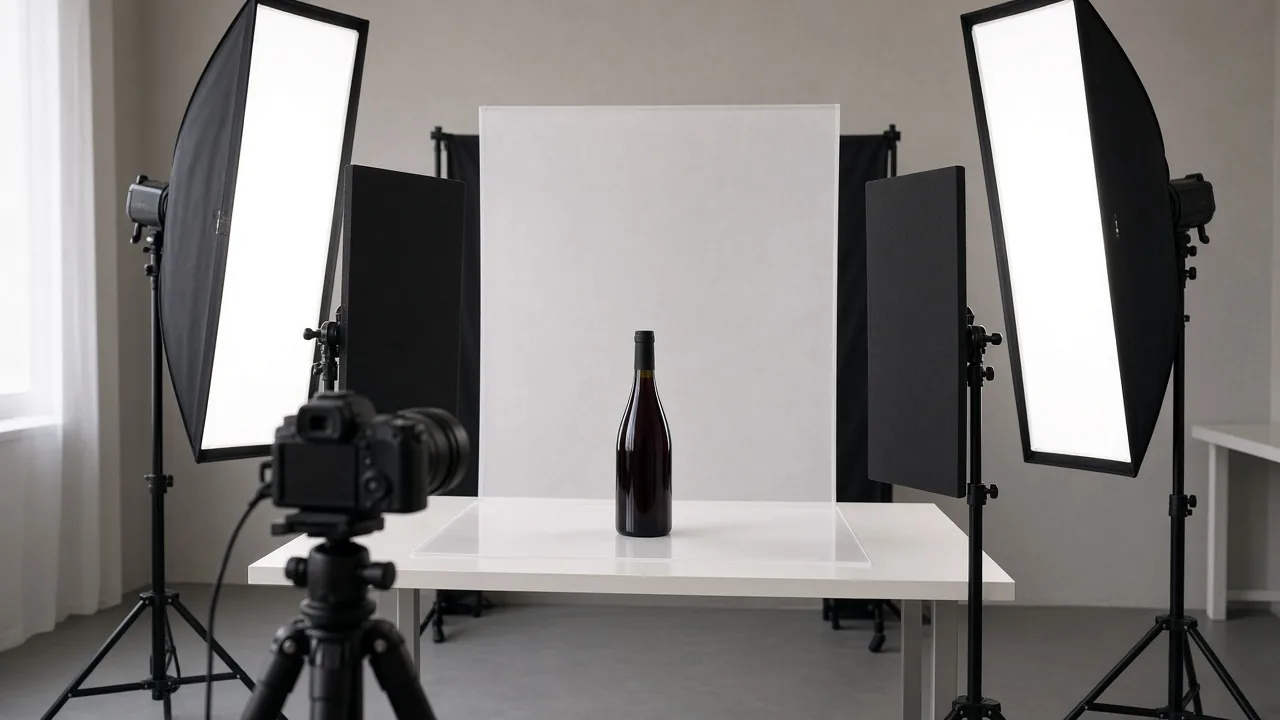
- Background. A sheet of white acrylic or seamless paper, with a diffusion panel or scrim 50 to 100 cm behind the bottle.
- Main light. One light behind the scrim, aimed at it, so the background glows evenly and light passes through the glass.
- Edge lights or cards. Two strip softboxes at the sides for highlights, or black foam board for dark edges. Use one or the other per side, not both.
- Front fill. A white card or small soft light in front, low and close, to light the label without a hot spot.
- Camera. On a tripod, level with the middle of the label, with a longer focal length from further back so the bottle's sides stay straight. Around f/8 to f/11 and a low ISO keeps the label and glass sharp.
If you also sell perfume or other small glass bottles, the same principles apply at a smaller scale; our perfume photography guide covers caps, atomisers and coloured juice in detail.
Condensation and Cold Drinks
- Clean first, spray second. Wipe the bottle with a microfibre cloth, then remove dust, fingerprints and bubbles before adding droplets.
- Use a spray bottle with a fine mist for small beads, and a dropper for a few larger drips that run down the glass.
- Make droplets last. Many food stylists mix water with a little glycerine so the droplets hold their shape under the lights. Test on a spare bottle first, and keep it off the label paper.
- Mask the label with a strip of paper while you spray, so the print stays crisp and readable.
- Backlight the droplets. Light from behind makes each bead sparkle and shows the drink is cold.
- Add ice carefully. Real ice melts fast under hot lights; work quickly or shoot it in a separate frame.

Wine Bottle Photography
Wine bottle photography has its own rules because the glass is often dark green or near black and the label carries most of the brand.
- Light the glass from the sides. Two tall strip lights give the long vertical highlights buyers expect on a wine bottle.
- Light the label separately. A soft card or small light in front, angled to avoid glare on varnished or embossed labels.
- Show the vintage and variety. Keep them sharp in the main image and in a close-up.
- Keep a consistent set for every bottle in the range, so the shop looks like one collection.
- Add a pour or table scene for marketing, with the bottle as the sharpest thing in the frame.
Common Bottle Photography Mistakes
- The studio reflected in the glass, including the camera, windows and ceiling lights.
- A clear bottle with no edges, lost against white because there are no dark cards.
- A tilted or curved bottle from a wide lens shot up close. Step back and zoom in.
- Labels that are crooked, creased or unreadable, which hides the information buyers need.
- Wrong liquid colour from mixed light or heavy editing. Buyers expect the drink to match.
- A different set for every bottle, so the range looks inconsistent on a collection page.
10 Beverage Photography Ideas
- Citrus or fruit splash frozen mid-air behind the bottle.
- Ice bucket with the bottle nestled in crushed ice and condensation.
- Dinner table scene with a poured glass and food that suits the drink.
- Coloured backdrop that matches the label or the flavour.
- Backlit glow through amber, green or coloured liquid on a dark set.
- Ingredient still life with fruit, botanicals, grain or hops around the bottle.
- Outdoor picnic or beach for summer ranges and seasonal campaigns.
- Bar counter with a cocktail made from the spirit.
- Range line-up of every flavour or vintage in the same light.
- Gift scene with the box, ribbon and a card for holiday sales.

Skip the Shoot: Generate Bottle Images From One Product Photo
A full bottle set, with backlight, edge cards, condensation and props, can take hours per product, and every new flavour or vintage needs another. If you have one clean product photo of the bottle, Picjam can generate the rest: packshots on white or a brand colour, lifestyle scenes like the ideas above, and short product video. There are no prompts to learn. Picjam suggests the shots each product needs, based on large volumes of product images and sales data.
Start with the AI product photography and lifestyle scene generator. For a slow turn or pour clip from the same stills, use the AI product video generator. Check that the bottle shape, closure, label and liquid colour match the real product before you publish.

Frequently Asked Questions
How do you photograph bottles without reflections?
Turn off room lights, use large diffused lights behind or beside the bottle, and place black and white cards around it so the glass reflects only what you choose. Shoot from further back with a longer lens and hide the camera behind black card if it shows.
What is the best lighting for bottle product photography?
Backlighting through a diffusion panel is the usual starting point, because it makes the liquid glow and shows the shape of the glass. Add black cards or strip lights at the sides for edges, and a soft front card to light the label.
What background should I use for beverage photography?
Use white or a soft gradient for the main ecommerce image, since most stores and marketplaces favour a clean background. Use coloured backdrops, tables, ice or outdoor scenes for lifestyle, social and campaign images.
How do you photograph clear glass bottles?
Light from behind through diffusion and place black cards just out of frame on each side. The cards reflect as dark lines along the edges of the glass, which separates a clear bottle from a white background.
How do you make condensation on a bottle for photos?
Clean the bottle, mask the label, then mist it with a fine spray just before shooting. Many stylists add a little glycerine to the water so droplets last under the lights. Backlight the bottle so the droplets sparkle.
Can I make beverage product photos without a studio?
Yes. A window, a sheet of diffusion fabric, black and white card and a tripod are enough for clean bottle shots. You can also generate packshots and lifestyle scenes from one product photo with an AI tool such as Picjam.

Picjam team
The Picjam team blends AI, product, and creative expertise to eliminate the cost and delay of traditional photography for modern eCommerce brands.