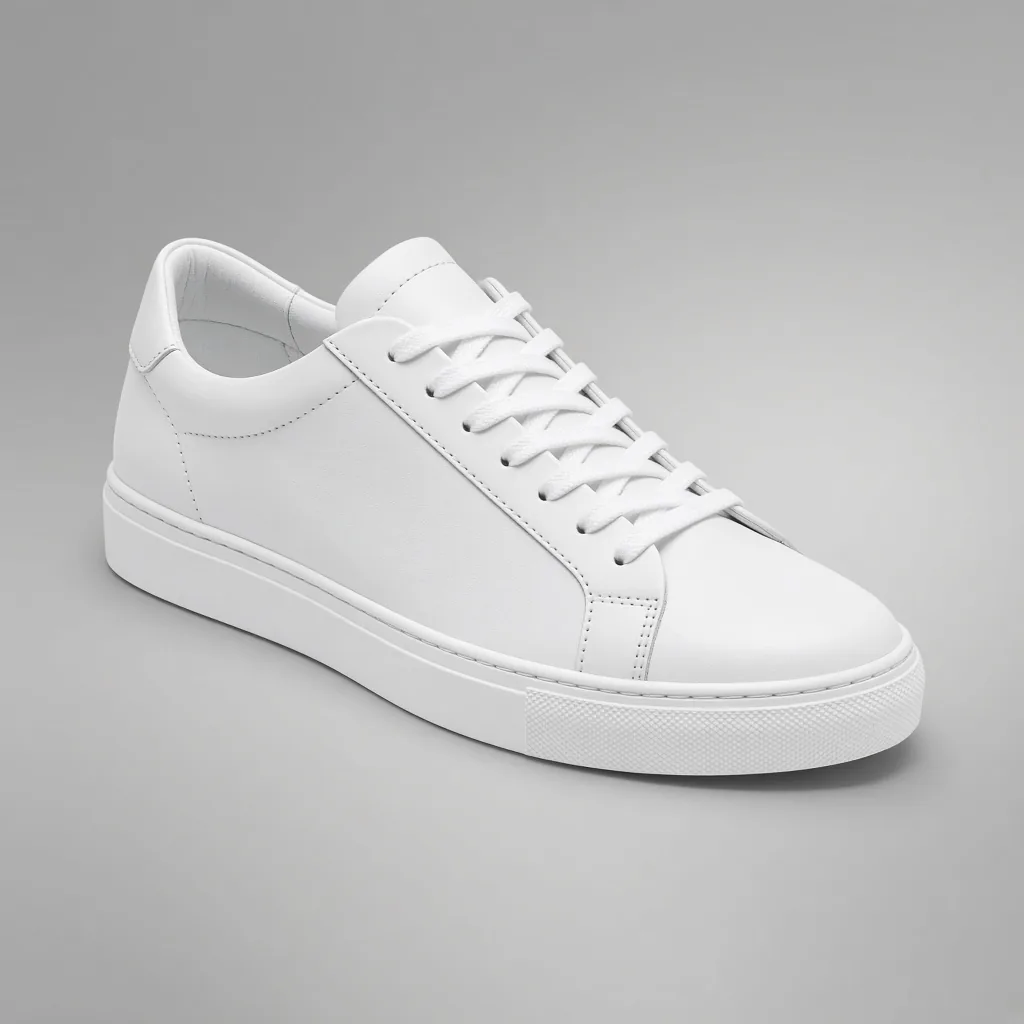
Shoe Photography: How to Photograph Shoes That Sell
How to photograph shoes for ecommerce: a 7-angle shot list, lighting for leather, suede, patent and mesh, setup tips and 10 shoe photography ideas.
Short answer: To photograph shoes for ecommerce, shoot a clean pair on a seamless white or light grey backdrop with one large diffused light from the side and a white reflector opposite. Capture at least six angles: side profile, three-quarter front, front, back, top-down and sole. Stuff the shoes, clean them, and keep the camera at shoe height.
That covers most listings. The rest of this guide gives you the full shot list, lighting for each shoe material (patent, suede, mesh, canvas), the setup, the mistakes that make shoes look cheap, and ten styled ideas for sneakers, heels, boots and sandals.
- The shoe photography shot list
- Lighting by material
- Setup and prep
- Sneaker photography: extra shots
- Common mistakes
- 10 shoe photography ideas
- Skip the shoot
- FAQs
The Shoe Photography Shot List (7 Angles)
Shoppers cannot try shoes on, so the gallery has to answer every question a store visit would. Shoot these in the same order for every style so your catalogue stays consistent.
- Outer side profile. One shoe, side on, toe pointing left, camera level with the midsole. This is the standard catalogue view and shows the silhouette, heel height and sole shape.
- Three-quarter front. Turn the shoe about 45 degrees towards the camera and raise the camera slightly. This is usually the best hero image because it shows the toe, the side and the depth at once.
- Front (toe). Straight on, at toe height. Shows width, toe shape and symmetry.
- Back (heel). Straight on from behind. Shows the heel counter, pull tab and heel shape.
- Top-down. From directly above, so buyers can see the opening, the insole, the lacing and the footbed.
- Sole. Tilt the shoe or lay it on its side to show the tread, the outsole material and any branding.
- Pair and detail shots. Both shoes together (one in profile, one at three-quarter is a classic layout), then close-ups of stitching, texture, hardware, the logo and the lining.

Add an on-foot or scale shot where it helps. Heels, boots and sandals sell on how they look worn, and a hand or a ruler in one detail image answers "how big is it?" without a size chart. For more on choosing angles across any product, see our guide to product photography angles.
Lighting Shoes by Material
The material decides the lighting. A setup that makes canvas look great will turn patent leather into a mirror. Start with one large soft light (a softbox or a window with a diffuser) at about 45 degrees to the side, a white reflector or foam board on the opposite side, and adjust per material:
| Material | How to light it | Watch out for |
|---|---|---|
| Smooth leather | Large soft light from the side, reflector opposite, a little light from above | Hot spots on the toe box; feather the light so the edge of it falls on the shoe |
| Patent and glossy finishes | Very large diffused source, or a light tent; use white and black cards to shape clean reflections | Your camera, tripod and room showing in the shine |
| Suede and nubuck | Lower, raking side light to show the nap and texture | Flat front light, which makes suede look like felt; brush the nap in one direction first |
| Knit and mesh uppers | Soft side light plus a back or rim light to show the weave and breathability | Dark mesh losing all detail; lift shadows with a reflector |
| Canvas | Even, soft light from the front and side | Dust and lint, which show up at full zoom |
| Translucent or gum soles | A light behind or under the sole to show the colour | Yellow casts; set a custom white balance |
| Metallic and embellished | Diffused light and black cards to add contrast to chrome, studs and crystals | Blown highlights; underexpose slightly and check the histogram |


Setup and Prep
- Backdrop. A white or light grey paper sweep on a table gives you a seamless background for the main image. If your store or marketplace needs pure white, see our white background product photography guide.
- Camera height. Shoot most angles at shoe level, not from standing height. Looking down on shoes shortens them and hides the sole.
- Lens. Use a short telephoto (about 50 to 100mm full-frame equivalent). On a phone, use the 2x or 3x lens rather than the wide lens, which stretches the toe.
- Tripod and aperture. Lock the camera so every style is framed the same. Around f/8 to f/11 keeps the shoe sharp from toe to heel.
- Prep. Wipe and brush the shoe, replace dirty laces, lace them neatly, remove tags and stickers, and fill the shoe with tissue or a shoe tree so the upper holds its shape. Keep the stuffing out of sight.
- Positioning. Use clear museum putty, a small acrylic block or fishing line to hold a shoe at an angle or raise it for the sole shot, then retouch out anything visible.
- Consistency. Mark the shoe position and light positions on the table with tape so a whole range matches.

Sneaker Photography: Extra Shots Buyers Expect
Sneaker buyers zoom in. On top of the core shot list, add:
- The size label inside the tongue, and the box if it is included.
- Close-ups of the colourway, materials and any collaboration branding.
- Both heels from behind, so buyers can check that the pair matches.
- For pre-owned pairs, honest condition shots: creasing on the toe box, outsole wear, the insole and any marks. Accurate condition photos reduce questions and returns.

Common Shoe Photography Mistakes
- Shooting from above. It flattens the shoe and hides the profile. Get low.
- Harsh, direct light. It creates glare on leather and hard shadows on the backdrop. Diffuse it.
- Busy backgrounds. Keep the main images clean and save styled scenes for lifestyle images.
- Collapsed uppers and loose laces. Stuff the shoe and lace it neatly every time.
- Inconsistent framing. If every style is shot from a different height, the collection page looks messy.
- Colour drift. Set a custom white balance with a grey card so tan, white and black shoes look true across the range.
10 Shoe Photography Ideas
Once the catalogue shots are done, styled images give you lifestyle content for the gallery, ads and social.
- Floating shoe. Suspend a sneaker on fishing line against a coloured backdrop and retouch the line out.
- Sole-up flat lay. Shoot from above with socks, laces and the box arranged around the shoe.
- Urban street. Sneakers on concrete, a kerb or skate ramp in soft daylight.
- Mirror or acrylic reflection. Heels on black acrylic for a glossy, premium look.
- Textured plinths. Boots on stone, wood or terracotta blocks that echo the material.
- Seasonal scenes. Sandals on sand, boots in autumn leaves, slippers by a fireplace.
- Splash shot. Waterproof boots or trail runners with a water splash, frozen with fast flash.
- Colour block. A shoe on a backdrop that matches one accent colour of the colourway.
- Exploded detail. Laces, insole and the shoe arranged side by side to show construction.
- On-foot walking shot. Mid-stride at ankle height for running shoes and heels.


Skip the Shoot: Generate Shoe Images From One Product Photo
A full shoe gallery means seven or more angles per style, then lifestyle scenes on top, for every colourway. If you already have one clean product photo, Picjam can generate the rest: packshots on white or a brand colour, lifestyle scenes and short product video. There are no prompts to learn. Picjam suggests the shots each product needs, based on large volumes of product images and sales data, so you are not guessing which angle or scene is missing.
Start with the AI product photography and packshot generator. For short motion clips from the same stills, use the AI product video generator. Keep the main image true to the real shoe: check colour, stitching and sole details against the product before you publish.
Frequently Asked Questions
What is the best angle to photograph shoes?
The three-quarter front angle is usually the best hero image because it shows the toe, the side and the depth of the shoe at once. Back it up with a side profile, front, back, top-down and sole shot.
What background is best for shoe photography?
A seamless white or light grey paper sweep is best for main catalogue images because it keeps the focus on the shoe and suits most stores and marketplaces. Use textured or coloured backgrounds for lifestyle images.
How do you photograph shiny or patent shoes without glare?
Use a very large diffused light or a light tent, shoot from a slight distance with a longer lens, and use white and black cards to shape the reflections. Move the light until the hot spots fall off the shoe.
Should I photograph one shoe or the pair?
Photograph both. Use a single shoe for the side profile, front, back, top-down and sole shots, then add a pair shot so buyers can see both shoes together and check they match.
Can I photograph shoes with my phone?
Yes. Use a tripod, soft window light with a white reflector, the 2x or 3x lens instead of the wide lens, and tap to lock focus and exposure on the shoe. Keep the phone at shoe height.

Picjam team
The Picjam team blends AI, product, and creative expertise to eliminate the cost and delay of traditional photography for modern eCommerce brands.