How to Photograph a Plain White Jersey for Ecommerce
Learn how to photograph a plain white jersey for ecommerce with prep, lighting, retouching, and AI workflows that turn one shot into scroll-stopping PDP assets.
For a plain white jersey, small mistakes show up fast. If the white shifts warm, the knit loses detail, or the shape looks off, shoppers notice it immediately. That is why this product is a good test of your ecommerce photography process. If you can photograph a white jersey cleanly and consistently, the rest of the catalog gets easier.
History of sports jerseys and jersey fabric
This guide focuses on the practical work that matters: prep, styling, lighting, capture, retouching, and final ecommerce QA.
Why White Jersey Is Harder Than It Looks
Pratt Textile Research Lab on knit construction
A plain white jersey gives you very little room to hide. Too much light and the fabric texture disappears. Too little light and the shadows can read as dirt or yellowing. If white balance drifts, the jersey stops looking clean and starts looking cream, gray, or blue.
practical jersey guide for clubs
The fabric itself adds risk. Jersey can roll at the edges, stretch out of shape under tension, and lose structure if it is styled carelessly. On a product page, those issues make the garment look cheaper, thinner, or less consistent than it really is.
Your job is simple: show the real white, the real texture, and the real shape.
Prep the Jersey Before You Shoot
Do not start with camera settings. Start with garment control.
Lay the jersey on a clean surface and inspect it under bright, neutral light. Remove lint, dust, and hair from the front, back, sleeves, collar, and hem. White fabric picks up surface debris that may not be obvious until you review the file at full size.
complete guide to white knit fabric sourcing
Then check the garment shape. Make sure the collar sits evenly, the shoulder line is balanced, the sleeves match, and the hem is not twisted. Smooth the jersey so it looks natural, not stretched tight and not collapsed.
Steam lightly, then restyle
convenient wash and fold service
Use steam to release wrinkles, then let the jersey settle before final styling. Do not flatten the fabric so aggressively that you kill the surface texture. The goal is a clean garment that still looks like fabric, not a pressed prop.
After steaming, check the silhouette again. Seams can shift, hems can curl, and sleeves can drop unevenly once the fabric relaxes.
Mark defects before capture
Before the first frame, note any real production issues such as loose threads, uneven stitching, pilling, or discoloration. That prevents confusion later between what should be cleaned up in post and what belongs in a product review with the sample team.
A simple rule helps here: correct temporary distractions, but do not edit the garment into a different product.
Set Up the Shot for Texture and Accuracy
White jersey photography is about control, not drama. You want the garment to look bright and clean, while still holding texture in the knit and structure at the edges.
Start with soft, even lighting from both sides of the product. Keep the light diffused so the white stays smooth, but do not flatten the jersey so much that the fabric looks lifeless. A small amount of controlled shadow under the collar, sleeve edge, and side seams helps the garment keep its shape.
If your background is white, manage spill carefully. Too much bounce from the background can wash out the front of the jersey and erase the very detail shoppers use to judge quality.
Set white balance manually
Do not rely on auto white balance. Set white balance manually using a neutral reference so the jersey stays consistent from frame to frame. This matters even more if you are shooting multiple angles or building assets over more than one session.
In review, pay close attention to the chest, collar, and shoulder area. Those are usually the first places where color drift or highlight clipping shows up.
Expose for detail, not brightness
white background product photography guide
The goal is not to make the jersey as bright as possible. The goal is to make it look white while preserving knit texture and seam definition.
If the highlights are clipped, the jersey will look flat and cheap. If the file is too dark, the shadows can make the product look dingy. A slightly more controlled white image is far more useful than an over-bright one, because you can refine it in post without inventing missing detail.
Keep perspective honest
Use a stable camera position and a clean product angle that does not distort the body or sleeves. Review the frame while the garment is still on set so you can catch twisted hems, uneven sleeve openings, or a collar that has shifted out of shape.
This is also the stage where a clean source file matters most if you plan to build additional assets with AI product photography. AI can extend a strong image, but it cannot reliably recover texture or proportion that was lost during capture.
Style the Jersey So It Looks Real
A white jersey should look clean and structured, not overworked.
If you are shooting flats, keep the body straight and the sleeves natural. Avoid pulling the fabric tight to fake a slimmer silhouette. That changes how shoppers read the width, drape, and opacity.
ecommerce photo editing workflow
If you are shooting on body, keep the pose simple. Arms slightly away from the torso usually help preserve the side seams and sleeve shape. Avoid extreme angles that hide the fit or distort garment length.
When you build model-based variants with AI fashion photography, use the original jersey as the fixed reference. The collar shape, sleeve length, seam placement, and overall proportions should stay consistent across every output.
Retouch for Accuracy, Not Gloss
Retouching should clean the file, not reinvent it.
Remove lint, small dust marks, minor wrinkles, and temporary distractions. Correct background inconsistencies and keep the edge clean around the collar, sleeves, and hem. Preserve the natural knit texture.
Be careful with over-smoothing. White fabric can turn plastic-looking very quickly if texture is blurred away. The same goes for aggressive brightening, which can erase seams and make the jersey look like a cutout instead of a garment.
product photography automation workflow
For any cutout or transparent-background asset, inspect the edges closely. Soft collars, broken hems, or uneven sleeve outlines are easy to miss in production and easy for customers to notice once the image is live.
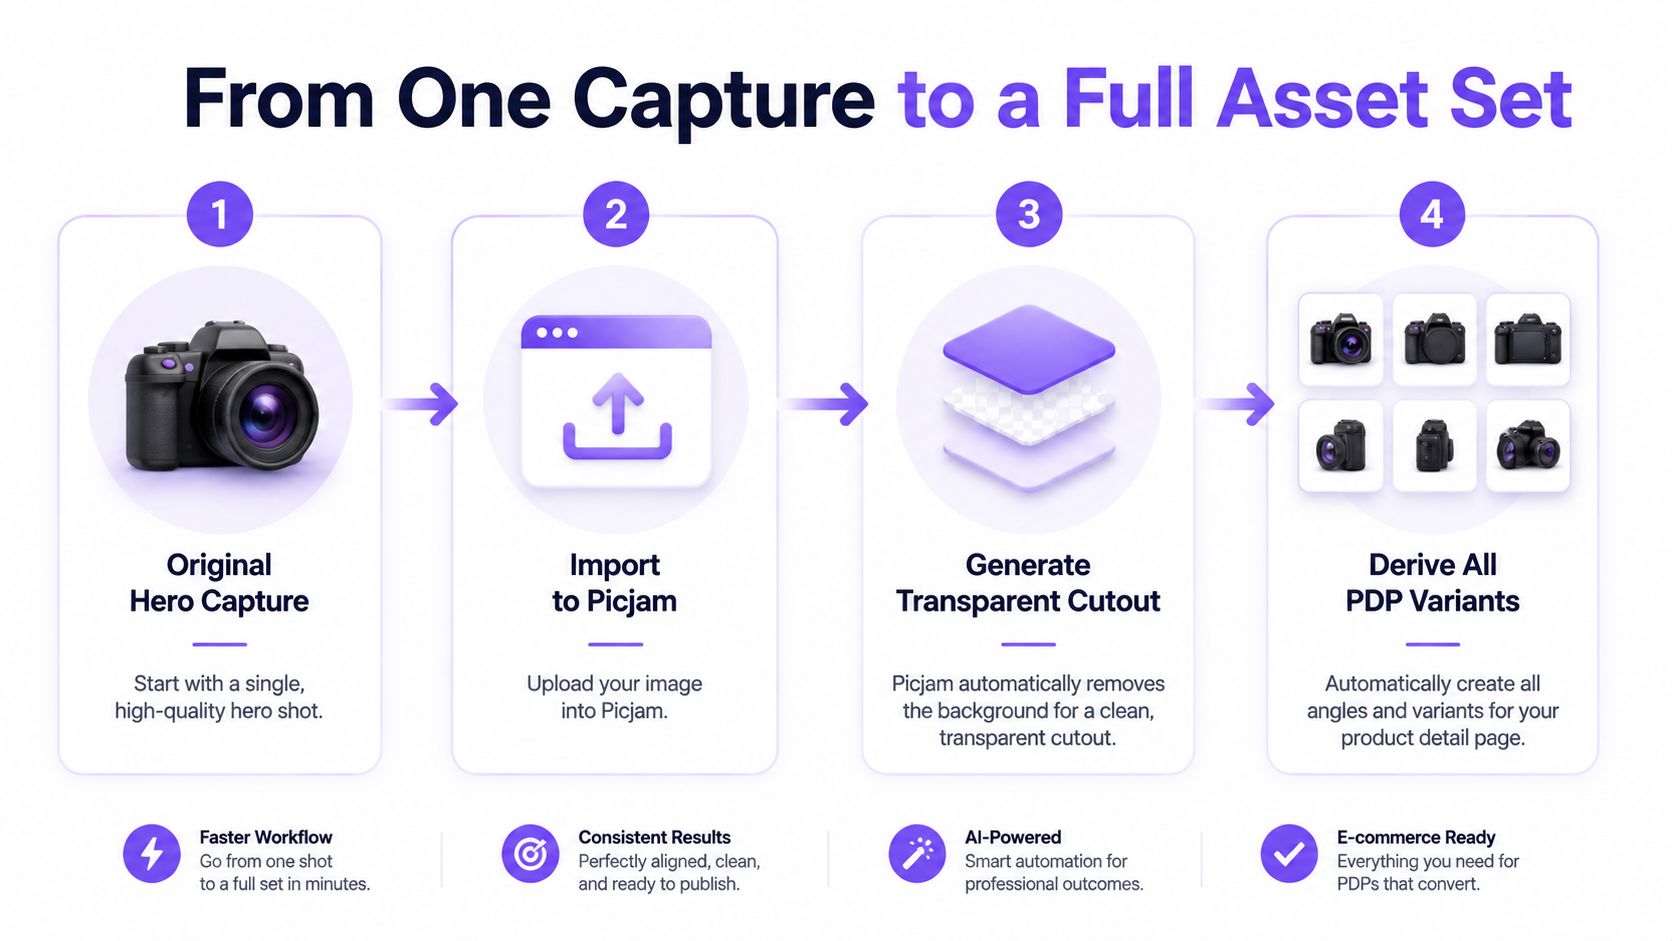
Build the Asset Set From One Good Master
One accurate source image should support the rest of the PDP asset set.
From that master, create the clean hero image, alternate views, close-up detail crops, and on-model or marketplace variations. This keeps the garment consistent across channels and reduces the risk of one version showing a different white balance, silhouette, or level of texture.
If you create additional crops or variants, compare each one back to the original approved jersey. The white should stay neutral, the shape should stay honest, and the knit should still look like fabric.
Common Failure Points to Catch Before Publishing
Most white-jersey image problems are predictable. Check for them on every final file:
- Warm, blue, or gray color cast
- Lost texture in the brightest areas
- Dirty-looking shadows around the underarm, collar, or side seam
- Collar edges that look soft or uneven
- Sleeves that do not match in length or angle
- A hem that looks wavy, twisted, or too thick
- Cutout edges with halos or missing fabric detail
- Over-retouched texture that makes the jersey look synthetic
Prep-to-Publish QA Checklist
Before the images go live, confirm the basics:
- The jersey looks neutral white, not cream, gray, blue, or green
- Knit texture is still visible in the brightest areas
- Collar, sleeves, side seams, and hem match the real garment
- The silhouette looks balanced and undistorted
- Lint, dust, and temporary wrinkles are cleaned up
- The background is consistent with channel requirements
- Cutout edges are clean and natural
- Alternate views match the hero image in color and shape
- On-model or generated variants still match the approved source garment
- File naming and exports are correct for the destination channel

Final Takeaway
A plain white jersey is one of the clearest product-photography tests in ecommerce. If your team can keep the white clean, the texture visible, and the silhouette accurate, you have a solid foundation for the rest of the catalog.
Fall 2026 fabric sourcing trends
Keep the process simple: prep the garment carefully, light for detail, set white balance manually, style the shape honestly, and run a final QA check before publishing.


Picjam team
The Picjam team blends AI, product, and creative expertise to eliminate the cost and delay of traditional photography for modern eCommerce brands.