Detail Shot Photography for Fashion E-Commerce
Practical guide to detail shot photography for fashion e-commerce, covering shot planning, lighting, camera settings, and scalable workflows for apparel teams.
By Michael Pirone, Founder of Picjam & Vidico
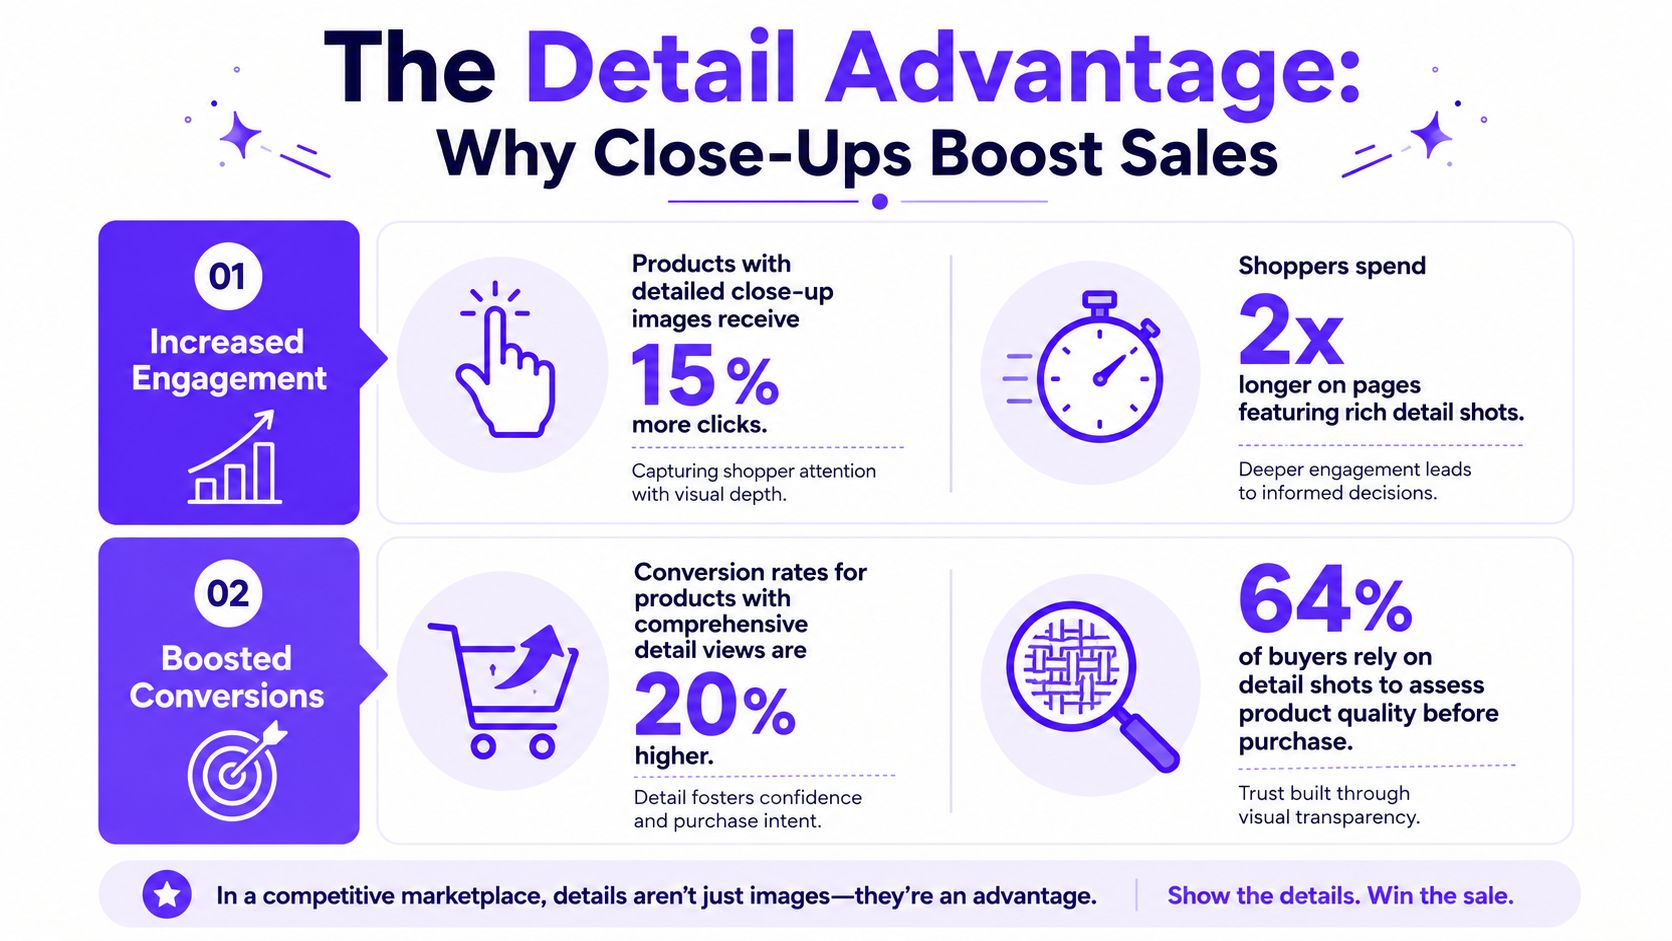
Detail shot photography for fashion e-commerce helps shoppers verify what they are buying before they add to cart. In apparel, many purchase decisions come down to specifics a full garment image cannot show clearly: fabric texture, stitch quality, hardware finish, closures, lining, and construction.
On a strong product detail page, close-up images do a simple job. They remove doubt. They show the parts of a garment a customer would inspect in store, by hand, if they had the chance.
Brands with disciplined PDPs understand this. They do not rely on a hero image and a few standard angles. They show the product's material, finish, and build quality in a way that supports decision-making.
That creates an operational challenge for e-commerce teams. Detail shots need to be sharp, consistent, and fast to produce across a full assortment. The best approach is to treat them as part of a repeatable studio workflow, not as one-off creative extras.
Why Detail Shots Matter on Apparel PDPs
A full-garment image shows silhouette, color, and fit. A detail shot shows product quality.
For apparel teams, that distinction matters. A shopper deciding between two similar products will often look for signs of value in the close-ups: the density of a knit, the finish on a zipper, the neatness of topstitching, the texture of denim, or the surface of a coated fabric.
Close-ups answer the questions that drive hesitation
Most shoppers do not need more images. They need the right evidence.
A good detail image helps answer practical questions like:
- Does the fabric look dense or thin?
- Is the trim polished or basic?
- Are the seams clean?
- Does the garment have structure, stretch, softness, or weight?
- Is the finish consistent with the price point?
That is why detail photography matters most in tactile categories such as knitwear, tailoring, denim, outerwear, leather, sequins, bouclé, technical fabrics, and washed cotton.
Practical rule: Shoot every feature a customer would inspect by hand in a store.
Full-length photos cannot carry the whole PDP
product photography equipment for ecommerce teams
Front, back, side, and on-model images still matter. They establish shape and styling context. But they usually do not show enough surface information to support a confident purchase, especially in premium or texture-led categories.
For commerce teams, detail shots are not just a creative choice. They are part of merchandising. If a product has a premium fabric, distinctive trim, or strong construction story, the gallery should prove it.
The Gear That Actually Matters for Detail Photography
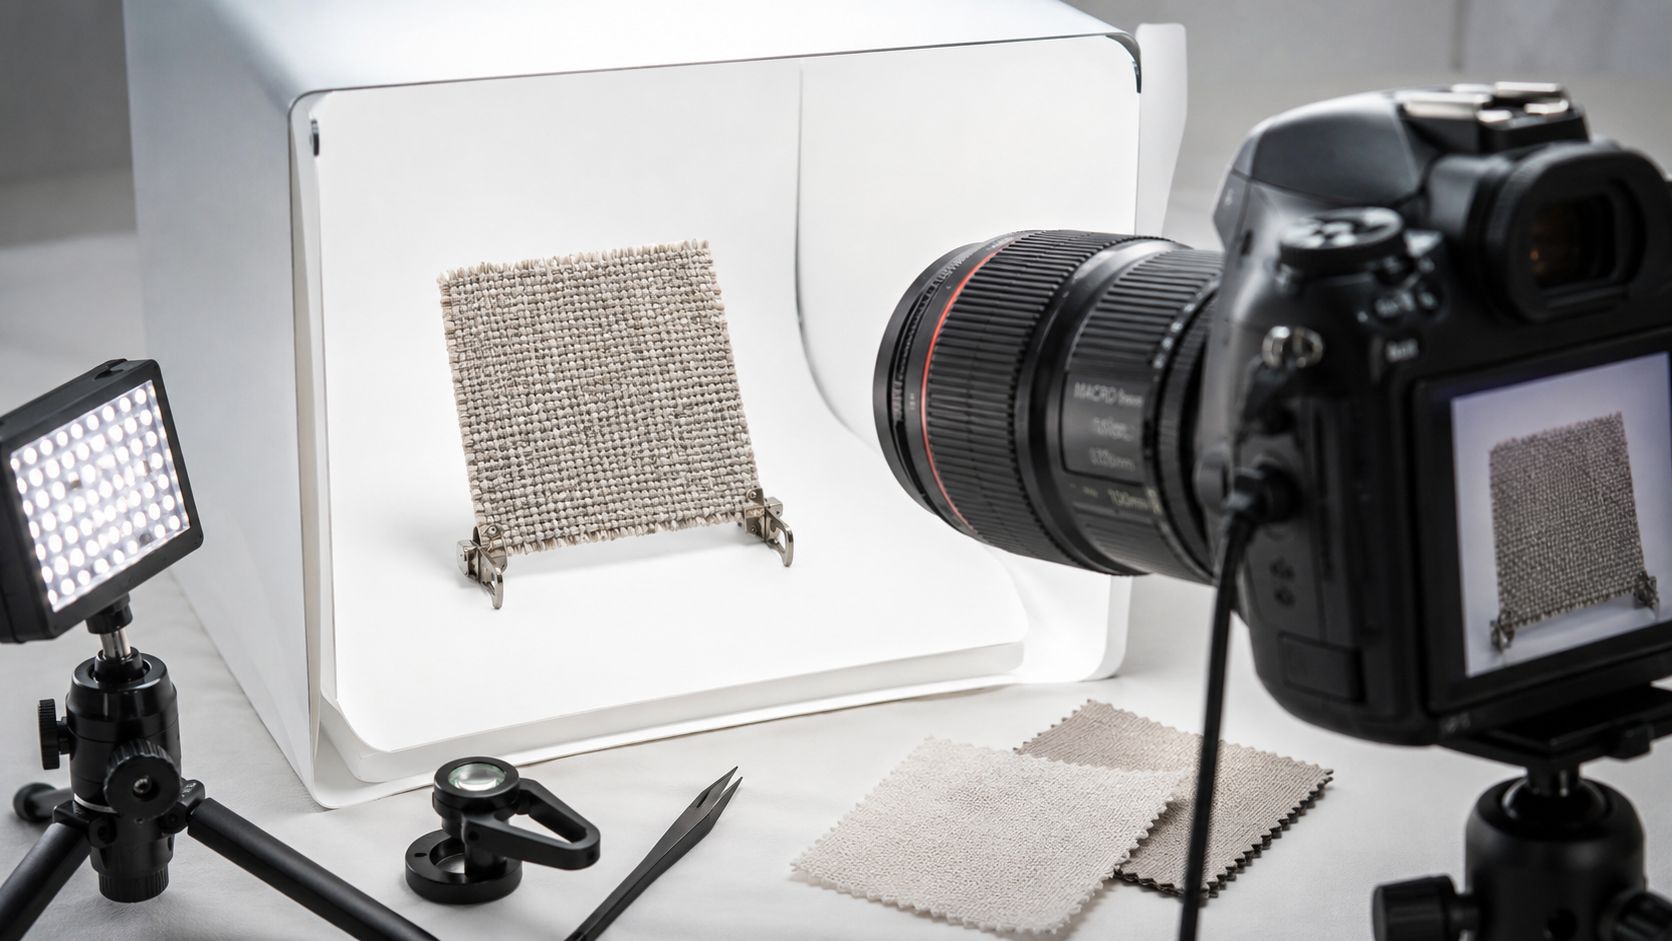
Detail photography is less about having an expensive camera body and more about having the right lens, stable support, and controlled light.
Use a macro lens when the detail is the product
If the goal is to show weave, embroidery, zipper teeth, button texture, labels, or stitching, a macro lens is usually the right tool.
Cropping into a wider frame can work for larger details, but it often falls apart when the image needs to hold up under zoom. A dedicated macro lens gives you better close focusing, stronger edge-to-edge sharpness, and more reliable detail capture.
For most fashion detail work, a 90mm or 100mm macro is a practical choice. It gives enough working distance to light the subject cleanly and keeps perspective natural.
A few simple rules help:
- Use a macro lens for fabric texture, branding, hardware, labels, embroidery, and construction details.
- Use a longer focal length outdoors when you want cleaner separation and less distortion.
- Keep a normal lens for wider supporting shots, but do not rely on it for true close-ups.
Stability and lighting matter more than camera hype
A stable tripod improves sharpness and consistency across a whole shoot. A remote trigger or tethered setup helps keep framing repeatable, which matters when you are moving through many SKUs.
Lighting is where most detail work is won or lost.
- Soft light gives accurate color and cleaner rendering.
- Directional side light reveals texture and relief.
- Too much diffusion can flatten fabric.
- Uncontrolled specular light can make hardware and coated fabrics look harsh.
The right setup depends on the product. Wool, brushed cotton, and knitwear usually benefit from controlled directional light. Glossy trims, sequins, and polished hardware need softer control to avoid ugly reflections.
If your team is building a broader studio workflow, tools such as Picjam's AI product photography hub can help extend strong source imagery into additional commerce-ready assets without rebuilding every setup from scratch.
A quick visual walkthrough helps here:
Good detail work starts at capture. Post-production cannot recover texture or focus that was never recorded properly.
How to Style and Compose Detail Shots for PDP Use
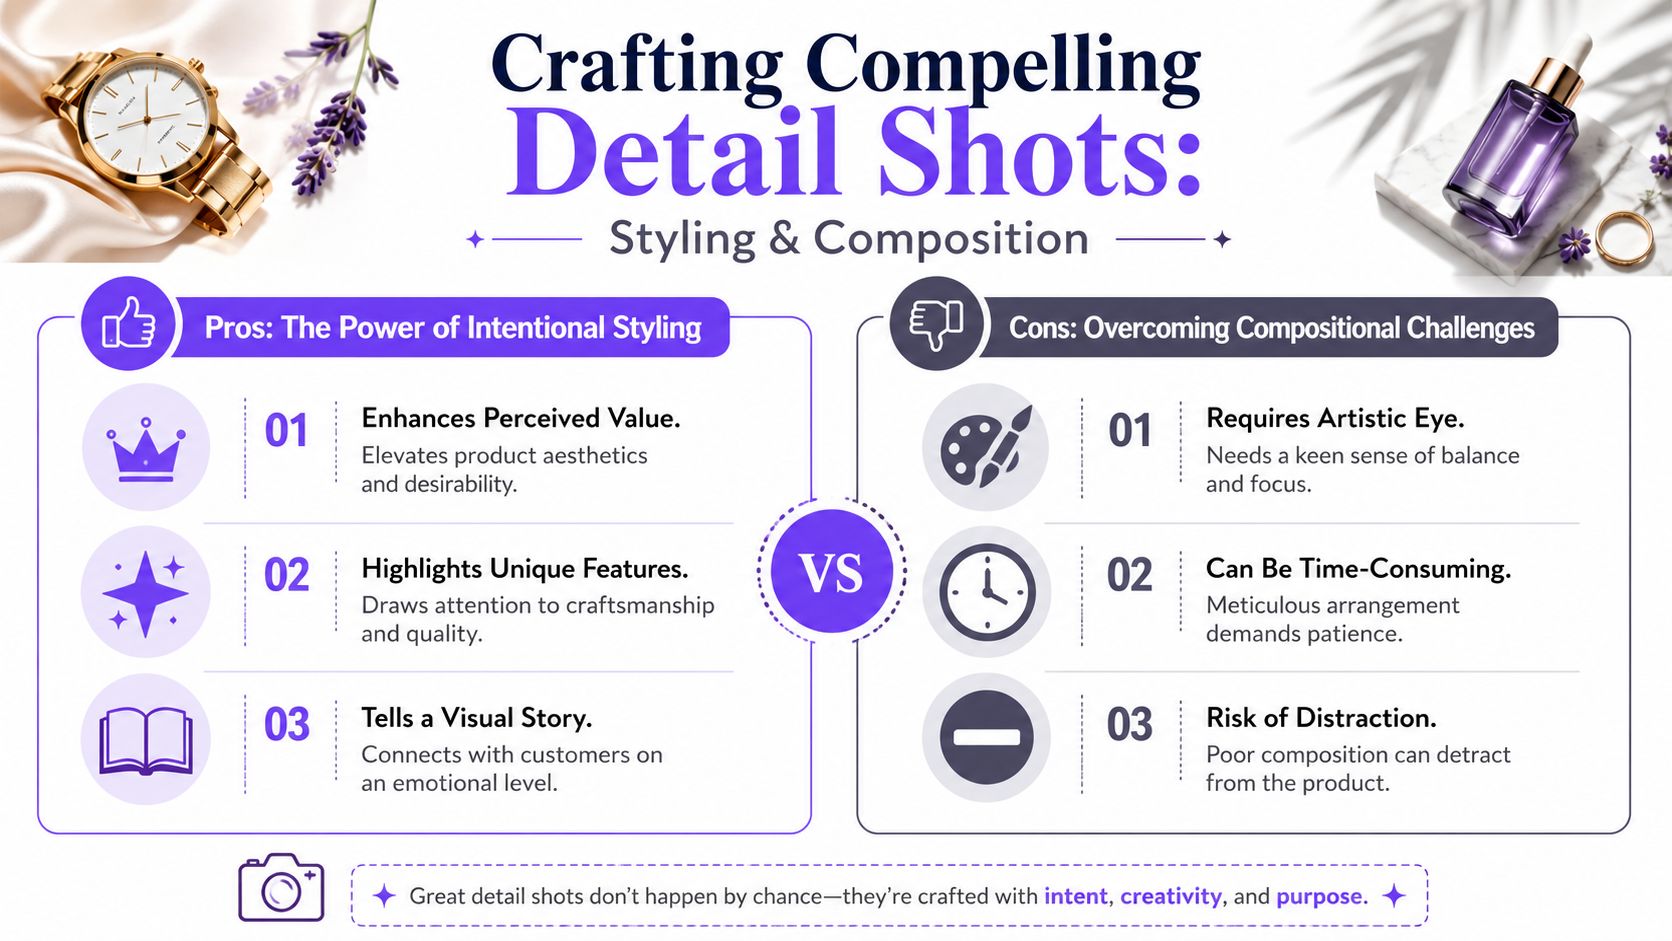
A sharp file is not enough. The frame also needs to communicate one clear proof point.
For product pages, the best detail images are usually simple. One crop, one feature, one reason to trust the product.
Choose angles that show construction, not just decoration
The easiest angle is not always the most useful one.
A straight-on crop can make textured fabric look flat. A slight shift in angle often helps show thickness, edge definition, stitch depth, or surface variation. Tweed, quilting, brushed cotton, jacquard, and rib knits all read better when the image shows some dimension.
The same applies to hardware. A flat zipper-pull shot can look cheap even when the component is good. A small rotation that catches contour and finish often makes the trim read more accurately.
Make each crop answer one buying question
Every detail image should have a job.
Common jobs include:
- Construction proof: topstitching, seam finishing, clean edges, pattern matching
- Material proof: weave density, rib depth, brushed surface, coating finish, drape cues
- Trim proof: button thickness, zipper alignment, plating quality, branded hardware
props for photography ideas for product shoots
If one image tries to prove too much, it usually becomes less useful.
Keep styling clean and repeatable
Small surface issues hurt credibility fast. Lint, fingerprints, loose threads, bent labels, or messy folds all signal weak handling.
That matters even more for premium product.
For studio teams, repeatability is as important as taste. If one stylist shoots tight and functional detail crops while another shoots loose editorial frames, the PDP starts to feel inconsistent.
A better approach is to define a category-level shot plan. Decide which 3 to 5 detail types each category needs, then standardize crop logic, angle, and framing.
Teams that also produce flat lays can use a consistent capture system across categories. This is where a workflow connected to Picjam's flat lay photography tools can make production more efficient without changing the visual standard.
Camera Settings for Sharp, Usable Fabric Detail
Soft close-ups undercut the whole purpose of the image. In commerce, shoppers need to inspect the product quickly and clearly.
Start with aperture, not aesthetics
For most apparel detail shots, f/8 is a reliable starting point. Move to f/11 when the feature has more depth, such as layered seams, raised embellishment, folded plackets, or hardware sitting on multiple planes.
Wide apertures may work for campaign imagery, but they are often the wrong choice for inspection-driven product photography.
product photography workflow for repeatable apparel detail shots
A practical settings workflow
A repeatable setup usually follows this order:
- Set aperture first. Start at f/8 and move to f/11 when you need more depth of field.
- Keep ISO low. Fine fabric texture degrades quickly when noise reduction starts smoothing the file.
- Set shutter speed based on support. If you are on a tripod, let shutter speed drop before raising ISO unnecessarily.
- Use manual focus or precise single-point focus. Autofocus often grabs the nearest edge instead of the exact stitch line or fabric surface you need.
This matters because detail work needs to scale. The more predictable the capture, the easier it is for photographers, retouchers, and merchandisers to work from the same standard.
Watch the focus plane
Aperture does not fix poor alignment.
If the camera is angled in a way that cuts across the feature unevenly, part of the detail will stay soft even at narrower apertures. Try to keep the most important surface parallel to the sensor.
guide to user generated content
For example:
- Keep a cuff face square to the camera if you need the full edge sharp.
- Align zipper teeth so the run sits on the same focus plane.
- Adjust fabric folds if they push the key detail out of plane.
Field note: If a shopper cannot inspect the stitch line, weave, or hardware finish in one glance, the frame is not doing its job.
Turn Detail Photography Into a Scalable Workflow
One strong detail shot can support more than one use case. That is why apparel teams should build detail capture as a system.
A close-up may need to work across the PDP, paid social, email, marketplaces, and seasonal campaign edits. If every derivative requires a new request, new sample handling, or a reshoot, production slows down quickly.
Build from an anchor image
The most efficient teams identify one anchor detail image per product or per feature set. That image should be sharp, well lit, and compositionally flexible enough to support downstream crops and channel-specific variants.
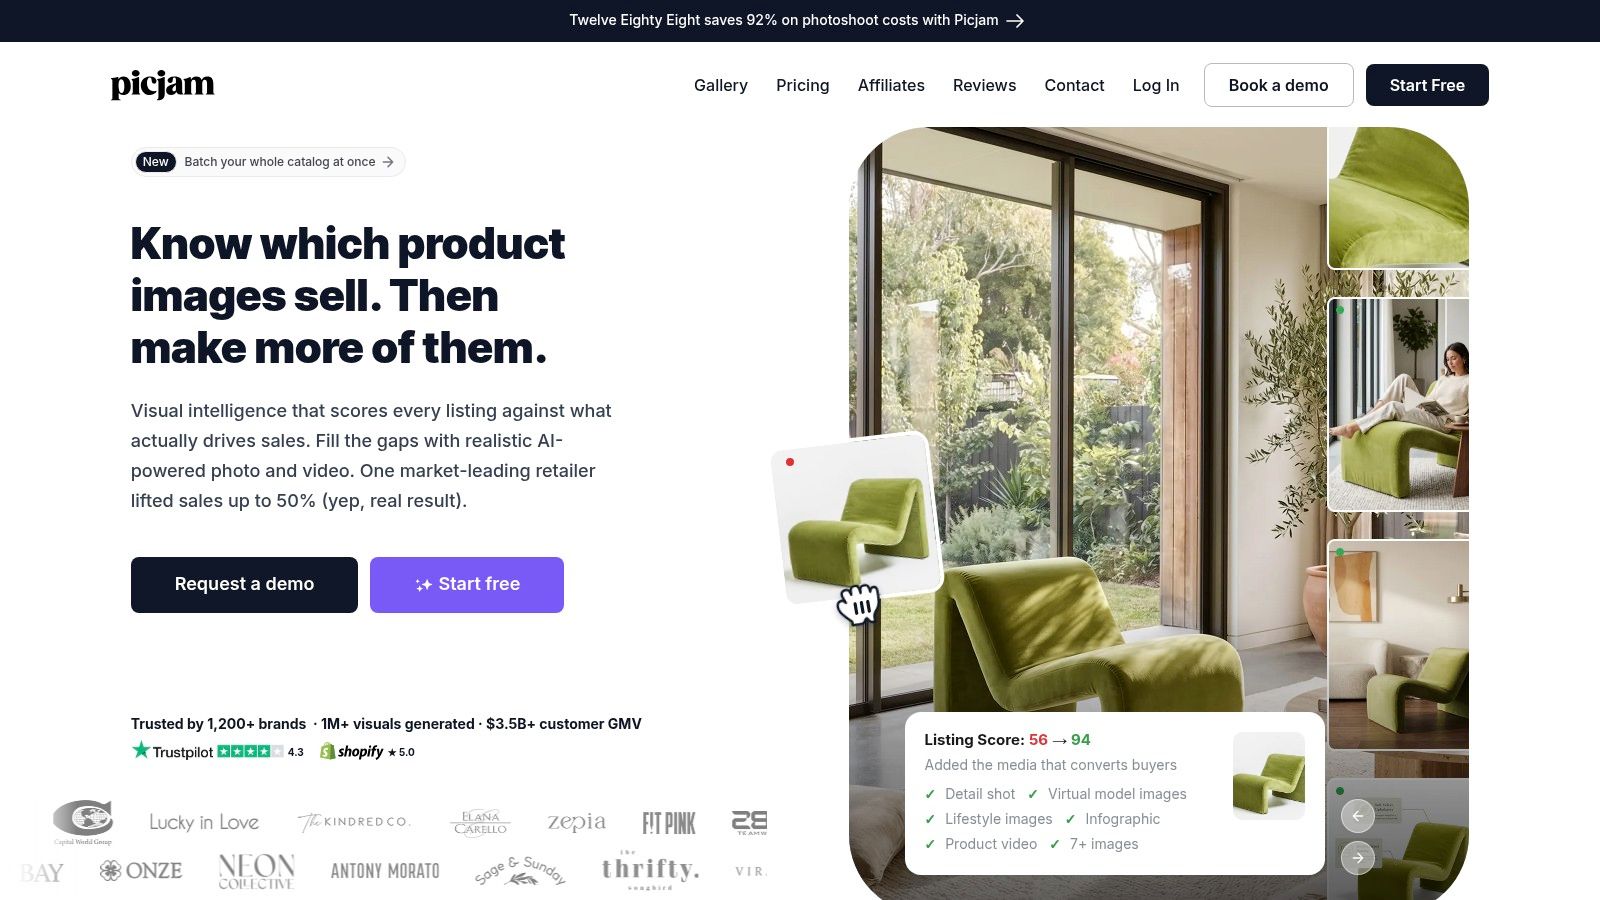
From there, the workflow gets simpler:
- Define required detail types by category.
- Capture them the same way every time.
- Approve the cleanest source image.
- Generate derivatives for each channel from that approved master.
That does not mean automating bad inputs. If the original file is soft, poorly styled, or badly lit, scaling it just multiplies the problem.
Set standards before volume hits
A workable detail-shot system usually includes:
- A fixed shot list by category
- Approved crop examples
- Lens and aperture defaults
- Lighting notes by fabric type
- Clear naming and handoff rules for post-production
This is where many teams gain time. Not by moving faster inside a messy process, but by removing unnecessary variation.
A Practical Action Plan for Apparel Teams
Most teams do not need more gallery slots. They need more useful close-ups.
1. Audit your best-selling PDPs
Look at the pages already driving revenue. Identify where shoppers still have to guess.
Examples:
- A wool coat without a fabric close-up
- A knit without a clear gauge or rib detail
- Denim without stitching or wash texture
- Outerwear without trim, closure, or lining proof
2. Standardize the detail types by category
Do not build a new shot list for every launch.
Set a repeatable requirement for each product type. For example:
- Knitwear: gauge, cuff, neckline, label or branding
- Tailoring: lapel, button, lining, seam finish
- Denim: pocket, topstitching, wash texture, hardware
- Outerwear: zipper, shell texture, cuff or placket, lining
3. Tighten the capture standard
guide to reframing business photography
Use a macro lens when the subject is small. Default to f/8 to f/11 when the image is meant for inspection. Keep support stable, styling clean, and framing consistent.
4. Build assets for reuse
Once the source image is right, use it across channels instead of creating separate requests for every crop or ratio.
Takeaway
- Use detail shots to remove doubt, not fill space in the gallery.
- Standardize close-up shot types by category so teams can move faster without losing consistency.
- Capture one strong master detail image that can support multiple commerce outputs.
- Treat close-up photography as part of PDP merchandising, not just studio production.
Detail photography is practical work. When it is planned well, it helps shoppers evaluate product quality faster and helps e-commerce teams scale content production with fewer reshoots.
If you want to review how your current workflow handles close-ups, content variation, and production throughput, start with Picjam or book a demo.

Picjam team
The Picjam team blends AI, product, and creative expertise to eliminate the cost and delay of traditional photography for modern eCommerce brands.